Nissan Leaf. Manual - part 800
DOOR MOTOR
HAC-203
< REMOVAL AND INSTALLATION >
[AUTO A/C (WITH HEAT PUMP)]
C
D
E
F
G
H
J
K
L
M
A
B
HAC
N
O
P
DOOR MOTOR
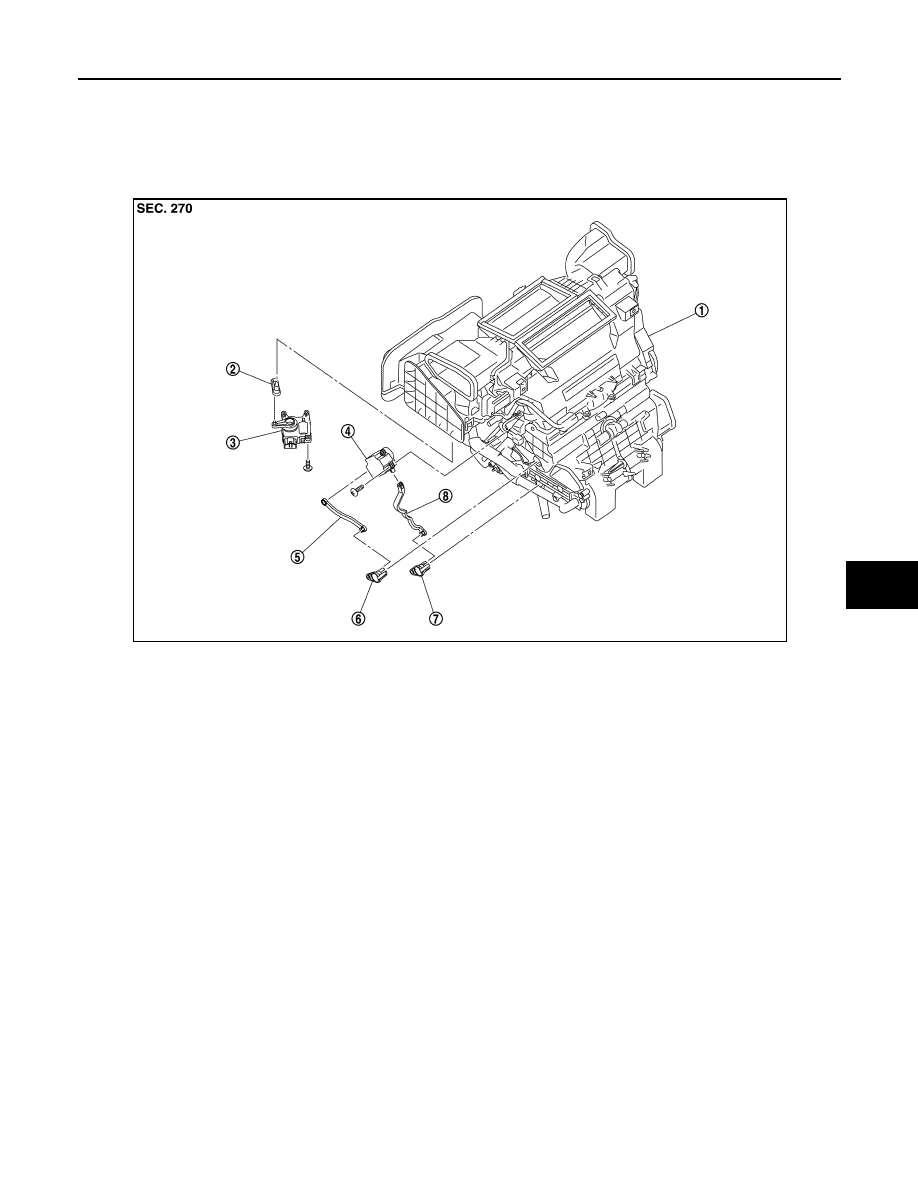
Exploded View
INFOID:0000000010121909
LEFT SIDE
RIGHT SIDE
1.
Heating and cooling unit assembly
2.
Intake door lever
3.
Intake door motor
4.
Air mix door motor
5.
Upper air mix door rod
6.
Upper air mix door lever
7.
Lower air mix door lever
8.
Lower air mix door rod
JPIIA1795ZZ