Nissan Leaf. Manual - part 717
GW-16
< REMOVAL AND INSTALLATION >
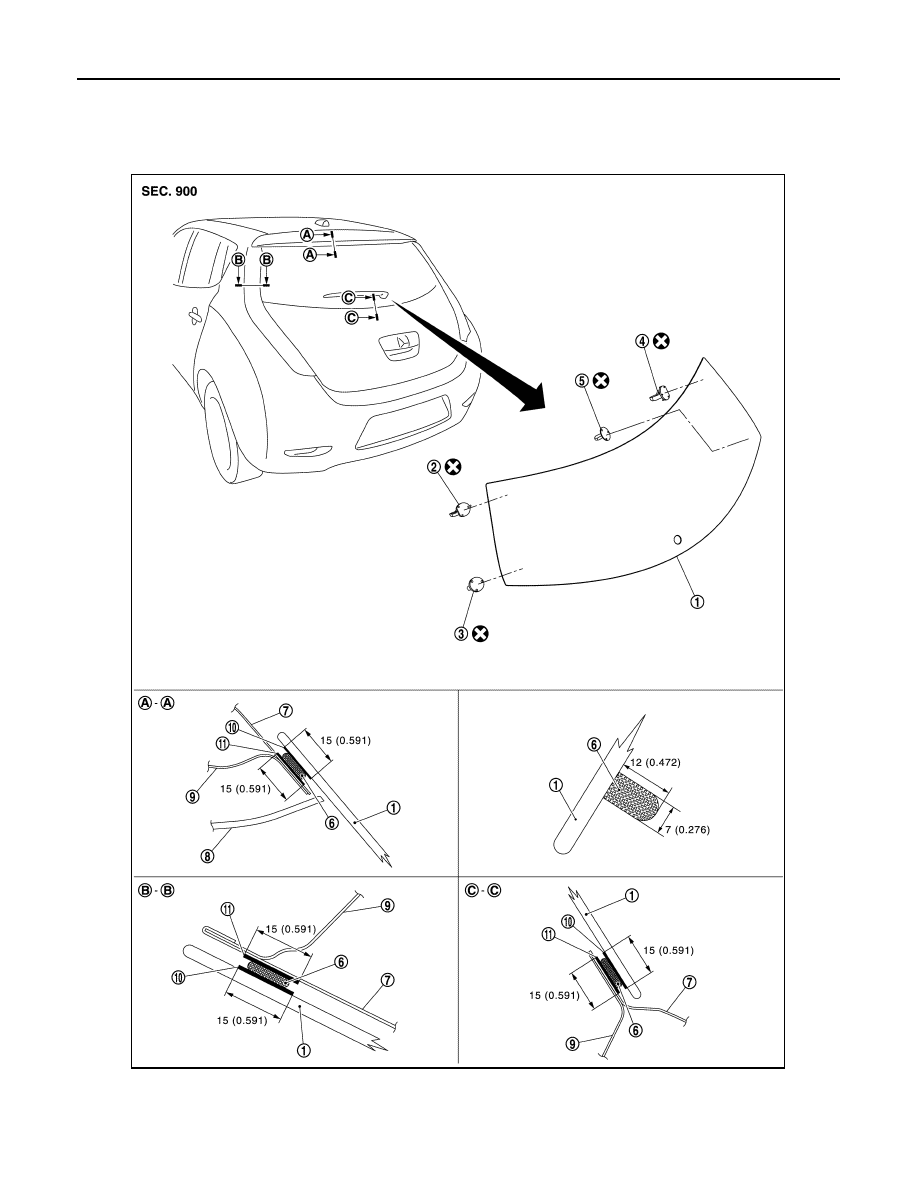
BACK DOOR WINDOW GLASS
BACK DOOR WINDOW GLASS
Exploded View
INFOID:0000000010119157
1.
Back door window glass
2.
Glass holder (upper LH)
3.
Glass holder (lower LH)
4.
Glass holder (upper RH)
5.
Glass holder (lower RH)
6.
Adhesive
JMKIA6424GB