Nissan Leaf. Manual - part 375


  Index      Nissan     Nissan Leaf (2011-2014 year) - Service and Repair Manual


Search            


Content   ..  373  374  375  376   ..


Nissan Leaf. Manual - part 375


DEF-34

< SYMPTOM DIAGNOSIS >

BOTH DOORS MIRROR DEFOGGER DON’T OPERATE BUT REAR WINDOW 

DEFOGGER OPERATES

BOTH DOORS MIRROR DEFOGGER DON’T OPERATE BUT REAR WIN-
DOW DEFOGGER OPERATES

Diagnosis Procedure

INFOID:0000000010119508

1.

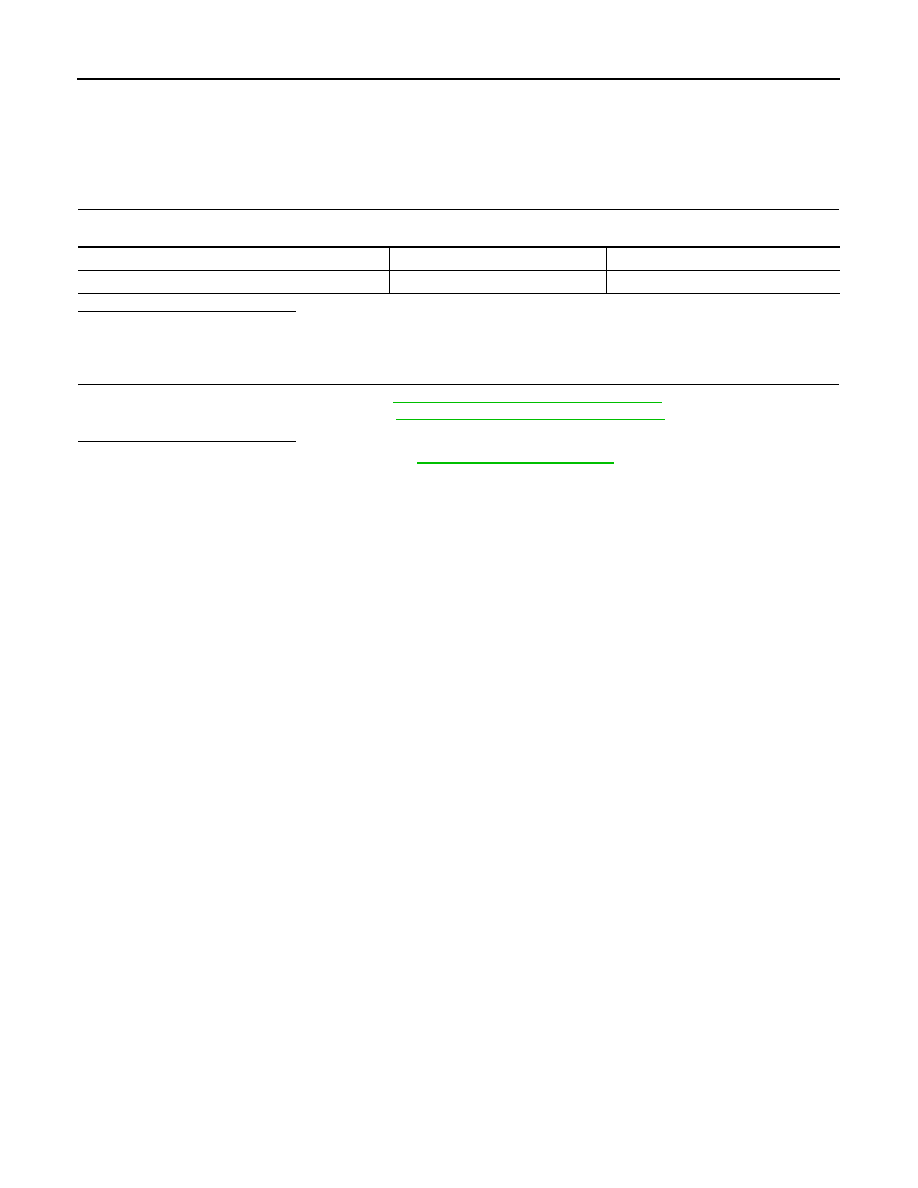
 CHECK DOOR MIRROR DEFOGGER FUSE

Check if the following fuse in fuse block (J/B) is blown.

Is the inspection result normal?

YES

>> GO TO 2.

NO

>> Replace the blown fuse after repairing the affected circuit.

2.

 CHECK BOTH DOOR MIRROR DEFOGGER

1. Check door mirror defogger LH. Refer to 

DEF-30, "Component Function Check"

.

2. Check door mirror defogger RH. Refer to 

DEF-31, "Component Function Check"

.

Is the inspection result normal?

YES

>> Check intermittent incident. Refer to 

GI-53, "Intermittent Incident"

.

NO

>> Repair or replace the malfunctioning parts.

COMPONENT PARTS

AMPERE

FUSE NO.

Fuse block (J/B)

10A

22

DOOR MIRROR DEFOGGER DOES NOT OPERATE

DEF-35

< SYMPTOM DIAGNOSIS >

C

D

E

F

G

H

I

J

K

M

A

B

DEF

N

O

P

DOOR MIRROR DEFOGGER DOES NOT OPERATE

Diagnosis Procedure

INFOID:0000000010119509

1.

 CHECK DOOR MIRROR DEFOGGER

Check door mirror defogger.

Refer to 

DEF-30, "Component Function Check"

 (LH) or 

DEF-31, "Component Function Check"

 (RH).

Is the inspection result normal?

YES

>> Refer to 

GI-53, "Intermittent Incident"

.

NO

>> Repair or replace the malfunctioning parts.

DEF-36

< SYMPTOM DIAGNOSIS >

REAR WINDOW DEFOGGER SWITCH DOES NOT LIGHT, BUT REAR WINDOW 

DEFOGGER OPERATES

REAR WINDOW DEFOGGER SWITCH DOES NOT LIGHT, BUT REAR WIN-
DOW DEFOGGER OPERATES

Diagnosis Procedure

INFOID:0000000010119511

1.

REPLACE A/C AUTO AMP. (REAR WINDOW DEFOGGER SWITCH)

Replace A/C auto amp. (Rear window defogger switch). Refer to 

HAC-187, "Removal and Installation"

 (auto

A/C with heat pump) or 

HAC-347, "Removal and Installation"

 (auto A/C without heat pump).

>> GO TO 2.

2.

CONFIRM THE OPERATION

Confirm the operation again.
Is the inspection result normal?

YES

>> Check intermittent incident. Refer to 

GI-53, "Intermittent Incident"

.

NO

>> GO TO 1.

FILAMENT

DEF-37

< REMOVAL AND INSTALLATION >

C

D

E

F

G

H

I

J

K

M

A

B

DEF

N

O

P

REMOVAL AND INSTALLATION

FILAMENT

Inspection and Repair

INFOID:0000000010119512

INSPECTION

1. When measuring voltage, wrap tin foil around the top of the neg-

ative probe. Then press the foil against the wire with your finger.

2. Attach probe circuit tester (in Volt range) to middle portion of

each filament.

3. If a filament is burned out, circuit tester registers 0 or battery

voltage.

4. To locate burned out point, move probe to left and right along fil-

ament. Test needle will swing abruptly when probe passes the

point.

REPAIR

REPAIR EQUIPMENT

• Conductive silver composition (Dupont No. 4817 or equivalent)

SEL122R

SEL263

SEL265


Content   ..  373  374  375  376   ..