Nissan Primera P11. Manual - part 497
Changing Fuel Filter
WARNING:
Before removing fuel filter, release fuel pressure from fuel
line.
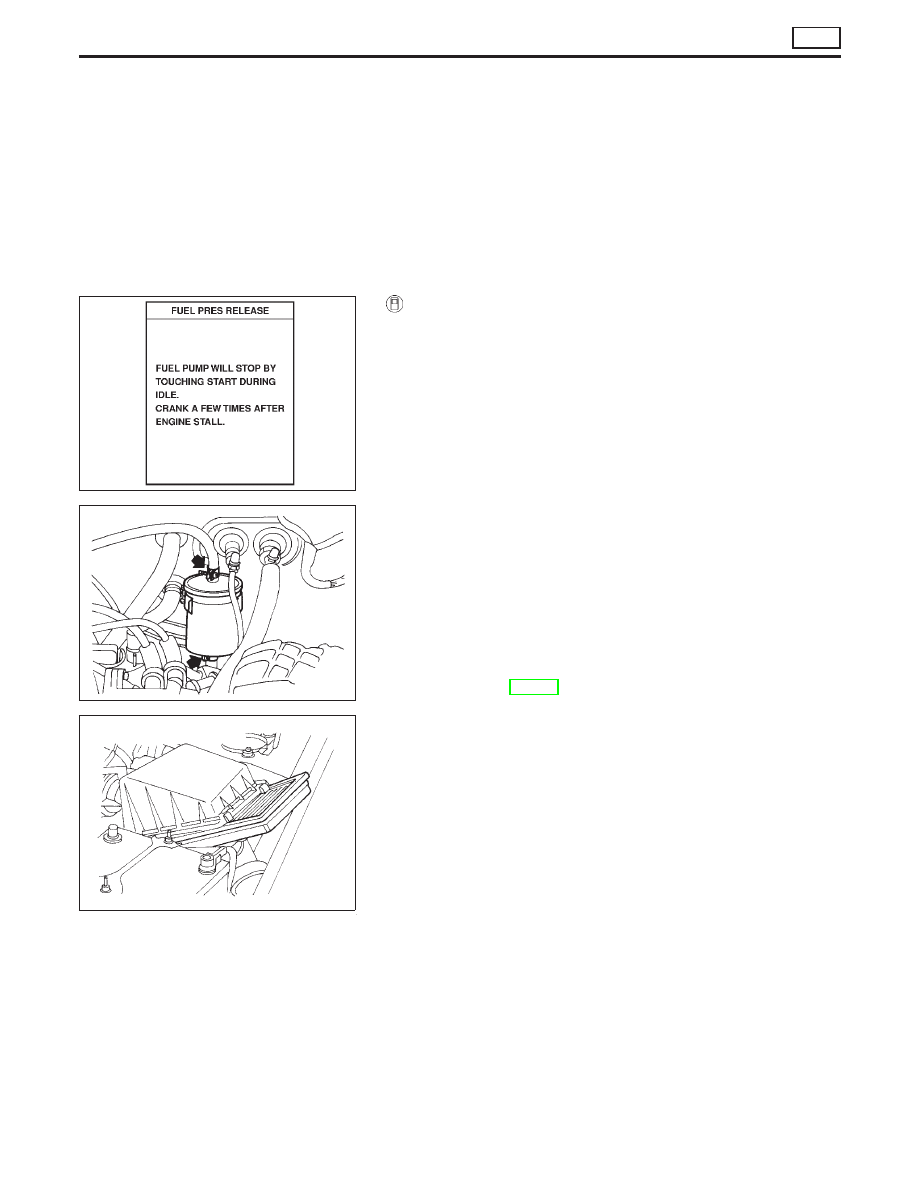
With Consult II
1. Release fuel pressure using the following procedure.
a. Start engine.
b. Perform “FUEL PRESSURE RELEASE” in “WORK
SUPPORT” mode to release fuel pressure to zero.
c. After engine stalls, crank engine two or three times to
make sure that fuel pressure is released.
d. Turn ignition switch “OFF”.
WARNING:
Use rubber gloves to prevent fuel from contacting the skin
when removing fuel hoses and filter.
2. Loosen fuel hose clamps.
3. Replace fuel filter.
●
Be careful not to spill fuel over engine compartment.
Place a shop towel to absorb fuel.
●
Use a high-pressure type fuel filter. Do not use a syn-
thetic resinous fuel filter.
●
When tightening fuel hose clamps, refer to “Checking
Fuel Lines”, MA-22
Changing Air Cleaner Filter
Viscous paper type
Unfasten clamps to change air cleaner filter.
The viscous paper type filter does not need cleaning.
PEF823K
.
SMA288C
.
NMA006
ENGINE MAINTENANCE
QG
MA-23