Nissan Primera P11. Manual - part 398
 

  Index      Nissan     Nissan Primera P11 (2001 year) - Service and Repair Manual


Search            


Content   ..  396  397  398  399   ..


Nissan Primera P11. Manual - part 398


INSTALLATION

NCEM0022S02

I

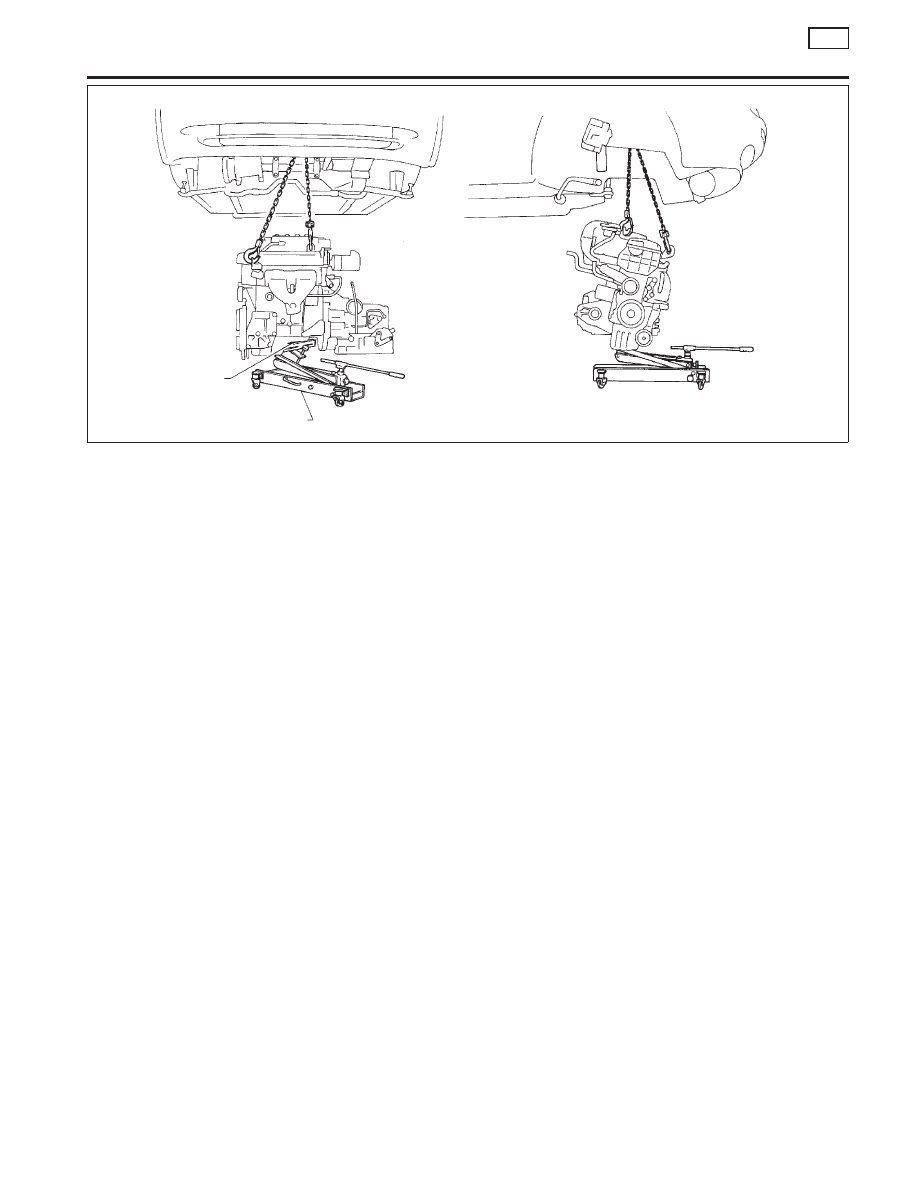
Install in reverse order of removal.

SEM420D

Wooden
block

Jack

ENGINE REMOVAL

QG

Removal and Installation (Cont’d)

EM-51

Components

1.

Oil level gauge guide

2.

Cylinder block

3.

Rear oil seal retainer

4.

Rear oil seal

5.

Rear plate

6.

Flywheel

7.

Drain plug

8.

Buffle plate

9.

Top ring

10. 2nd ring
11. Oil ring
12. Piston
13. Snap ring
14. Piston pin
15. Connecting rod
16. Connecting rod bearing
17. Connecting rod cap

18. Key
19. Main bearing
20. Thrust bearing
21. Crankshaft
22. Main bearing cap
23. Knock sensor
24. Crankshaft position sensor (POS)
25. Signal plate

NEM331

7.2 - 10.8 (0.73 - 1.10, 63.4 - 95.5)

20.6 - 26.5
(2.1 - 2.7, 15 - 20)

O-ring

83.4 - 93.2 (8.5 - 9.5, 61 - 69)

6.28 - 8.34
(0.64 - 0.85, 55.6 - 73.8)

34.3 - 44.1
(3.50 - 4.50, 25.3 - 32.5)

6.3 - 8.3 (0.64 - 0.85, 55.6 - 73.8)

7.64 - 9.22 (0.78 - 0.94, 67.7 - 81.6)

: N·m (kg-m, in-lb)

: N·m (kg-m, ft-lb)

: Use Genuine Liquid Gasket or equivalent.

: Lubricate with new engine oil.

: Do not re-use.

46.1 - 52.0 (4.70 - 5.30, 34.0 - 38.3)

For installation of connecting rod cap, refer to “Assembly”.

CYLINDER BLOCK

QG

Components

EM-52

Removal and Installation

NCEM0024

CAUTION:

I

When installing sliding parts such as bearings and
pistons, apply engine oil on the sliding surfaces.

I

Place removed parts, such as bearings and bearing caps,
in their proper order and direction.

I

When installing connecting rod nuts and main bearing cap
bolts, apply new engine oil to threads and seating sur-
faces.

I

Do not allow any magnetic materials to contact the signal
plate teeth of flywheel or drive plate, and rear plate.

I

Remove the crankshaft position sensor (POS).

I

Be careful not to damage sensor edges and single plate
teeth.

Disassembly

NCEM0025

PISTON AND CRANKSHAFT

NCEM0025S01

1.

Place engine on a work stand.

2.

Drain coolant and oil.

3.

Remove timing chain.
Refer to EM-20.

4.

Remove pistons with connecting rod.

I

When disassembling piston and connecting rod, remove snap
ring first. Then heat piston to 60 to 70°C (140 to 158°F) or use
piston pin press stand at room temperature.

CAUTION:

I

When piston rings are not replaced, make sure that piston
rings are mounted in their original positions.

I

When replacing piston rings, if there is no punch mark,
install with either side up.

5.

Loosen main bearing caps in numerical order as shown in fig-
ure.

6.

Remove bearing caps, main bearings and crankshaft.

I

Before removing bearing caps, measure crankshaft end
play. Refer to EM-61.

I

Bolts should be loosened in two or three steps.

SEM927F

KV10106500

ST0501S000

KV10113300

SEM877B

Oil

Piston heater

SEM165DB

Front

CYLINDER BLOCK

QG

Removal and Installation

EM-53

7.

Remove signal plate from crankshaft.

Inspection

NCEM0026

PISTON AND PISTON PIN CLEARANCE

NCEM0026S01

1.

Measure inner diameter of piston pin hole “dp”.

Standard diameter “dp”:

QG16DE
18.987 - 18.999 mm (0.7474 - 0.7480 in)
QG18DE
18.993 - 19.005 mm (0.7478 - 0.7482 in)

2.

Measure outer diameter of piston pin “Dp”.

Standard diameter “Dp”:

18.989 - 19.001 mm (0.7476 - 0.7481 in)

3.

Calculate piston pin clearance.

QG16DE
Dp - dp: -0.004 - 0 (-0.0002 - 0 in)
QG18DE
Dp − dp: 0.002 - 0.006 (0.0001 - 0.0002 in)

If it exceeds the above value, replace piston assembly with pin.

PISTON RING SIDE CLEARANCE

NCEM0026S02

Side clearance:

Refer to SDS, EM-185

Max. limit of side clearance:

Refer to SDS, EM-185

If out of specification, replace piston and/or piston ring assembly.

PISTON RING END GAP

NCEM0026S03

End gap:

Refer to SDS, EM-185

Max. limit of ring gap:

Refer to SDS, EM-185

SEM928F

Crankshaft

Signal plate

AEM023

AEM024

Micrometer

SEM024AA

NG

OK

Feeler
gauge

Feeler gauge

Ring

AEM096

Piston

Press-fit

Ring

Feeler
gauge

Ring

CYLINDER BLOCK

QG

Disassembly (Cont’d)

EM-54


Content   ..  396  397  398  399   ..