Nissan March K13. Manual - part 453
MA-18
< PERIODIC MAINTENANCE >
ENGINE MAINTENANCE
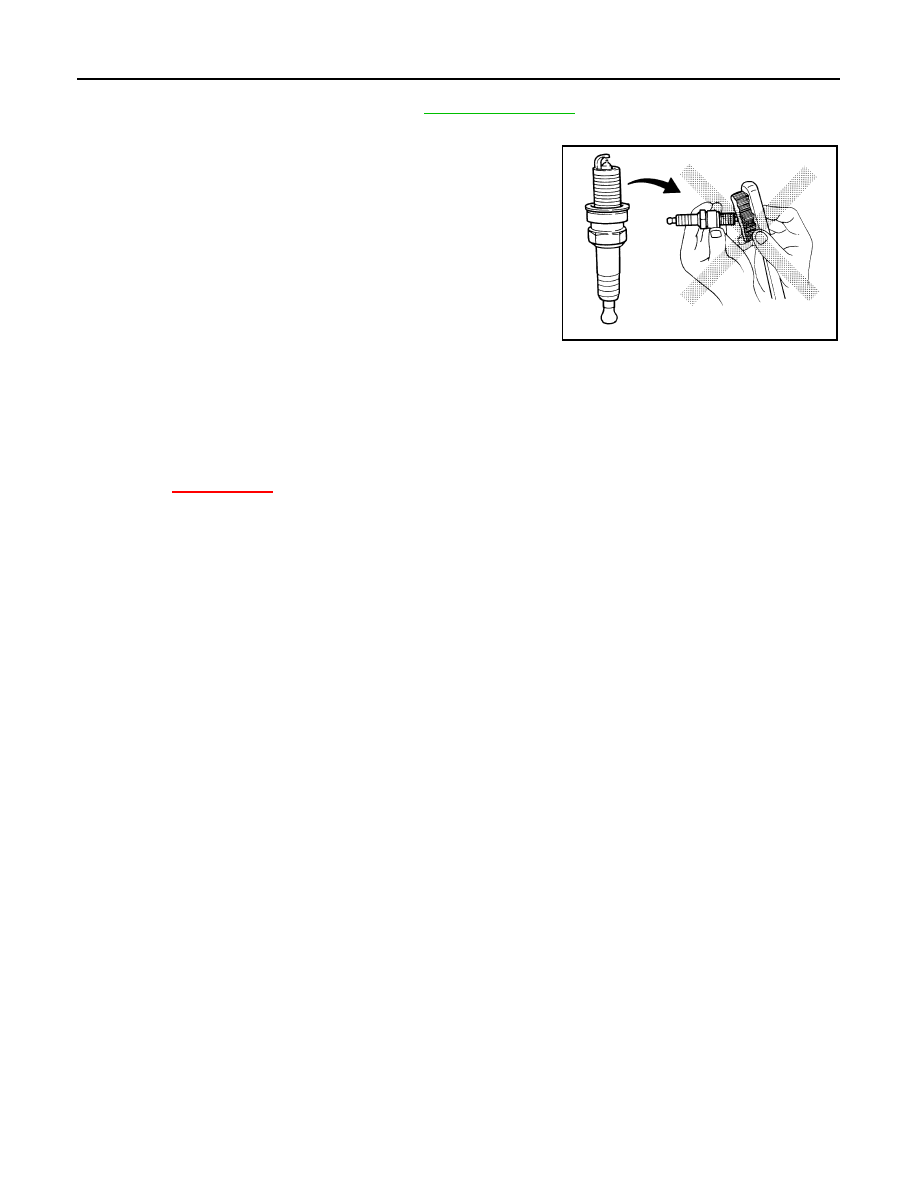
CAUTION:
• Never drop or shock spark plug.
• Never use a wire brush for cleaning.
• If plug tip is covered with carbon, spark plug cleaner may be
used.
EVAP VAPOR LINES
EVAP VAPOR LINES : Inspection
INFOID:0000000005943112
1.
Visually inspect EVAP vapor lines for improper attachment and for cracks, damage, loose connections,
chafing and deterioration.
2.
Inspect fuel tank filler cap vacuum relief valve for clogging, sticking, etc.
Refer to
XX-XX, "*****"
.
Spark plug (Standard type)
: Refer to
Cleaner air pressure
: Less than 588 kPa (6 kg/cm
2
,
85 psi)
Cleaning time
: Less than 20 seconds
SMA773C