содержание .. 164 165 166 167 ..
Nissan GT-R. Manual - part 166
HAC-26
< REMOVAL AND INSTALLATION >
[AUTOMATIC AIR CONDITIONER]
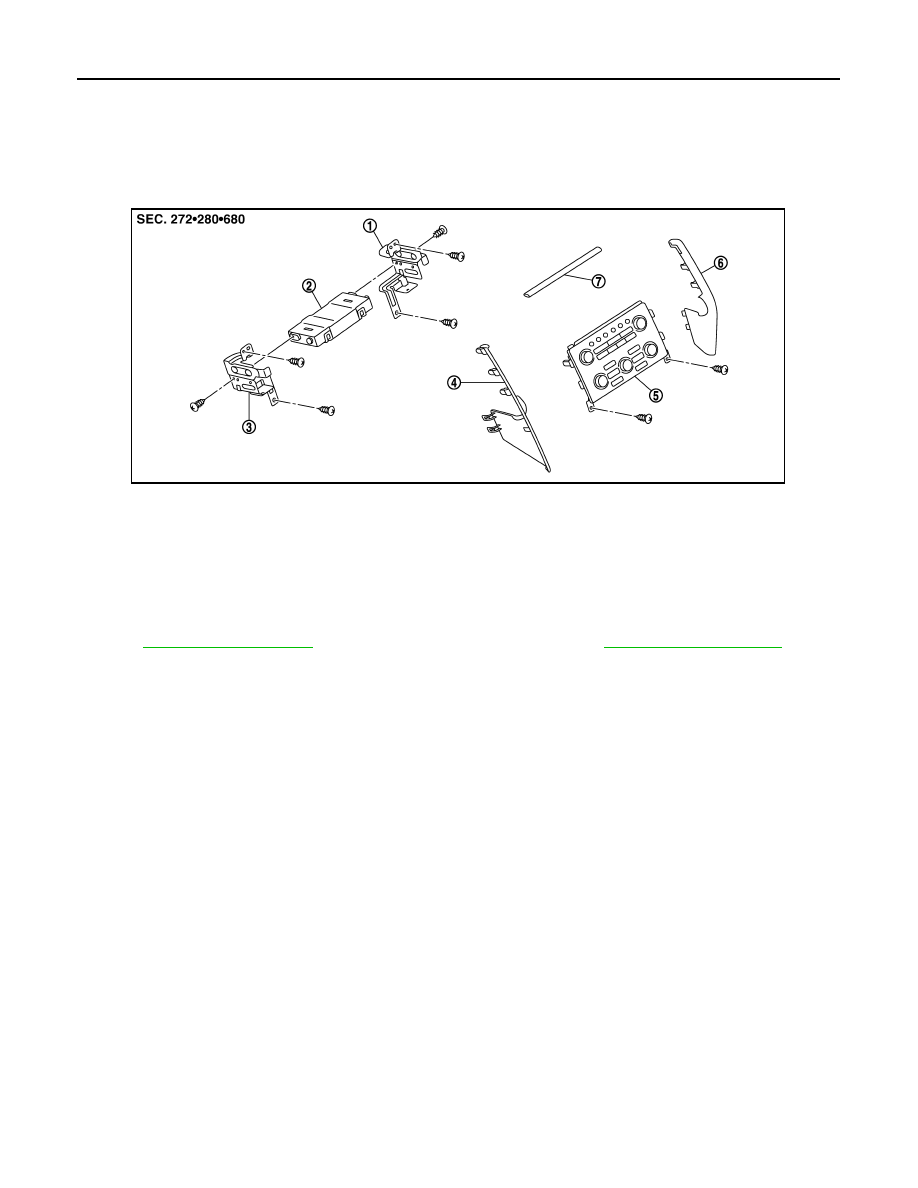
PRESET SWITCH
REMOVAL AND INSTALLATION
PRESET SWITCH
Exploded View
INFOID:0000000009164051
Removal and Installation
INFOID:0000000009164052
REMOVAL
(BASE AUDIO WITH NAVIGATION) or
(BOSE
AUDIO WITH NAVIGATION).
INSTALLATION
Installation is basically the reverse order of removal.
1.
A/C auto amp. bracket RH
2.
A/C auto amp.
3.
A/C auto amp. bracket LH
4.
Instrument panel garnish LH
5.
Preset switch
6.
Instrument panel garnish RH
7.
Instrument panel garnish
NNIIA0061ZZ