содержание .. 105 106 107 108 ..
Nissan GT-R. Manual - part 107
FRONT COMBINATION LAMP
EXL-45
< REMOVAL AND INSTALLATION >
[XENON TYPE]
C
D
E
F
G
H
I
J
K
M
A
B
EXL
N
O
P
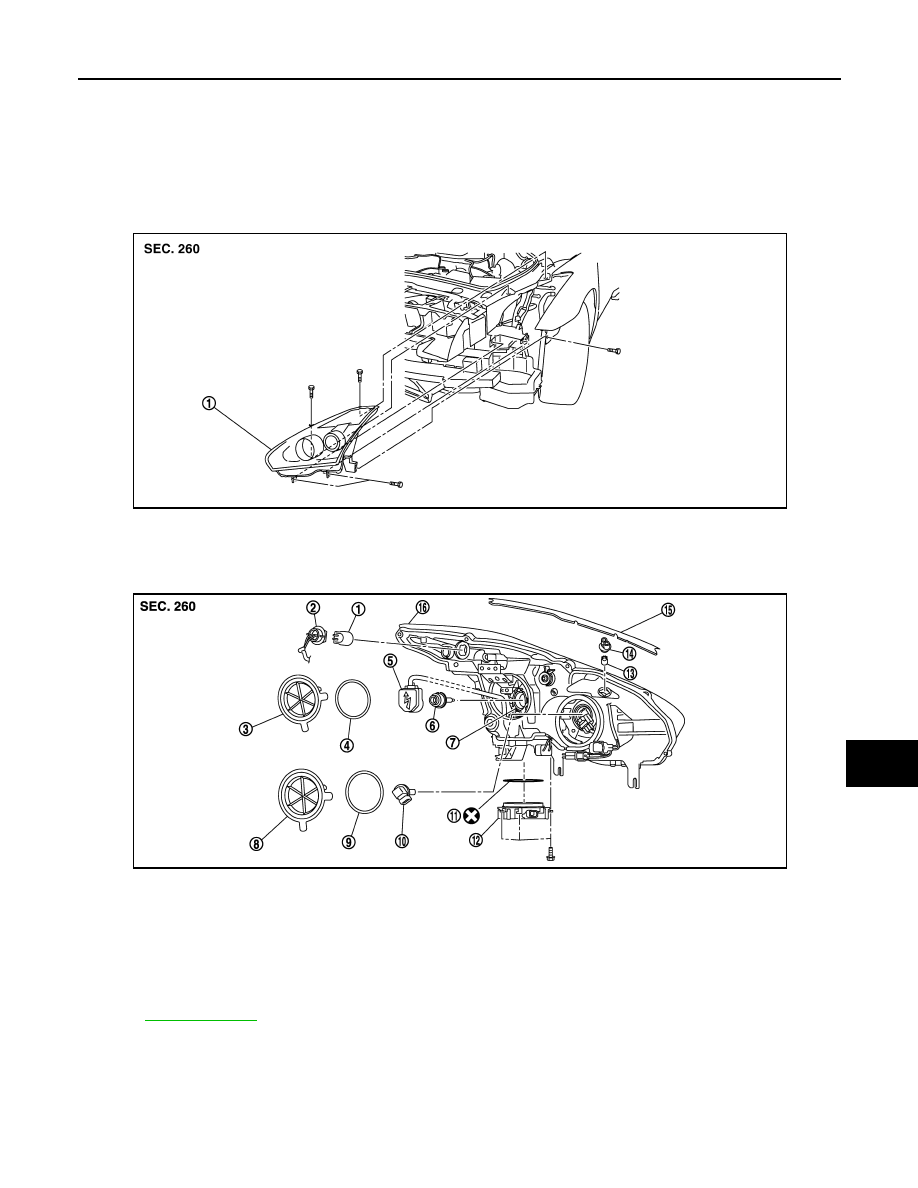
REMOVAL AND INSTALLATION
FRONT COMBINATION LAMP
Exploded View
INFOID:0000000009160379
REMOVAL
DISASSEMBLY
Removal and Installation
INFOID:0000000009160380
REMOVAL
CAUTION:
Disconnect the battery negative terminal or remove the fuse.
1.
Front combination lamp
NNLIA0006ZZ
1.
Front turn signal lamp bulb
2.
Front turn signal lamp bulb socket
3.
Resin cap
4.
Seal packing
5.
Xenon bulb socket
6.
Xenon bulb (LO)
7.
Retaining spring
8.
Resin cap
9.
Seal packing
10.
Halogen bulb (HI)
11. Seal packing
12. HID control unit
13.
Parking lamp bulb
14. Parking lamp bulb socket
15. Rubber seal
16.
Headlamp housing assembly
Refer to
for symbols in the figure.
NNLIB0022ZZ