Nissan Teana J32. Manual - part 487
EM-72
< REMOVAL AND INSTALLATION >
ENGINE ASSEMBLY
• VQ25DE
• VQ35DE
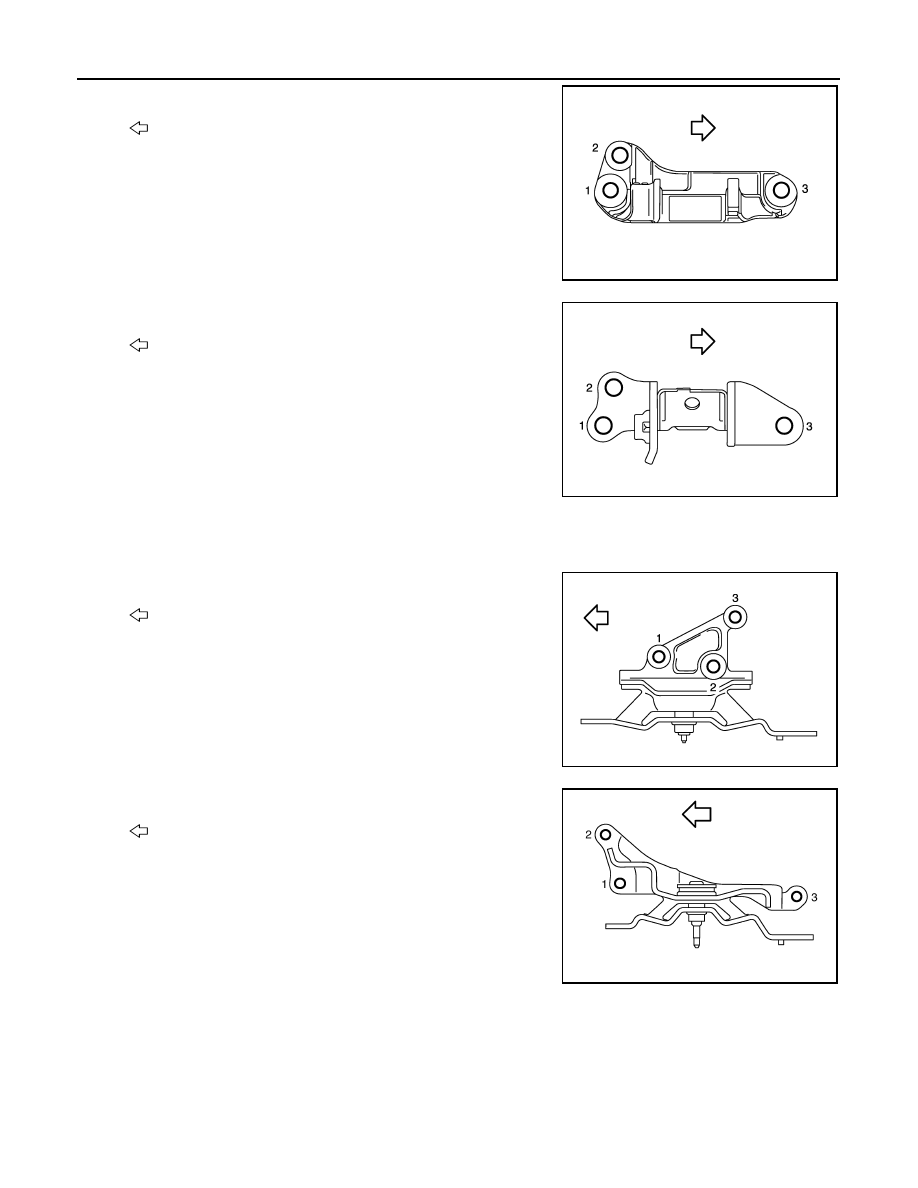
5.
Install the engine mounting insulator (LH) to the transaxle as follows:
a.
Tighten the bolt No. 3 as shown in the figure. (temporarily)
b.
Tighten the bolts in numerical order as shown in the figure. (specified torque)
• VQ25DE
• VQ35DE
6.
Install the engine mounting insulator (front) to the front suspension member as follows:
: Engine front
JPBIA2376ZZ
: Engine front
JPBIA2377ZZ
: Vehicle front
JPBIA2196ZZ
: Vehicle front
JPBIA1734ZZ