Nissan Teana J32. Manual - part 199
AV
FRONT DOOR SPEAKER
AV-651
< ON-VEHICLE REPAIR >
[BOSE AUDIO WITH NAVIGATION]
C
D
E
F
G
H
I
J
K
L
M
B
A
O
P
FRONT DOOR SPEAKER
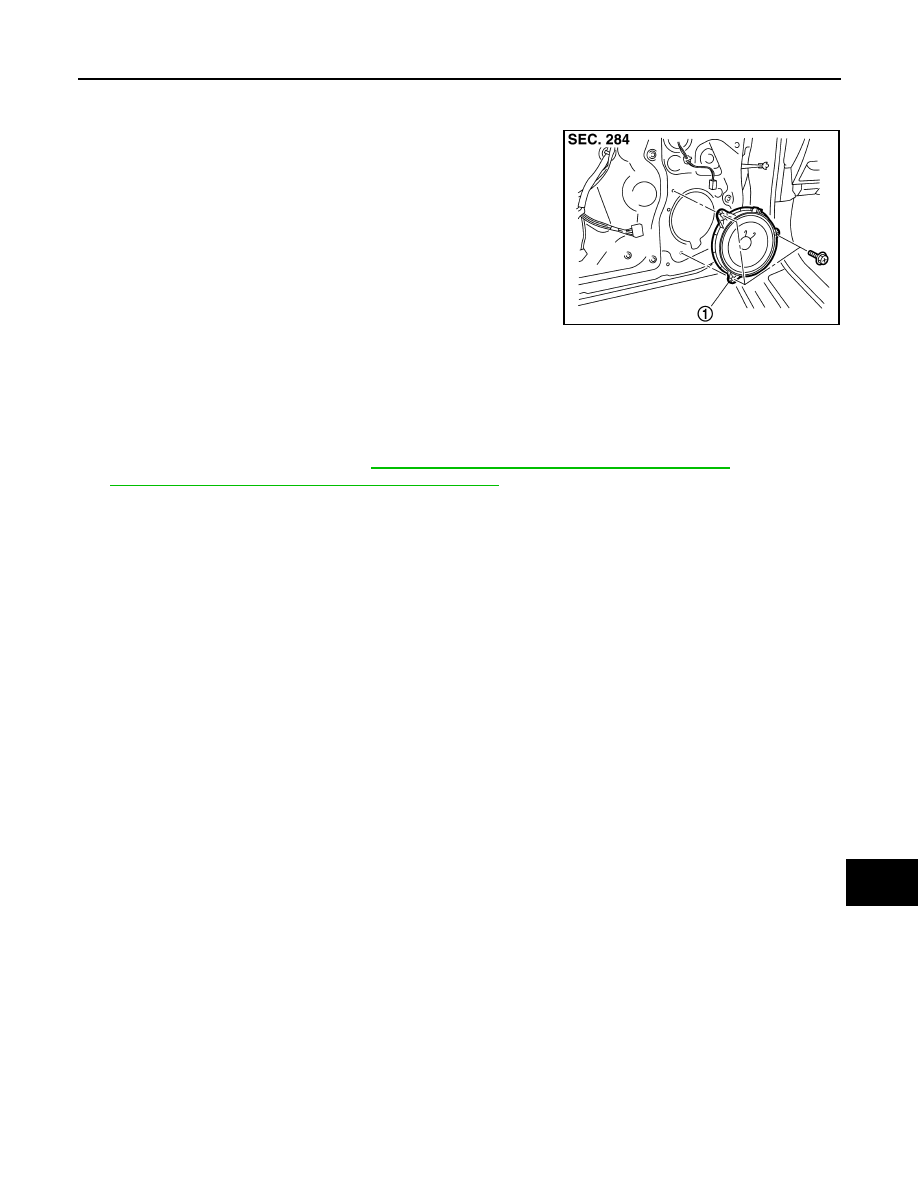
Exploded View
INFOID:0000000003765987
Removal and Installation
INFOID:0000000003765988
REMOVAL
1.
Remove front door finisher. Refer to
INT-30, "DRIVER SIDE : Removal and Installation"
(driver side) or
INT-33, "PASSENGER SIDE : Removal and Installation"
(passenger side).
2.
Remove front door speaker mounting bolts, disconnect the front door speaker connector.
3.
Remove front door speaker.
INSTALLATION
Installation is the reverse order of removal.
JPNIA1036ZZ
1.
Front door speaker