Content .. 1221 1222 1223 1224 ..
Nissan Teana J32. Manual - part 1223
VTL-78
< ON-VEHICLE REPAIR >
[WITH 7 INCH DISPLAY]
PRESET SWITCH
ON-VEHICLE REPAIR
PRESET SWITCH
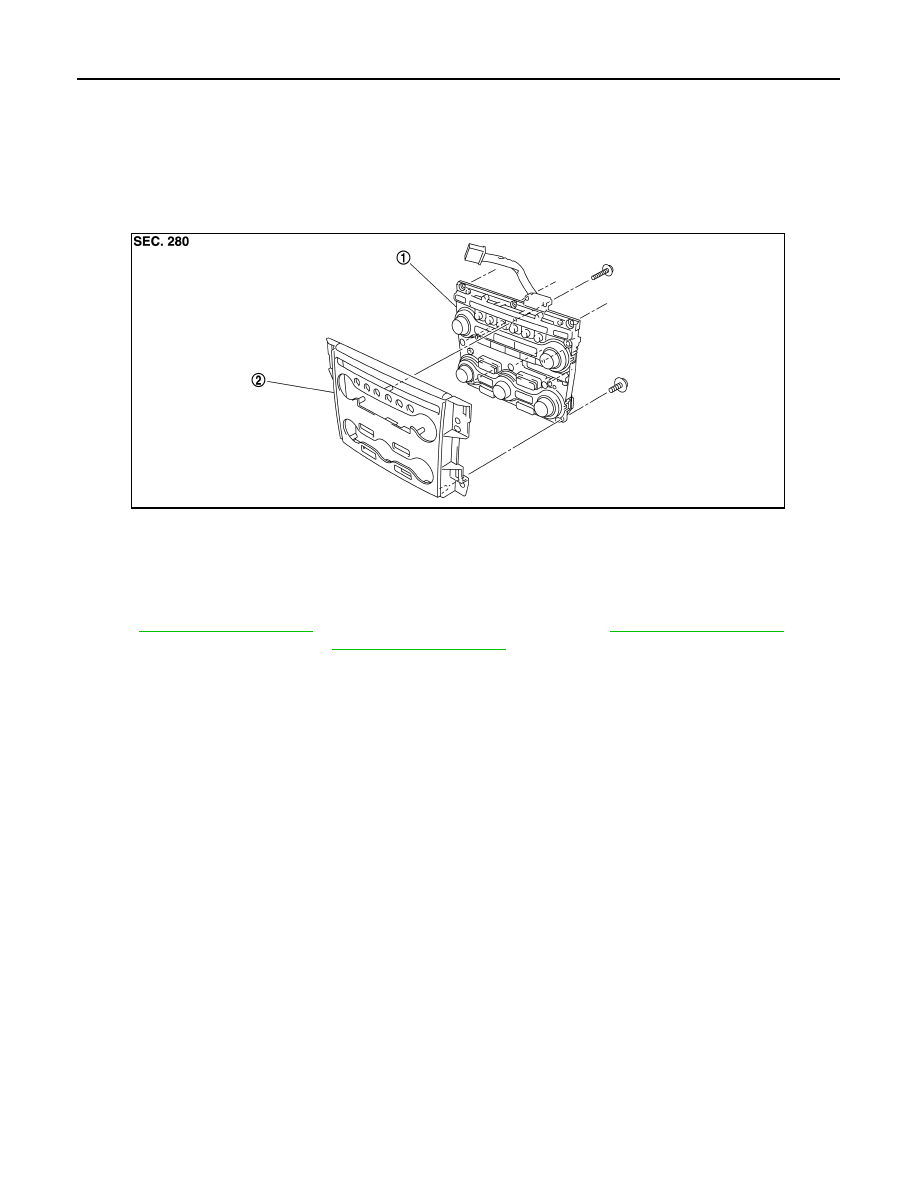
Exploded View
INFOID:0000000003894474
DISASSEMBLY
Removal and Installation
INFOID:0000000003894475
REMOVAL
Refer to
(BASE AUDIO AND DISPLAY SYSTEM),
(BOSE
AUDIO WITHOUT NAVIGATION) or
(BOSE AUDIO WITH NAVIGATION).
INSTALLATION
Installation is basically the reverse order of removal.
1.
Preset switch
2.
Cluster lid C
JPNIA1044ZZ