Nissan Teana J32. Manual - part 80
AV
ANTENNA AMP.
AV-175
< ON-VEHICLE REPAIR >
[BASE AUDIO AND DISPLAY SYSTEM]
C
D
E
F
G
H
I
J
K
L
M
B
A
O
P
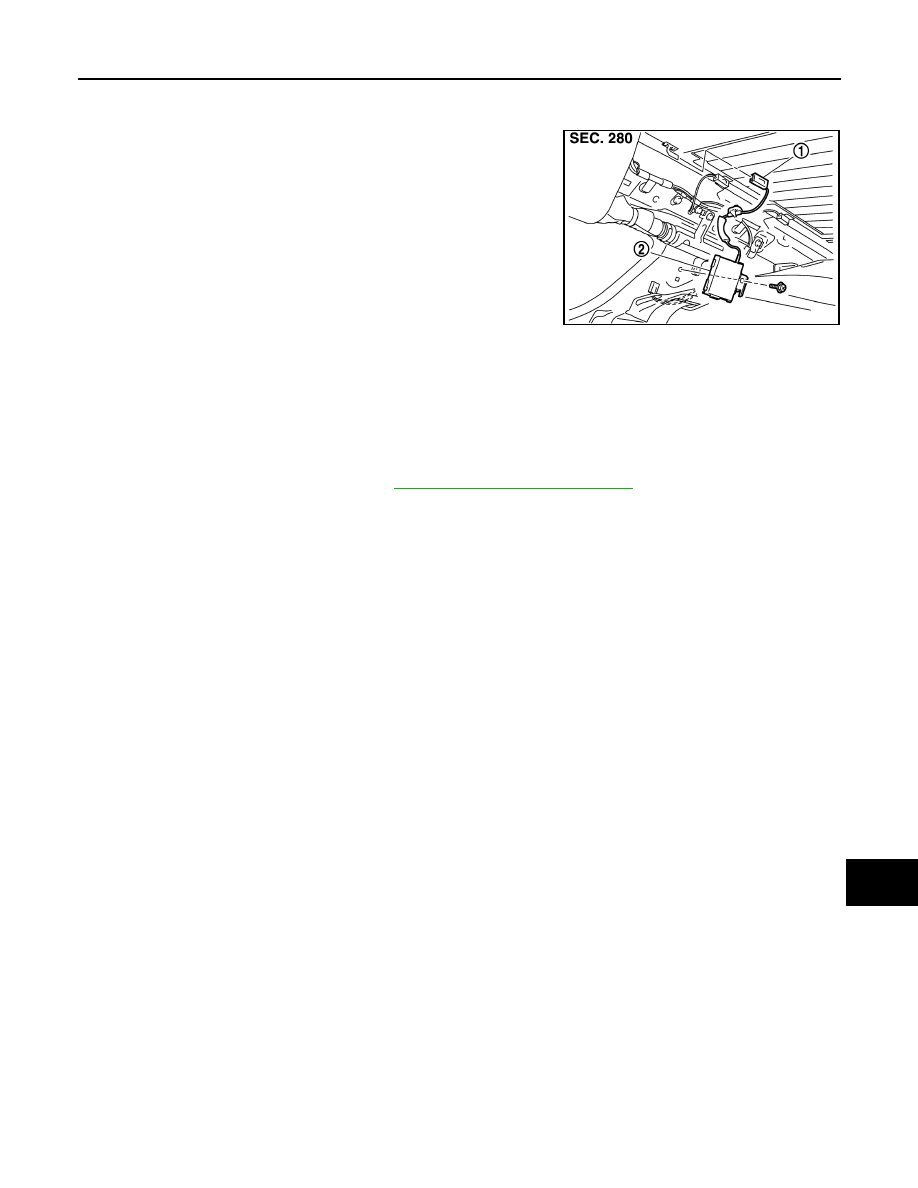
ANTENNA AMP.
Exploded View
INFOID:0000000003940164
Removal and Installation
INFOID:0000000003940165
REMOVAL
1.
Remove rear side pillar finisher. Refer to
INT-39, "Removal and Installation"
.
2.
Disconnect antenna feeder connector and clip.
3.
Remove antenna amp. mounting nut, disconnect the antenna amp. connector.
4.
Remove antenna amp.
INSTALLATION
Installation is the reverse order of removal.
JPNIA1032ZZ
1.
AM-FM main connector
2.
Antenna amp.