содержание .. 774 775 776 777 ..
Nissan Murano Z51. Manual - part 776
EXT-38
< REMOVAL AND INSTALLATION >
DOOR PARTING SEAL
DOOR PARTING SEAL
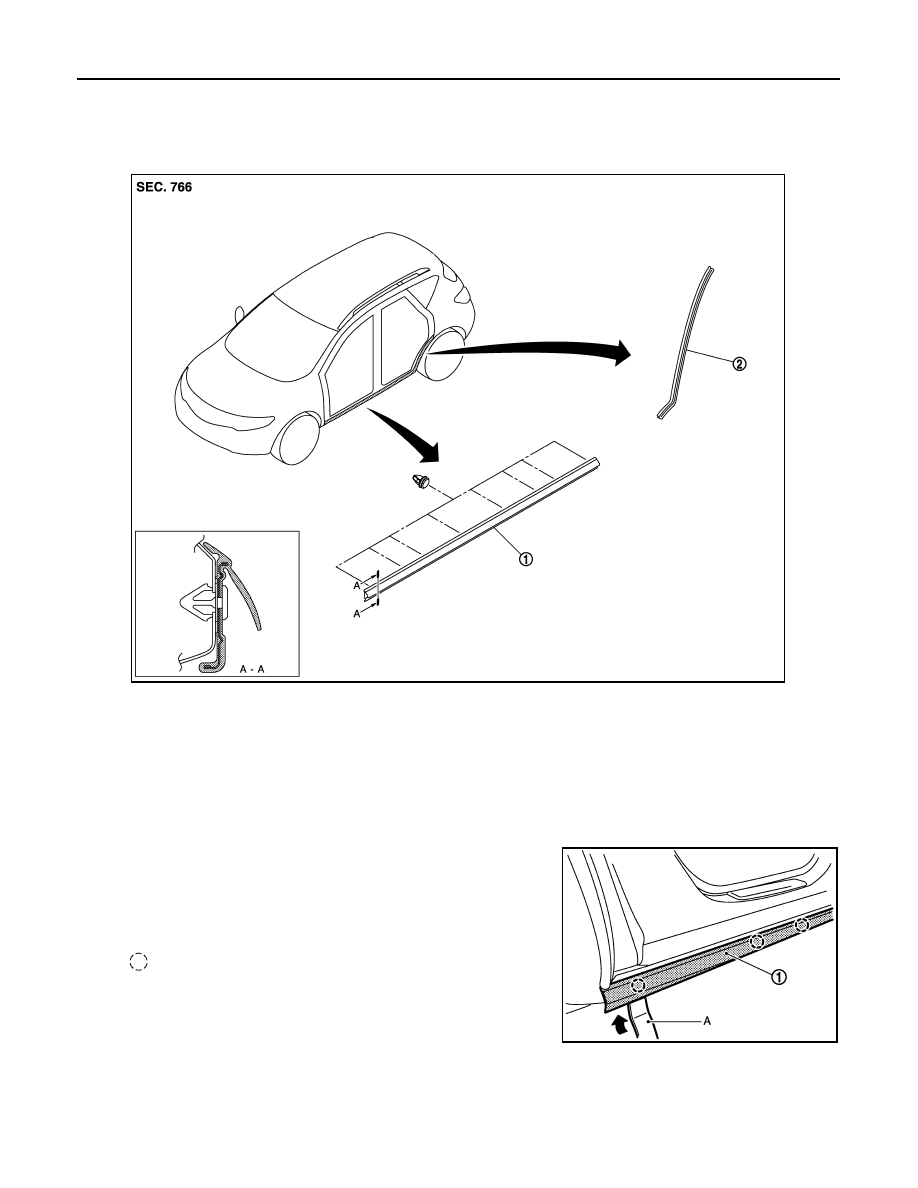
Exploded View
INFOID:0000000005516294
Removal and Installation
INFOID:0000000005516295
REMOVAL
DOOR PARTING SEAL
1.
Fully open front door.
2.
Using a remover tool (A), disengage the clips from the door part-
ing seal (1).
CAUTION:
• Disengage the clips slowly and carefully.
• Never pull the door parting seal strongly.
3.
Remove front door parting seal.
REAR DOOR PARTING SEAL
1.
Fully open rear door.
1.
Door parting seal
2.
Rear door parting seal
JMKIA2028ZZ
: Clip
JMKIA2029ZZ