Nissan Murano. Manual - part 690


  Главная      Nissan     Nissan Murano (2014 year) - Service Manual


поиск по сайту            


содержание   ..  688  689  690  691   ..


Nissan Murano. Manual - part 690


EXL-172

< PRECAUTION >

[XENON TYPE]

PRECAUTIONS

• Never touch the bulb glass immediately after turning it OFF. It is extremely hot. 

CAUTION:

Comply with the following cautions to prevent any error and malfunction.
• Install the xenon bulb securely. (Insufficient bulb socket installation may melt the bulb, the connec-

tor, the housing, etc. by high-voltage leakage or corona discharge.)

• Never perform HID circuit inspection with a tester.
• Never touch the xenon bulb glass with hands. Never put oil and grease on it.
• Dispose of the used xenon bulb after packing it in thick vinyl without breaking it. 
• Never wipe out dirt and contamination with organic solvent (thinner, gasoline, etc.).

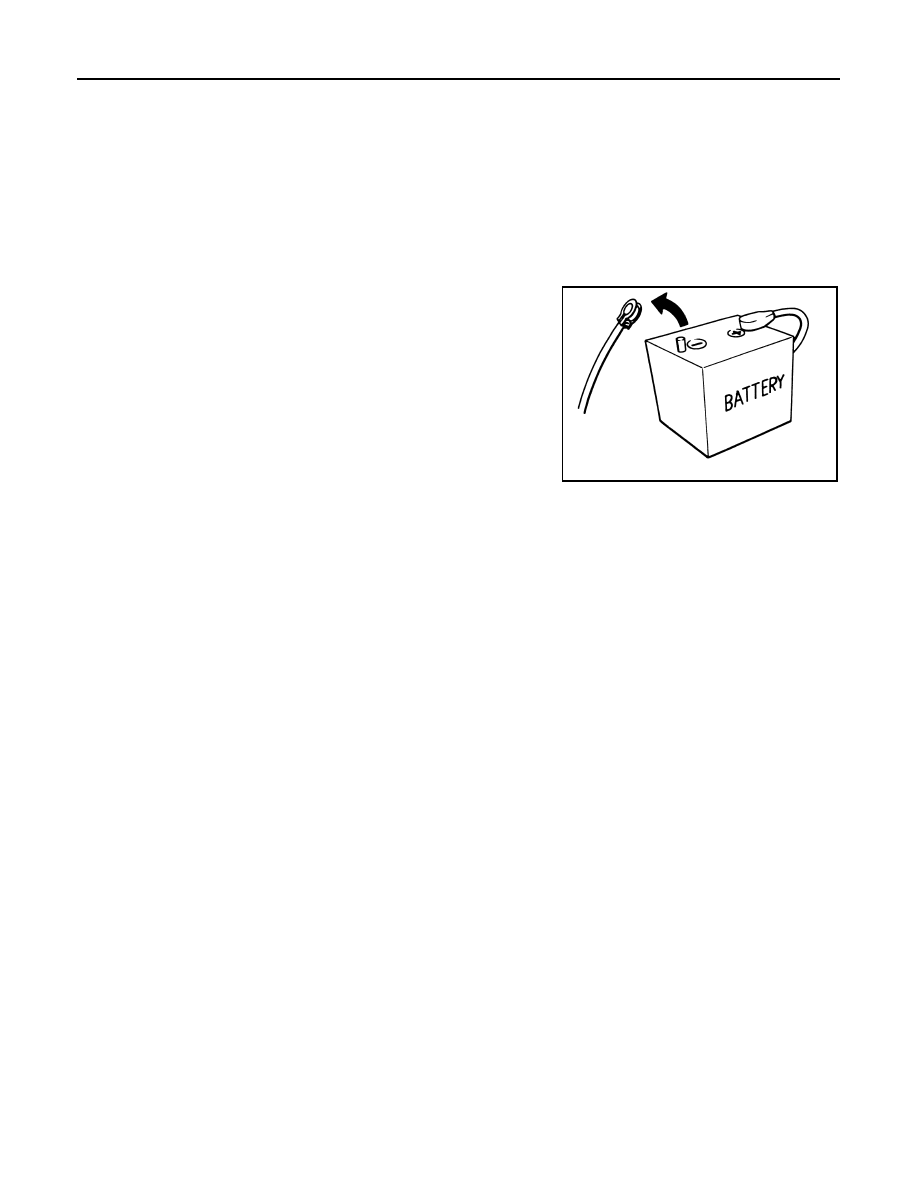
FOR MEXICO : Precautions for Removing of Battery Terminal

INFOID:0000000010028703

•  When removing the 12V battery terminal, turn OFF the ignition

switch and wait at least 30 seconds.
NOTE:
ECU may be active for several tens of seconds after the ignition
switch is turned OFF. If the battery terminal is removed before ECU
stops, then a DTC detection error or ECU data corruption may
occur.

•  For vehicles with the 2-batteries, be sure to connect the main bat-

tery and the sub battery before turning ON the ignition switch.
NOTE:
If the ignition switch is turned ON with any one of the terminals of
main battery and sub battery disconnected, then DTC may be
detected.

•  After installing the 12V battery, always check "Self Diagnosis Result" of all ECUs and erase DTC.

NOTE:
The removal of 12V battery may cause a DTC detection error.

SEF289H

HEADLAMP AIMING ADJUSTMENT

EXL-173

< PERIODIC MAINTENANCE >

[XENON TYPE]

C

D

E

F

G

H

I

J

K

M

A

B

EXL

N

O

P

PERIODIC MAINTENANCE

HEADLAMP AIMING ADJUSTMENT

Description

INFOID:0000000009722957

PREPARATION BEFORE ADJUSTING

NOTE:
• For details, refer to the regulations in your own country.
• Perform aiming if the vehicle front body has been repaired and/or the front combination lamp assembly has

been replaced.

Before performing aiming adjustment, check the following. 

• Adjust the tire pressure to the specification.
• Fill with fuel, engine coolant and each oil.
• Maintain the unloaded vehicle condition. (Remove luggage from the passenger compartment and the lug-

gage room.)
NOTE:
Do not remove the temporary tire, jack and on-vehicle tool. 

• Wipe out dirt on the headlamp.

CAUTION:

Never use organic solvent (thinner, gasoline etc.)

• Ride alone on the driver seat.
• Headlamp aiming switch sets to “0”.

AIMING ADJUSTMENT SCREW

JPLIA0810ZZ

A.

Headlamp RH (UP/DOWN) adjust-
ment screw

B.

Headlamp LH (UP/DOWN) adjust-
ment screw

: Vehicle center

EXL-174

< PERIODIC MAINTENANCE >

[XENON TYPE]

HEADLAMP AIMING ADJUSTMENT

Aiming Adjustment Procedure

INFOID:0000000009722958

1.

Place the screen.
NOTE:
• Stop the vehicle facing the wall.
• Place the board on a plain road vertically.

2.

Face the vehicle with the screen. Maintain 10 m (32.8 ft) between the headlamp bulb center and the
screen.

3.

Start the engine. Turn the headlamp (LO) ON.
NOTE:
Shut off the headlamp light with the board to prevent from illuminating the adjustment screen.

CAUTION:

Never cover the lens surface with a tape etc. The lens is made of resin.

4.

Measure the distance (X) between the horizontal center line of headlamp (H) and the cutoff line (A) within
the light axis measurement range (R) from the vertical center line ahead of headlamp (V).

Low beam distribution on the screen 

5.

Adjust the cutoff line height (X) with the aiming adjustment screw so as to enter in the adjustment range
(M–N) according to the horizontal center line of headlamp (H).

unit: mm (in)

Side view

Adjustment screw

Screw driver rotation

Facing direction

A

Headlamp RH (UP/DOWN)

Clockwise

DOWN

Counterclockwise

UP

B

Headlamp LH (UP/DOWN)

Clockwise

DOWN

Counterclockwise

UP

Light axis measurement range (R)

: 350 

±

 175 mm (13.78 

±

 6.89 in)

JSLIA0005ZZ

Horizontal center line of headlamp (H)

Highest cutoff line height (M)

Lowest cutoff line height (N)

700 (27.56) or less

4 (0.16)

30 (1.18)

701(27.60) – 800 (31.50)

4 (0.16)

30 (1.18)

801 (31.54) or more

17 (0.67)

44 (1.73)

JSLIA0006ZZ

HEADLAMP AIMING ADJUSTMENT

EXL-175

< PERIODIC MAINTENANCE >

[XENON TYPE]

C

D

E

F

G

H

I

J

K

M

A

B

EXL

N

O

P

Distance between the headlamp 
center and the screen (L)

: 10 m (32.8 ft)


содержание   ..  688  689  690  691   ..