содержание .. 600 601 602 603 ..
Nissan X-Trail 32. Manual - part 602
FRONT DOOR
DLK-749
< REMOVAL AND INSTALLATION >
[TYPE 3]
C
D
E
F
G
H
I
J
L
M
A
B
DLK
N
O
P
Note the following items, and then install in the reverse order of removal.
CAUTION:
• Apply anticorrosive agent onto the mounting surface.
• After installation, perform the fitting adjustment. Refer to
DLK-746, "DOOR ASSEMBLY : Adjust-
• After installation, apply touch-up paint (the body color) onto the head of door hinge mounting bolts.
• After installation, check that door opens and closes normally. Refer to
.
DOOR CHECK LINK
DOOR CHECK LINK : Removal and Installation
INFOID:0000000010728558
REMOVAL
1.
Fully close front door glass.
2.
Remove front door finisher. Refer to
INT-14, "Removal and Installation"
3.
Disconnect harness connector of front door speaker.
4.
Remove mounting bolts of front door speaker, and then remove front door speaker.
5.
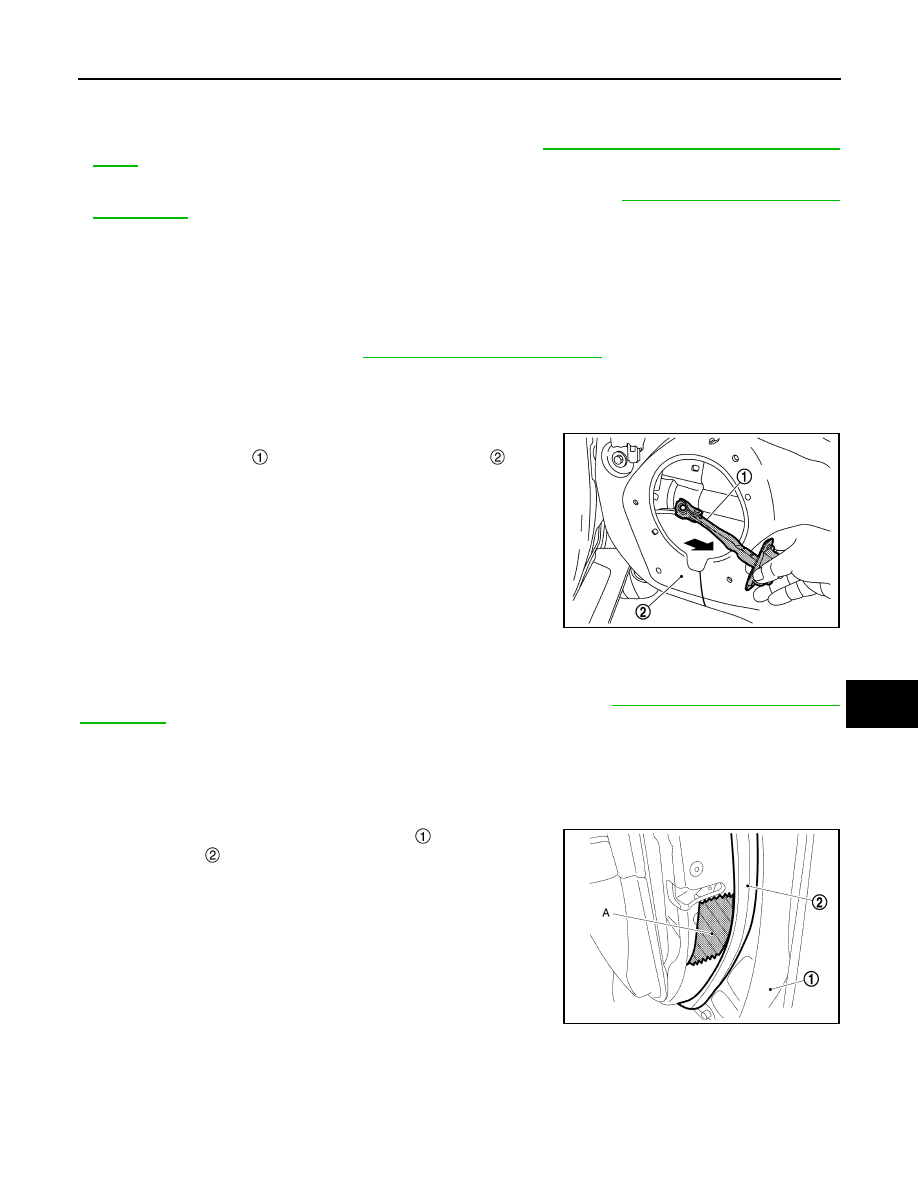
Remove door check link mounting bolt of vehicle body side.
6.
Remove door check link mounting bolts of door panel, and then
take door check link
out from the hole of door panel
.
INSTALLATION
Note the following item, and then install in the reverse order of removal.
CAUTION:
After installation, check that door opens and closes normally. Refer to
.
DOOR WEATHER-STRIP
DOOR WEATHER-STRIP : Removal and Installation
INFOID:0000000010728559
REMOVAL
1.
Apply protective tape (A) to front door panel
around front door
weather-strip
fixing clips for preventing damage.
JMKIB3021ZZ
JMKIB2225ZZ