содержание .. 1575 1576 1577 1578 ..
Nissan X-Trail 32. Manual - part 1577
INSIDE MIRROR
MIR-23
< REMOVAL AND INSTALLATION >
C
D
E
F
G
H
I
J
K
M
A
B
MIR
N
O
P
REMOVAL AND INSTALLATION
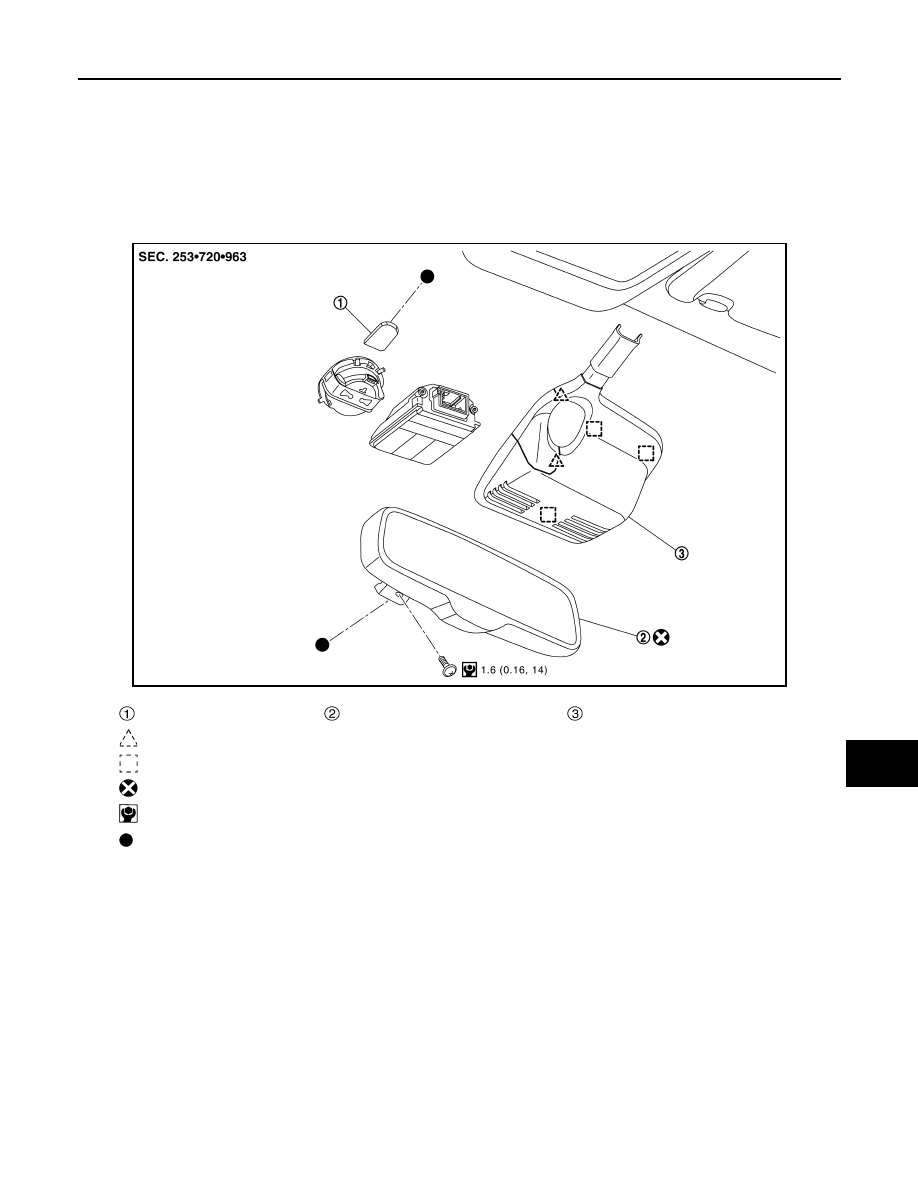
INSIDE MIRROR
Exploded View
INFOID:0000000011008297
AUTO ANTI-DAZZLING
With front camera unit
JMLIA5420GB
Inside mirror base
Inside mirror assembly
Camera/sensor cover
: Pawl
: Metal clip
: Always replace after every disassembly.
: N·m (kg-m, in-lb)
: Indicates that the part is connected at points with same symbol in actual vehicle.