содержание .. 1548 1549 1550 1551 ..
Nissan X-Trail 32. Manual - part 1550
LU-36
< PREPARATION >
[R9M]
PREPARATION
PREPARATION
PREPARATION
Special Service Tools
INFOID:0000000010783320
Commercial Service Tools
INFOID:0000000011004695
NISSAN tool number
(RENAULT tool number)
Tool name
Description
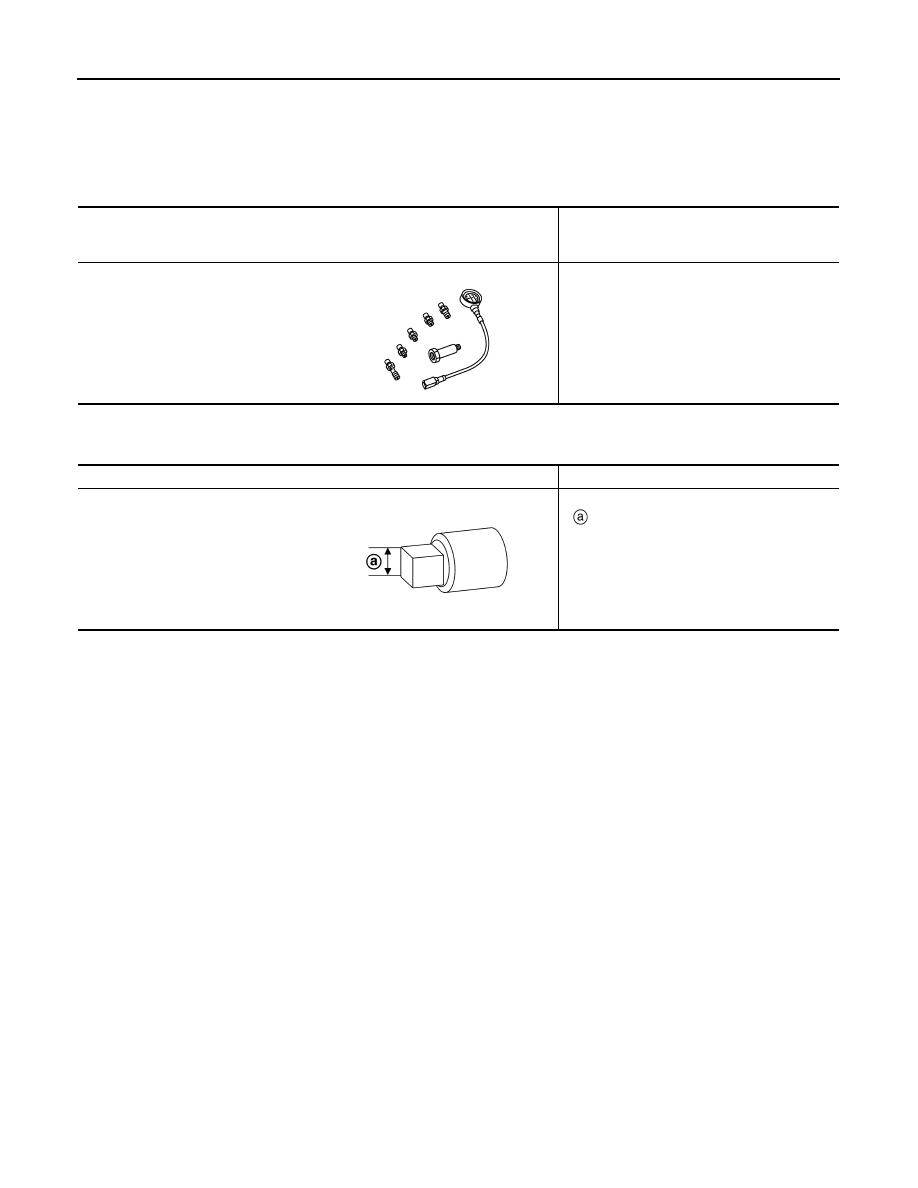
KV113E0020
(Mot.836-05)
Oil pressure gauge set
Measuring oil pressure
JPBIA0949ZZ
Tool name
Description
Drain plug wrench
Removing and installing drain plug
: 8 mm (0.315 in)
JPBIA5904ZZ