содержание .. 1353 1354 1355 1356 ..
Nissan X-Trail 32. Manual - part 1355
COOLER PIPE AND HOSE
HA-79
< REMOVAL AND INSTALLATION >
[MR20DD]
C
D
E
F
G
H
J
K
L
M
A
B
HA
N
O
P
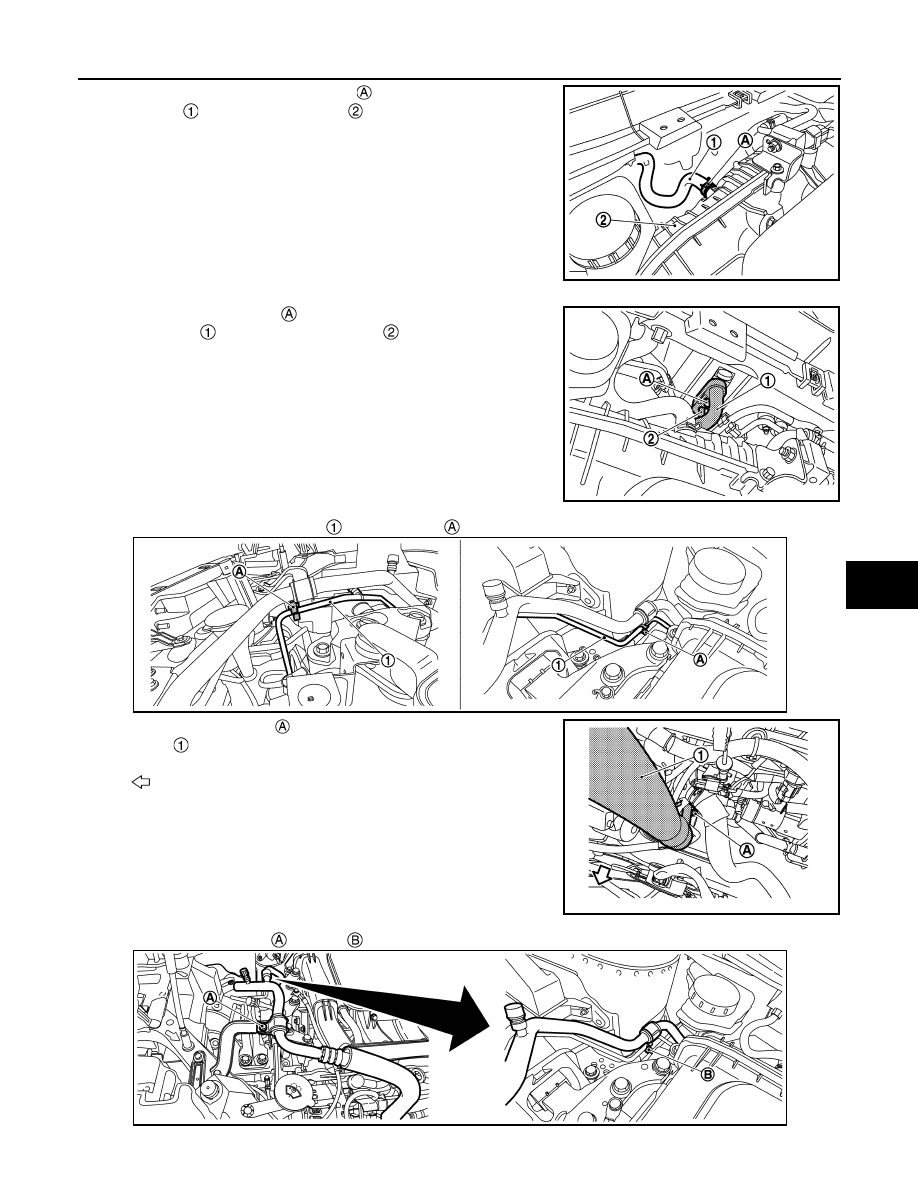
3.
Remove vacuum hose fixing clamp
, and then disconnect vac-
uum hose
from intake manifold
.
4.
Remove mounting bolt
, and then disconnect low-pressure
flexible hose
and high-pressure pipe
from expansion valve.
CAUTION:
Cap or wrap the joint of the A/C piping and expansion valve
with suitable material such as vinyl tape to avoid the entry
of air.
5.
Disconnect high-pressure pipe
from tube clip
.
6.
Remove mounting bolt
, and then remove low-pressure flexi-
ble hose
from compressor.
CAUTION:
Cap or wrap the joint of the A/C piping and compressor with
suitable material such as vinyl tape to avoid the entry of air.
7.
Remove mounting bolt
and nut
, and then remove low-pressure flexible hose from the vehicle.
JMIIA3401ZZ
JMIIA3323ZZ
: Vehicle front
JMIIA3346ZZ
JMIIA3324ZZ
JMIIA3347ZZ