Nissan Qashqai J11. Manual - part 998
SB-6
< REMOVAL AND INSTALLATION >
FRONT SEAT BELT
REMOVAL AND INSTALLATION
FRONT SEAT BELT
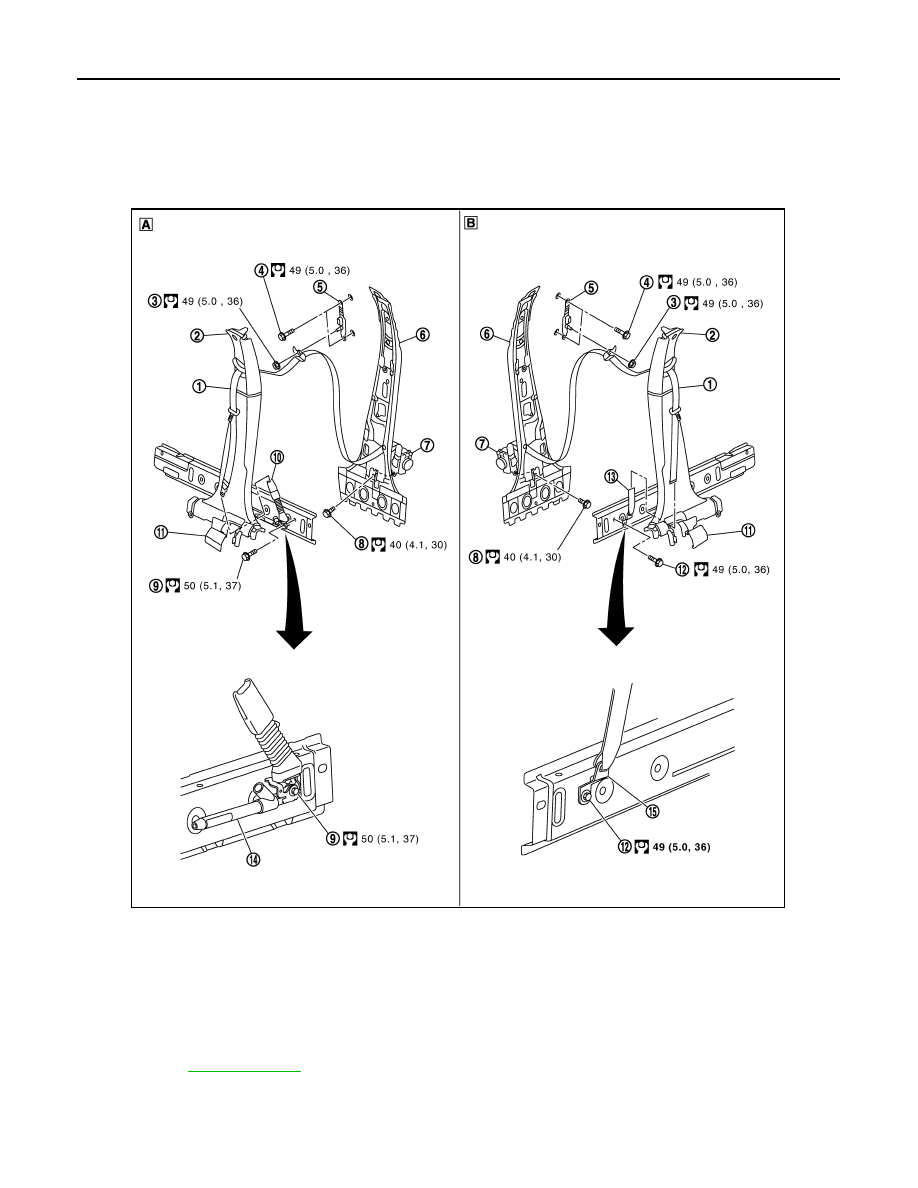
Exploded View
INFOID:0000000010478340
SEAT BELT RETRACTOR
1.
Front seat belt
2.
Center pillar lower and upper
garnish assembly
3.
D-ring anchor fixing nut
4.
Seat belt height adjuster fixing
bolt
5.
Seat belt height adjuster
6.
Center pillar
7.
Seat belt retractor
8.
Seat belt retractor bolt
9.
Seat belt buckle bolt
10. Seat belt buckle
11.
Cover
12. Anchor plate fixing bolt
13. Seat belt label
14. Pre-tensioner
15. Anchor plate
for symbols in the figure
E1HIA0037GB