Nissan Qashqai J11. Manual - part 790
DLN-76
< UNIT REMOVAL AND INSTALLATION >
[TRANSFER: TY21C]
TRANSFER ASSEMBLY
UNIT REMOVAL AND INSTALLATION
TRANSFER ASSEMBLY
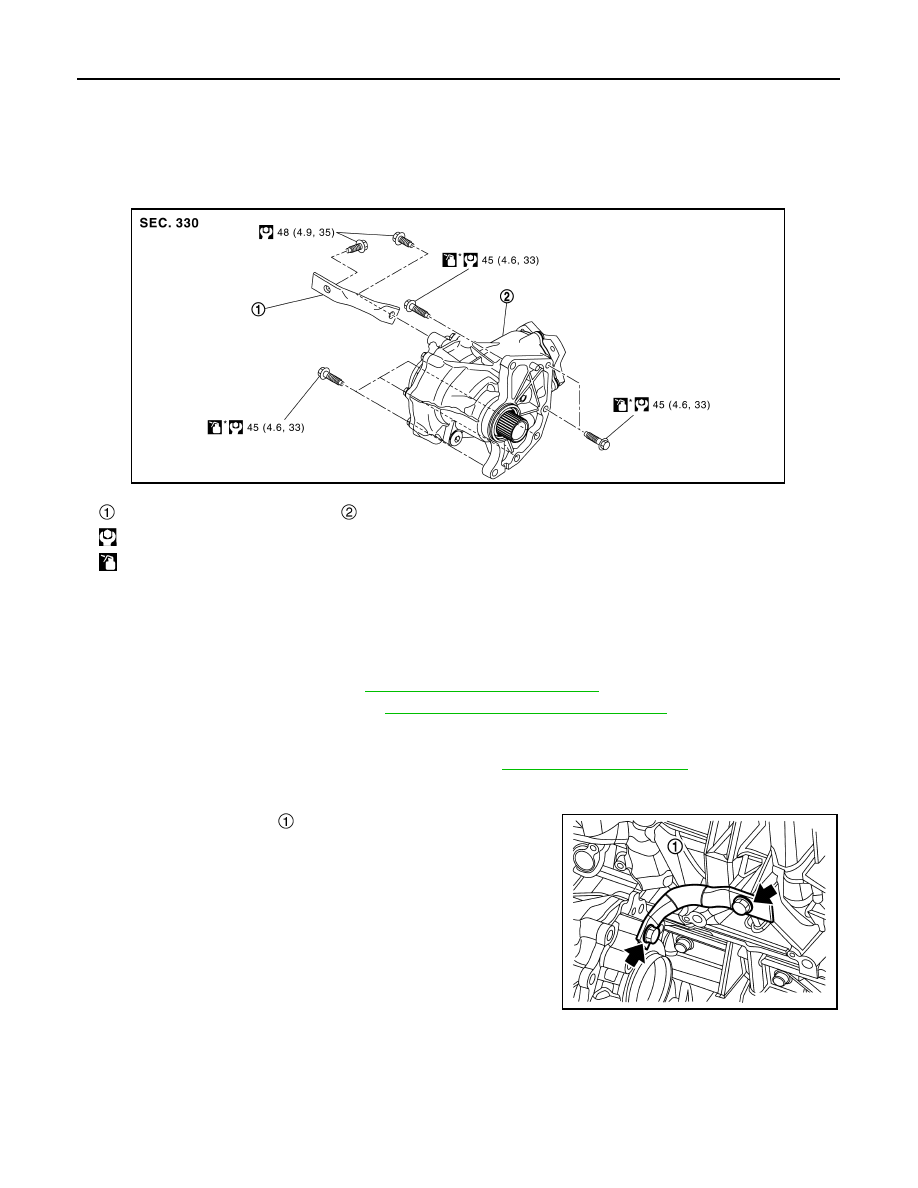
Exploded View
INFOID:0000000010755191
Removal and Installation
INFOID:0000000010755192
REMOVAL
MR20DD
1.
Remove exhaust front tube. Refer to
EX-11, "Removal and Installation"
.
2.
Remove front drive shaft (RH). Refer to
FAX-63, "Removal and Installation (RH)"
CAUTION:
Oil may leak from the opening. Use cap and/or plug to prevent leakage.
3.
Remove propeller shaft from transfer assembly. Refer to
.
CAUTION:
The joint of propeller shaft must be handled with care.
4.
Remove transfer gusset
.
5.
Remove transfer assembly from transaxle assembly.
CAUTION:
• Never damage ring gear shaft.
• Be careful when removing transfer assembly form the
vehicle because it is heavy.
INSTALLATION
Note the following, and install in the reverse order of removal.
Transfer gusset (MR20DD)
Transfer assembly
: N·m (kg-m, ft-lb)
*: Apply anti-corrosion oil.
JSDIA5353GB
JSDIA5358ZZ