Content .. 1418 1419 1420 1421 ..
Nissan Qashqai J11. Manual - part 1420
BACK DOOR
DLK-949
< REMOVAL AND INSTALLATION >
[TYPE 6]
C
D
E
F
G
H
I
J
L
M
A
B
DLK
N
O
P
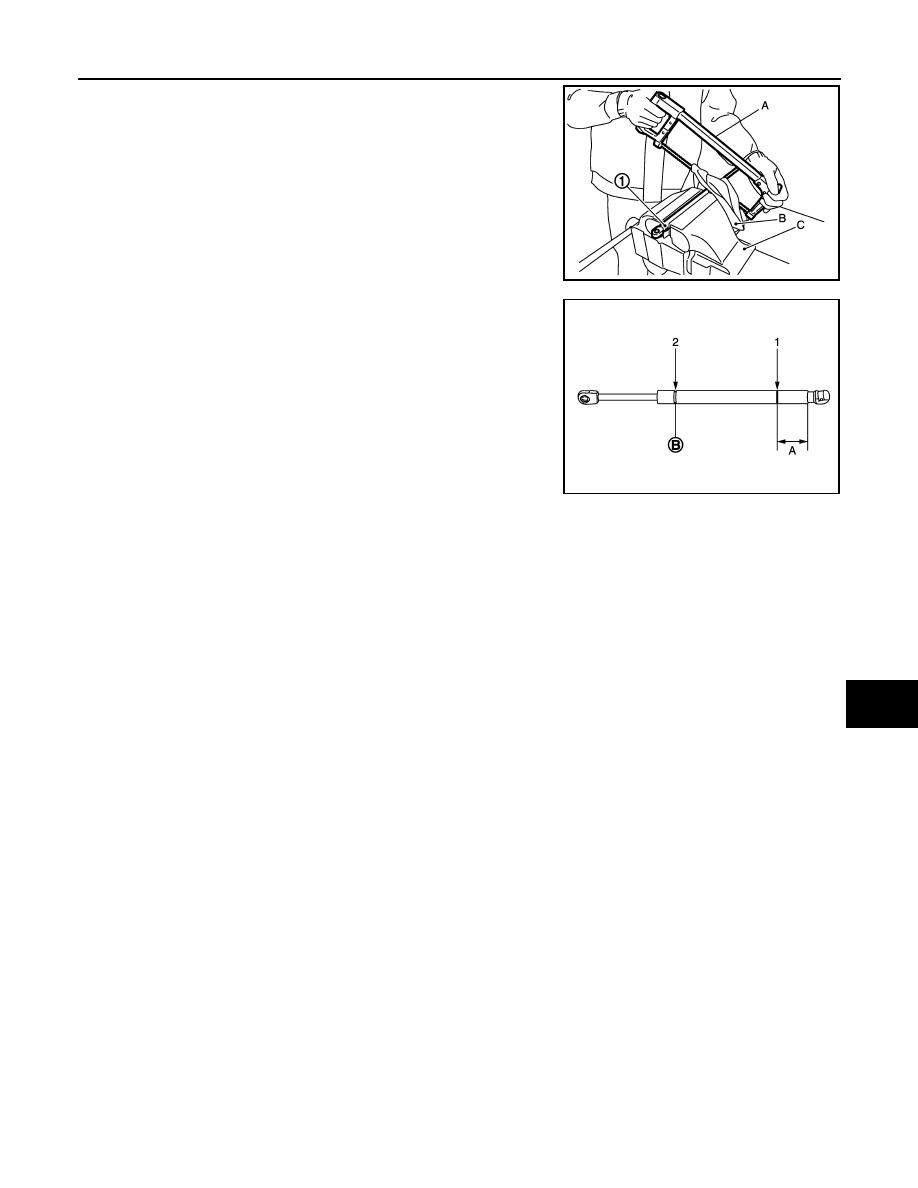
1.
Fix back door stay (1) using a vise (C)
CAUTION:
When cutting a hole on back door stay, always cover a
hacksaw (A) using a shop cloth (B) to avoid scattering
metal fragments or oil.
2.
Slowly cut a hole and drain the gas in the order of 1
→
2 as
shown in the figure using a hacksaw at 2 positions of (1) and (2).
BACK DOOR WEATHER-STRIP
BACK DOOR WEATHER-STRIP : Removal and Installation
INFOID:0000000010678884
REMOVAL
Pull up and remove engagement with body from weather-strip joint.
CAUTION:
Never pull strongly on weather-strip.
INSTALLATION
1.
Working from the upper section, align weather-strip center mark with vehicle center position mark and
install weather-strip onto the vehicle.
2.
For the lower section, align the weather-strip seam with center of back door striker.
3.
Pull weather-strip gently to ensure that there is no loose section.
CAUTION:
Securely fit each corner.
JMKIA3336ZZ
A
: 20 mm (0.787 in)
B
: Cat at the groove
JMKIA3609ZZ