Nissan Juke F15. Manual - part 236
DLK-124
< REMOVAL AND INSTALLATION >
[WITH INTELLIGENT KEY SYSTEM]
HOOD
REMOVAL AND INSTALLATION
HOOD
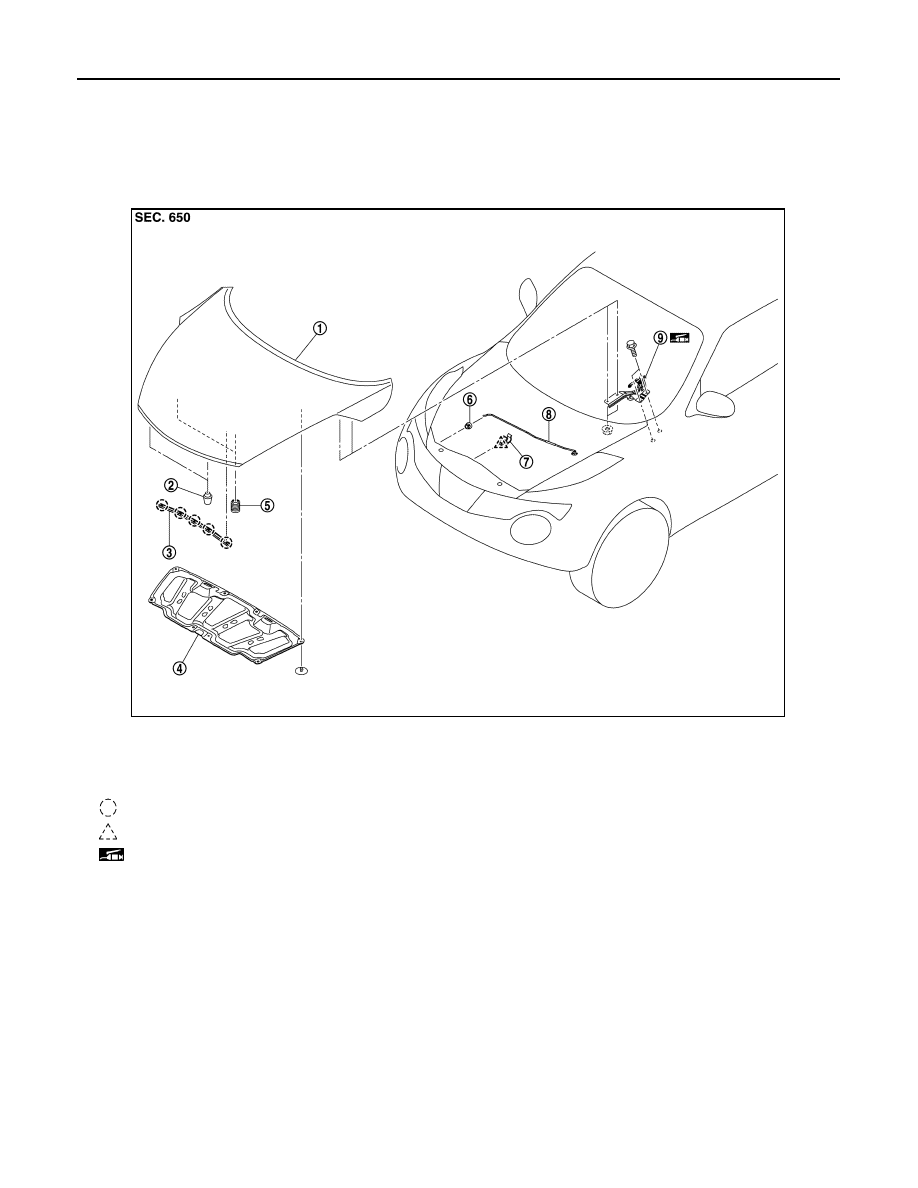
Exploded View
INFOID:0000000012196700
HOOD ASSEMBLY
HOOD ASSEMBLY : Removal and Installation
INFOID:0000000012196701
CAUTION:
• Operate with two workers, because of its heavy weight.
• Use protective tape or shop cloth to protect from damage during removal and installation.
REMOVAL
1. Support hood assembly with the proper material to prevent it from falling.
WARNING:
Injury may occur if hood assembly is not supported by the proper material when removing hood
assembly.
2. Remove hood hinge mounting nuts on the hood to remove the hood assembly.
1.
Hood assembly
2.
Hood bumper rubber
3.
Radiator core seal
4.
Hood insulator
5.
Hood bumper rubber
6.
Grommet
7.
Clamp
8.
Hood support rod
9.
Hood hinge
: Clip
: Pawl
: Body grease
JMKIA6518ZZ