Nissan Juke F15. Manual - part 1152


  Index      Nissan     Nissan Juke F15 (2015 year) - Service and Repair Manual


Search            


Content   ..  1150  1151  1152  1153   ..


Nissan Juke F15. Manual - part 1152


PREPARATION

SR-5

< PREPARATION >

C

D

E

F

G

I

J

K

L

M

A

B

SR

N

O

P

PREPARATION

PREPARATION

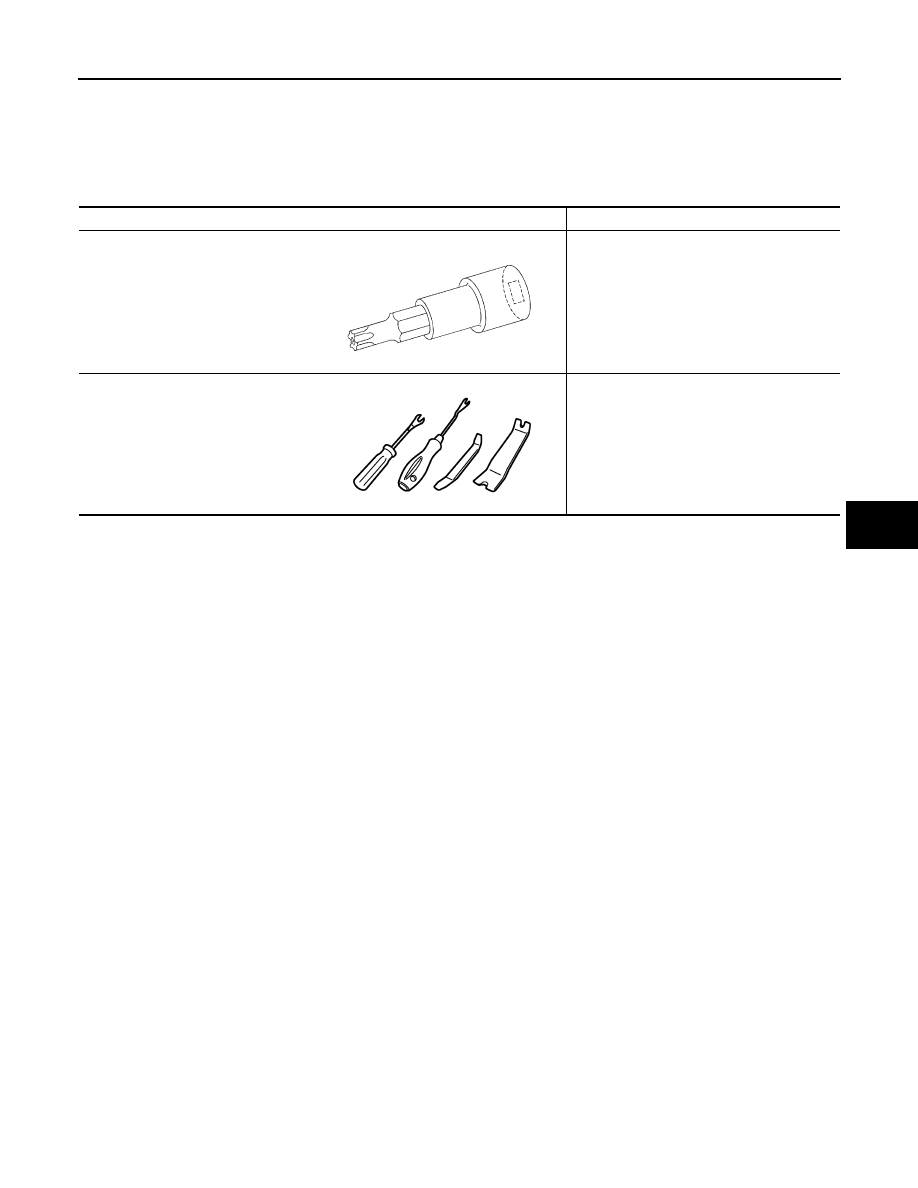
Commercial Service Tools

INFOID:0000000012990050

Tool name

Description

Tamper resistant TORX bit

Removes tool of driver air bag module and/or 
Diagnosis sensor unit

Remover tool

Removes clips, pawls and metal clips

S-NT757

JMKIA3050ZZ

SR-6

< BASIC INSPECTION >

COLLISION DIAGNOSIS

BASIC INSPECTION

COLLISION DIAGNOSIS

FOR FRONTAL COLLISION
FOR FRONTAL COLLISION : When SRS is activated in a collision

INFOID:0000000012199965

CAUTION:

Due to varying models and option levels, not all parts listed in the chart below apply to all vehicles.

WORK PROCEDURE

1. Before performing any of the following steps, ensure that all vehicle body and structural repairs have been

completed.

2. Replace the diagnosis sensor unit.
3. Remove the front air bag modules, crash zone sensor, bracket and seat belt pre-tensioner assemblies.
4. Check the SRS components using the table below:

Replace any SRS components showing visible signs of damage. (dents, cracks and deformation, etc.)

5. Install new front air bag modules, crash zone sensor assembly, bracket and seat belt pre-tensioner

assemblies.

6. Perform self-diagnosis using CONSULT or air bag warning lamp. Refer to 

SRC-15, "CONSULT Function"

or 

SRC-10, "On Board Diagnosis Function"

 for details. Ensure entire SRS operates properly.

7. After the work is completed, perform self-diagnosis to check that no malfunction is detected. Refer to

SRC-10, "Description"

.

SRS INSPECTION (FOR FRONTAL COLLISION)

Part

Inspection

Driver air bag module

If the driver air bag has deployed:
REPLACE
Install with new fasteners.

Passenger air bag module (if 
equipped)

If the passenger air bag has deployed:
REPLACE
Install with new fasteners.

Crash zone sensor

If any of the front air bags or seat belt pre-tensioners* have been activated:
REPLACE the crash zone sensor and bracket with new fasteners.
*: Confirm seat belt pre-tensioner activation using CONSULT only.

Seat belt pre-tensioner assem-
blies
(All applicable locations: buckle, 
retractor, lap outer)

If either the driver or passenger seat belt pre-tensioner* has been activated:
REPLACE all seat belt pre-tensioner assemblies with new fasteners.
*: Confirm seat belt pre-tensioner activation using CONSULT only.

Diagnosis sensor unit

If any of the SRS components have been activated:
REPLACE the diagnosis sensor unit.
Install with new fasteners.

Steering wheel

1.

Visually check steering wheel for deformities.

2.

Check harness (built into steering wheel) and connectors for damage, and terminals for defor-
mities.

3.

Install driver air bag module into the steering wheel to check fit and alignment with the wheel.

4.

Check steering wheel for excessive free play.

5.

If no damage is found, reinstall.

6.

If damaged 

− REPLACE.

Spiral cable

If the driver front air bag has deployed:
REPLACE the spiral cable.

Occupant classification system 
(Passenger seat)

1.

Remove passenger seat assembly.

2.

Check control unit case for dents, cracks of deformities.

3.

Check connectors and pressure sensor tube for damage, and terminals for deformities.

4.

Check seat frame and cushion pan for dents or deformities.

5.

If no damage is found, reinstall seat with new fasteners.

6.

If damaged 

− REPLACE seat cushion assembly with new fasteners.

COLLISION DIAGNOSIS

SR-7

< BASIC INSPECTION >

C

D

E

F

G

I

J

K

L

M

A

B

SR

N

O

P

FOR FRONTAL COLLISION : When SRS is not activated in a collision

INFOID:0000000012199966

CAUTION:

Due to varying models and option levels, not all parts listed in the chart below apply to all vehicles.

WORK PROCEDURE

1. Before performing any of the following steps, ensure that all vehicle body and structural repairs have been

completed.

2. Check the SRS components using the table below:

Replace any SRS components showing visible signs of damage. (dents, cracks and deformation, etc.)

3. Perform self-diagnosis using CONSULT or air bag warning lamp. Refer to 

SRC-15, "CONSULT Function"

or 

SRC-10, "On Board Diagnosis Function"

 for details. Ensure entire SRS operates properly.

4. After the work is completed, perform self-diagnosis to check that no malfunction is detected. Refer to

SRC-10, "Description"

.

SRS INSPECTION (FOR FRONTAL COLLISION)

Harness and connectors

1.

Check connectors for poor connection, damage, and terminals for deformities.

2.

Check harness for binding, chafing, cuts, or deformities.

3.

If no damage is found, reinstall the harness and connectors.

4.

If damaged 

− REPLACE the damaged harness. Do not attempt to repair, splice or modify any 

SRS harness.

Instrument panel assembly

If the passenger air bag has deployed: 
REPLACE the instrument panel assembly. (integrated type)

Part

Inspection

Part

Inspection

Driver air bag module

If the driver air bag has NOT been deployed:
1.

Remove driver air bag module. Check harness cover and connectors for damage, terminals for 
deformities, and harness for binding.

2.

Install driver air bag module into the steering wheel to check fit and alignment with the wheel.

3.

If no damage is found, reinstall with new fasteners.

4.

If damaged 

− REPLACE. Install driver air bag module with new fasteners.

Passenger air bag module (if 
equipped)

If the passenger air bag has NOT been deployed:
1.

Remove passenger air bag module. Check harness cover and connectors for damage, termi-
nals for deformities, and harness for binding.

2.

Install passenger air bag module into the instrument panel to check fit with the instrument panel.

3.

If no damage is found, reinstall with new fasteners.

4.

If damaged 

− REPLACE. Install passenger air bag modules with new fasteners.

Crash zone sensor

If the front air bags or seat belt pre-tensioners have NOT been activated:
1.

Remove the crash zone sensor. Check harness connectors for damage, terminals for deformi-
ties, and harness for binding.

2.

Check for visible signs of damage (dents, cracks, deformation, etc.) of the crash zone sensor 
and bracket.

3.

Install the crash zone sensor to check fit.

4.

If no damage is found, reinstall with new fasteners.

5.

If damaged 

− REPLACE the crash zone sensor and bracket with new fasteners. 

Seat belt pre-tensioner assem-
blies
(All applicable locations: buckle, 
retractor, lap outer)

If the pre-tensioners have NOT been activated:
1.

Remove seat belt pre-tensioners.
Check harness cover and connectors for damage, terminals for deformities, and harness for 
binding.

2.

Check belts for damage and anchors for loose mounting.

3.

Check retractor for smooth operation.

4.

Check seat belt adjuster for damage.

5.

Check for deformities of the center pillar inner.

6.

If the center pillar inner has no damage, REPLACE the seat belt pre-tensioner assembly.

7.

If no damage is found, reinstall seat belt pre-tensioner assembly.

8.

If damaged 

− REPLACE. Install the seat belt pre-tensioners with new fasteners. 

SR-8

< BASIC INSPECTION >

COLLISION DIAGNOSIS

FOR SIDE AND ROLLOVER COLLISION
FOR SIDE AND ROLLOVER COLLISION : When SRS is activated in a collision

INFOID:0000000012199967

CAUTION:

Due to varying models and option levels, not all parts listed in the chart below apply to all vehicles.

WORK PROCEDURE

1. Before performing any of the following steps, ensure that all vehicle body and structural repairs have been

completed.

2. Replace the following components:

• Front seat back assembly (on the side on which side air bag is activated)

• Door finisher (on the side on which door-mounted curtain air bag is activated)

• Pop-up roll bar assemblies and pop-up roll bar covers

• Satellite sensor LH/RH (on the side on which side air bag is activated)

• Diagnosis sensor unit

• Seat belt pre-tensioner assemblies

3. Check the SRS components and the related parts using the following table.

Replace any SRS components and the related parts showing visible signs of damage. (dents, cracks,

deformation, etc.)

4. Perform self-diagnosis using CONSULT and “AIR BAG” warning lamp. Refer to 

SRC-15, "CONSULT

Function"

 or 

SRC-10, "On Board Diagnosis Function"

 for details. Make sure entire SRS operates properly.

5. After the work is completed, perform self-diagnosis to check that no malfunction is detected. Refer to

SRC-10, "Description"

.

Diagnosis sensor unit

If none of the SRS components have been activated:
1.

Check case for dents, cracks or deformities.

2.

Check connectors for damage, and terminals for deformities.

3.

If no damage is found, reinstall with new fasteners.

4.

If damaged 

− REPLACE. Install diagnosis sensor unit with new fasteners.

Steering wheel

1.

Visually check steering wheel for deformities.

2.

Check harness (built into steering wheel) and connectors for damage, and terminals for defor-
mities.

3.

Install driver air bag module into the steering wheel to check fit and alignment with the wheel.

4.

Check steering wheel for excessive free play.

5.

If no damage is found, reinstall.

6.

If damaged 

− REPLACE.

Spiral cable

If the driver front air bag has not deployed:
1.

Visually check spiral cable and combination switch for damage.

2.

Check connectors and protective tape for damage.

3.

Check steering wheel for noise, binding or heavy operation.

4.

If no damage is found, reinstall.

5.

If damaged 

− REPLACE.

Occupant classification system 
(Passenger seat)

1.

Remove passenger seat assembly.

2.

Check control unit case for dents, cracks of deformities.

3.

Check connectors and pressure sensor tube for damage, and terminals for deformities.

4.

Check seat frame and cushion pan for dents or deformities.

5.

If no damage is found, reinstall seat with new fasteners.

6.

If damaged 

− REPLACE seat cushion assembly with new fasteners.

Harness and connectors

1.

Check connectors for poor connection, damage, and terminals for deformities.

2.

Check harness for binding, chafing, cuts, or deformities.

3.

If no damage is found, reinstall the harness and connectors.

4.

If damaged 

− REPLACE the damaged harness. Do not attempt to repair, splice or modify any 

SRS harness.

Instrument panel assembly

If the passenger air bag has NOT deployed:
1.

Visually check instrument panel assembly for damage.

2.

If no damage is found, reinstall the instrument panel assembly.

3.

If damaged 

− REPLACE the instrument panel assembly.

Part

Inspection


Content   ..  1150  1151  1152  1153   ..