Content .. 1090 1091 1092 1093 ..
Nissan Juke F15. Manual - part 1092
RF-34
< REMOVAL AND INSTALLATION >
GLASS LID
REMOVAL AND INSTALLATION
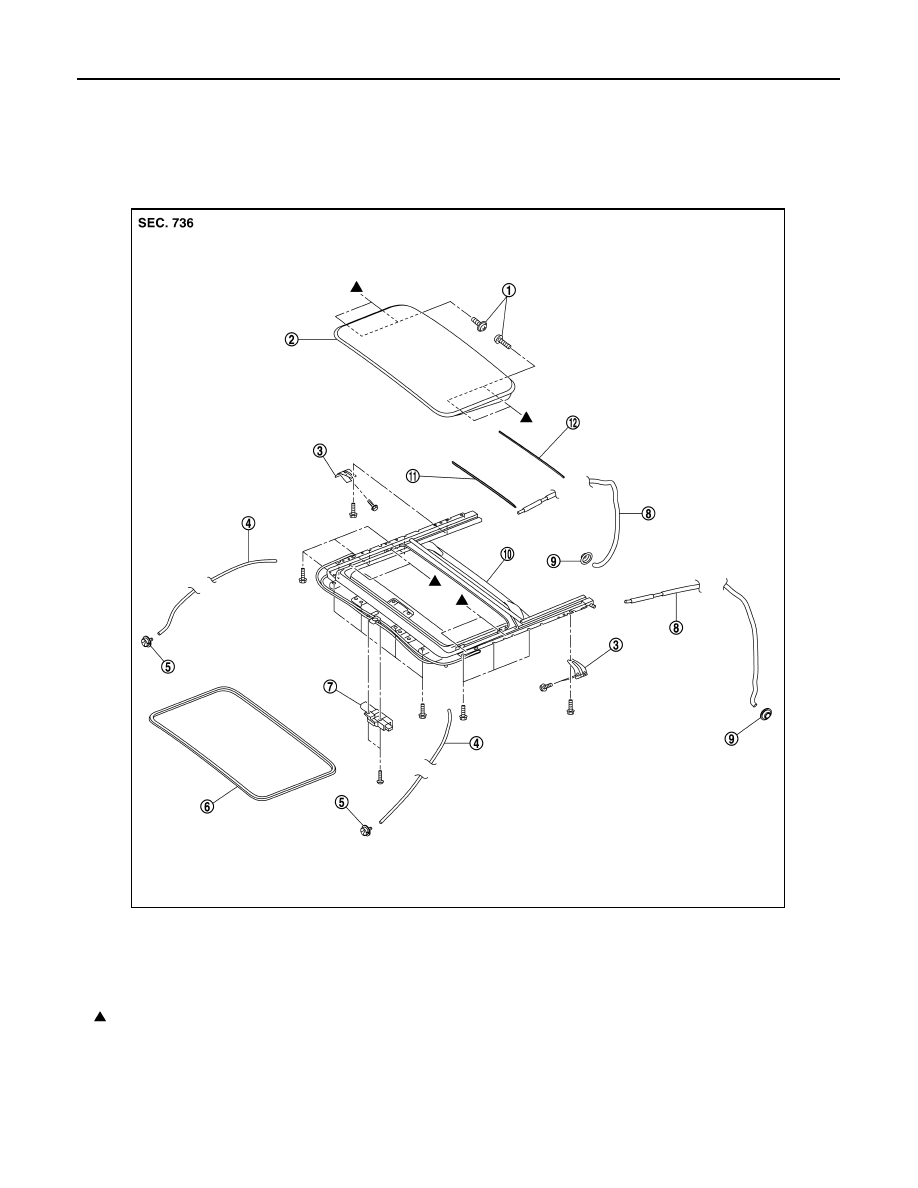
GLASS LID
Exploded View
INFOID:0000000012196980
Removal and Installation
INFOID:0000000012196981
REMOVAL
CAUTION:
• Always work with a helper.
1.
TORX bolt
2.
Glass lid
3.
Sunroof bracket
4.
Drain hose (front)
5.
Drain connector (front)
6.
Sunroof welt
7.
Sunroof motor assembly
8.
Drain hose (rear)
9.
Drain connector (rear)
10. Sunroof unit assembly
11. Seal guide rubber
12. Seal sunroof
: Indicates that the part is connected at points with same symbol in actual vehicle.
JSKIA2884ZZ