Mitsubishi Outlander XL. Manual - part 509
ZC6038380000
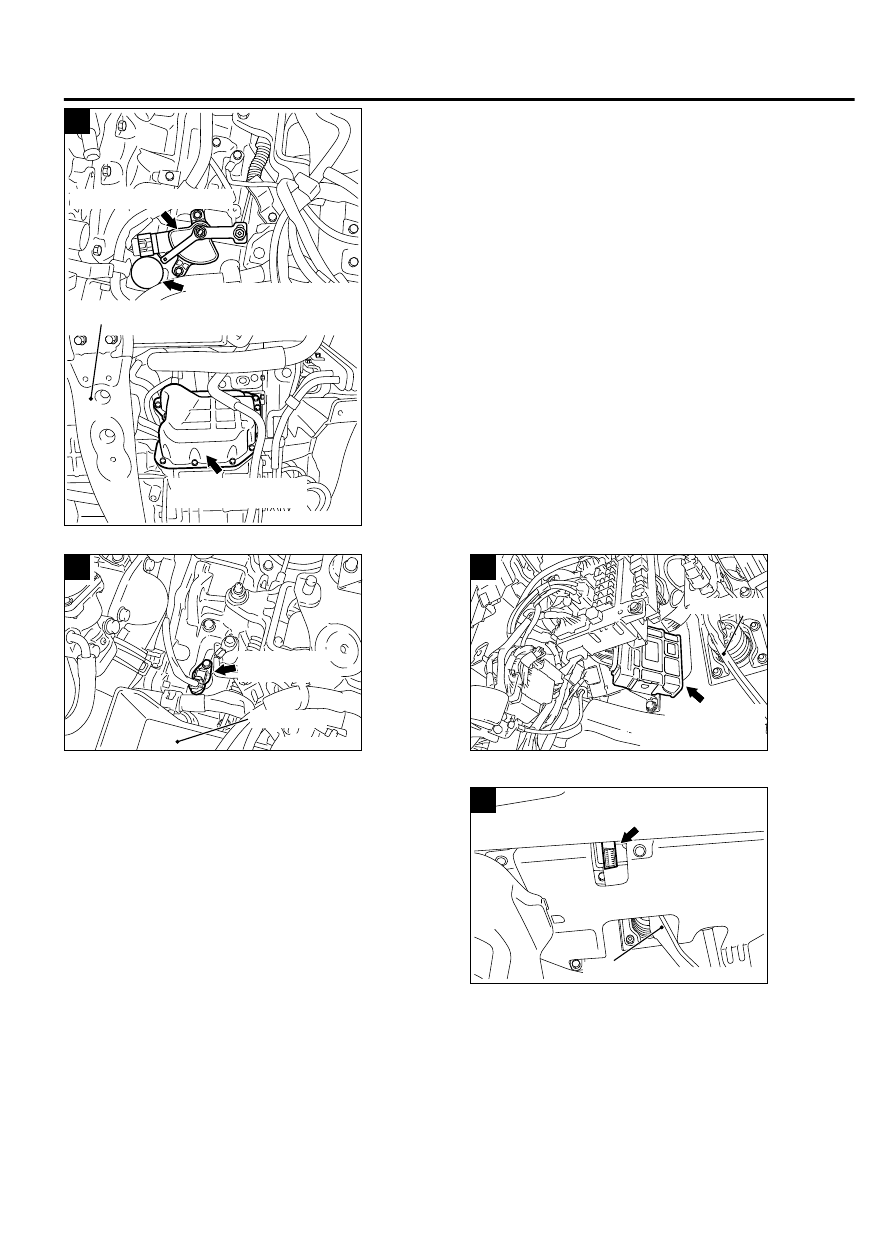
D
Transmission range switch
A/T control solenoid valve
assembly connector
Valve body assembly
Centermember
ZC6038210000
E
Input shaft
speed sensor
Battery tray
ZC6038250000
F
Transaxle
control module
Brake pedal
ZC6038260000
Data link connector
Brake pedal
G
AUTOMATIC TRANSAXLE MECHANICAL
23A-151
ON-VEHICLE SERVICE