Mitsubishi Outlander GS45X. Manual - part 95
RADIO AND CD PLAYER
TSB Revision
CHASSIS ELECTRICAL
54A-377
STEP 1. ETACS-ECU coding data check.
(1) Operate the scan tool to read the ETACS-ECU option
coding information. (Refer to GROUP 00, Coding List
(2) Check that the "Number of speaker" is set to "6 speakers".
Q: Is the check result normal?
YES : Go to Step 2.
NO : Operate the scan tool to set the option coding
"Number of speaker" to "6 speakers", and check the
trouble symptom.
STEP 2. Checking with speaker test.
Perform the speaker test, and check which speaker does not
output the sound. Refer to
.
Q: Is the check result normal?
YES <normal for all> : The trouble can be an intermittent
malfunction (Refer to GROUP 00, How to use
Troubleshooting/inspection Service Points
− How to
Cope with Intermittent Malfunction
NO <abnormal for all> : Go to Step 27.
NO <only front door speaker (RH) is abnormal> : Go to
Step 3.
NO <only front door speaker (LH) is abnormal> : Go to
Step 7.
NO <only rear door speaker (RH) is abnormal> : Go to
Step 11.
NO <only rear door speaker (LH) is abnormal> : Go to
Step 15.
NO <only tweeter (RH) vehicles with 6 speakers is
abnormal> : Go to Step 19.
NO <only tweeter (LH) vehicles with 6 speakers is
abnormal> : Go to Step 23.
ZC501967
AC404789
AC702802
MB991824
MB991827
MB991910
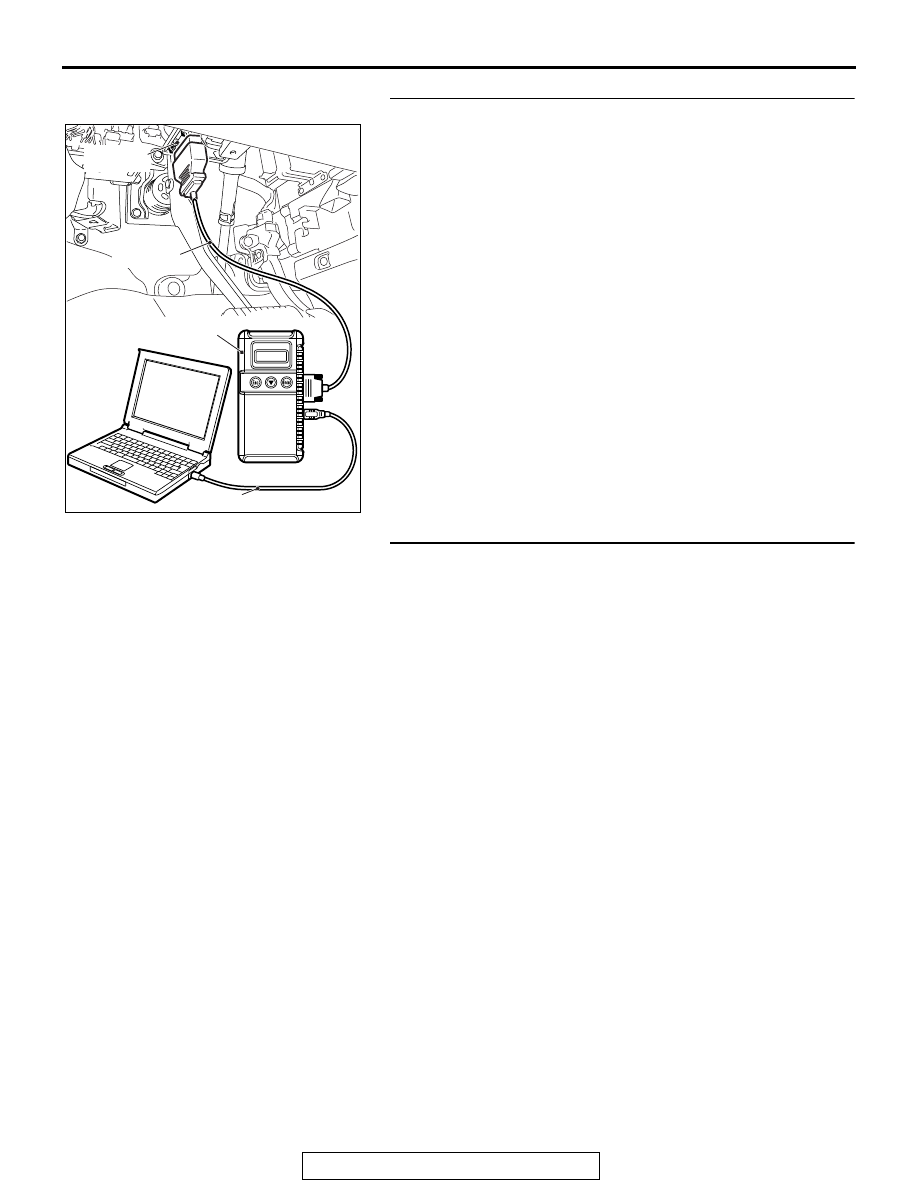
Data link
connector
AB