Mitsubishi Outlander (2003+). Manual - part 83
TROUBLESHOOTING
MULTIPORT FUEL INJECTION (MFI)
13A-195
STEP 10: Connector check: C-303 ignition switch
connector
Q: Is the check result normal?
YES :
Check intermediate connectors B-19 and C-
106, and repair if necessary. If intermediate
connectors are normal, check and repair
harness between C-303 (terminal No. 5)
ignition switch connector and B-26 (terminal
No. 1) starter connector.
Check output line for open circuit and
damage.
NO :
Repair.
STEP 11: Connector check: B-25 starter
connector
Q: Is the check result normal?
YES :
Go to Step 12 .
NO :
Repair.
STEP 12: Measure voltage at B-25 starter
connector.
Disconnect connector, and measure at the har-
ness side.
Voltage between terminal No. 1 and earth.
OK: System voltage
Q: Is the check result normal?
YES :
Go to Step 13 .
NO :
Check and repair harness between B-25
(terminal No. 1) starter connector and
battery.
Check power supply line for
open/short circuit.
1
2
3
4
5
6
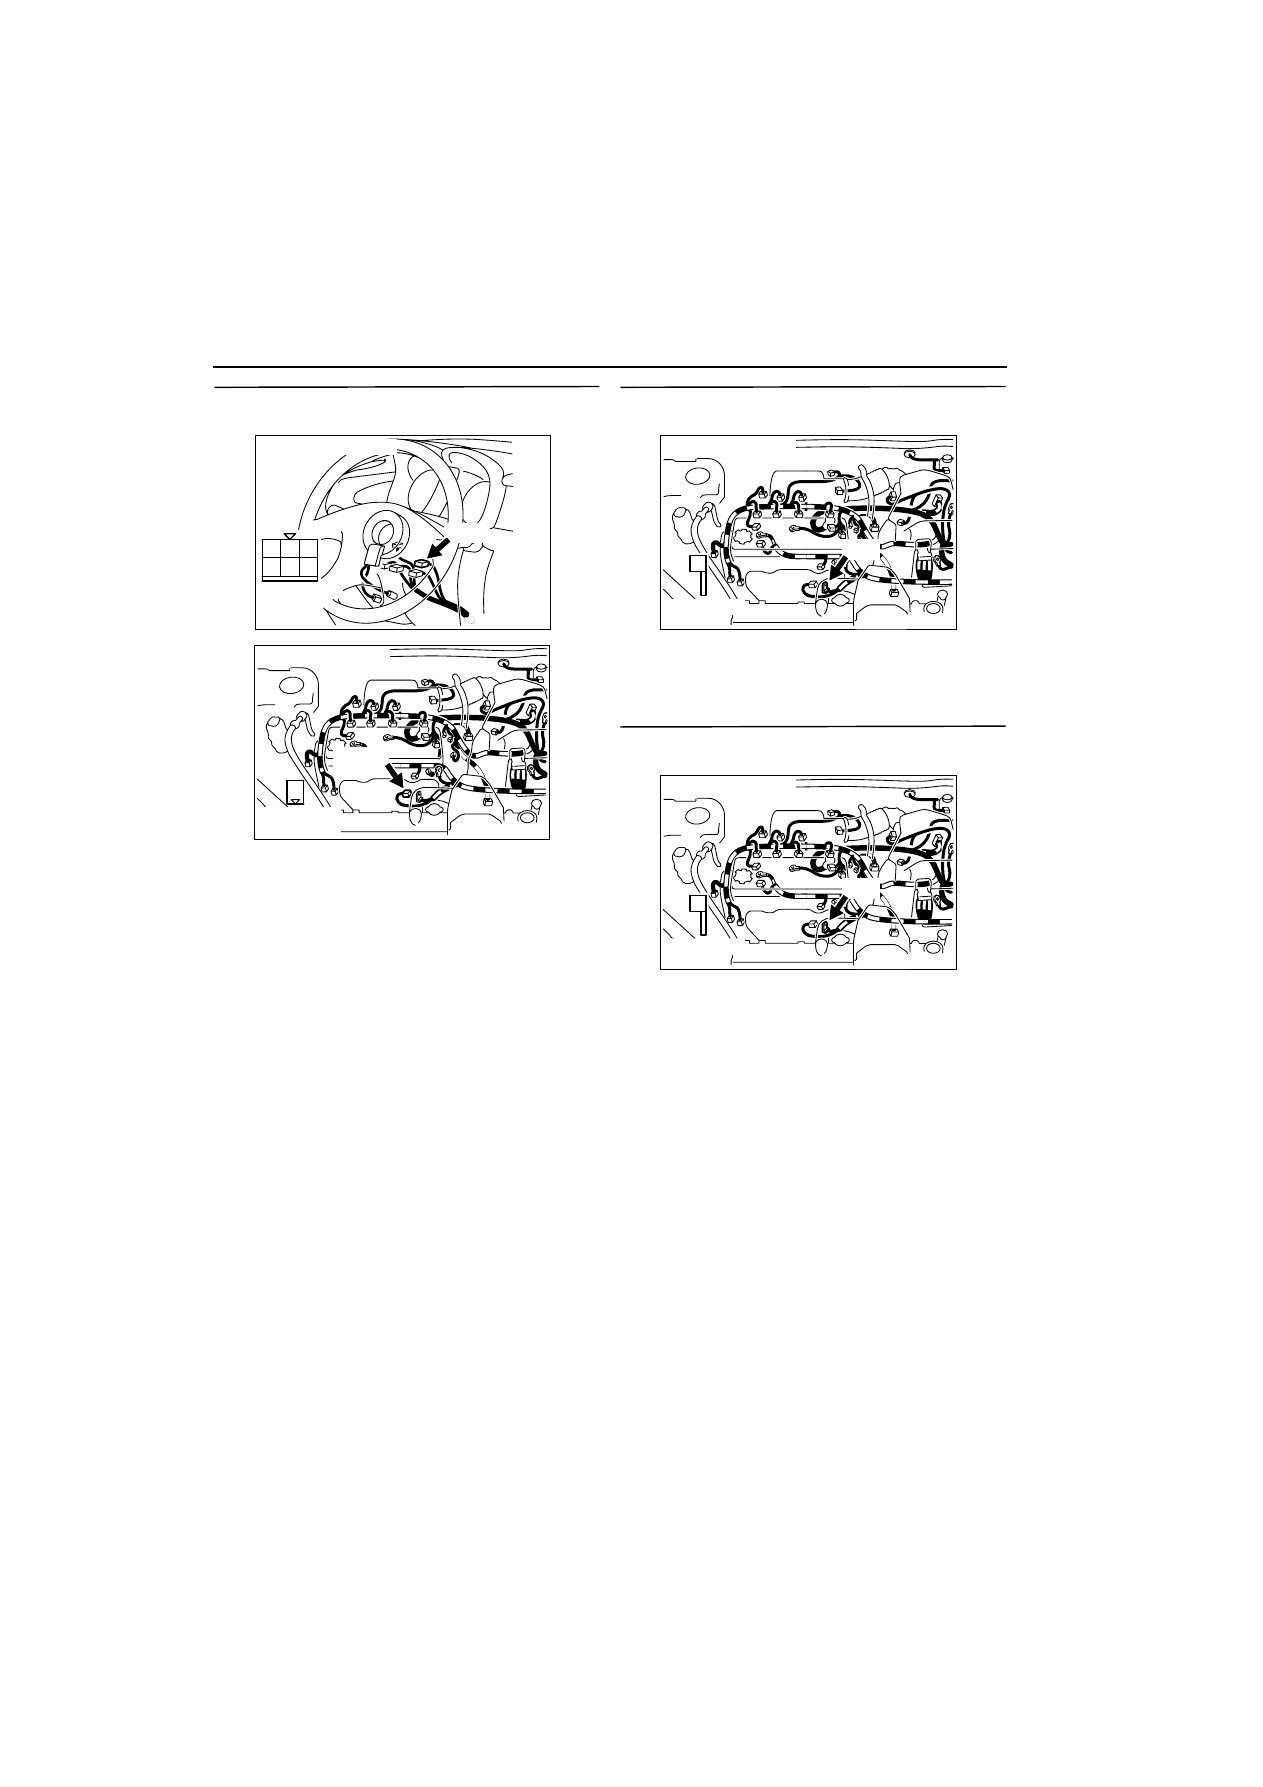
AK300304
CONNECTOR: C-303
C-303
Harness side
connector
AB
AK300306
1
AB
Harness side
connector
CONNECTOR: B-26
B-26 (B)
AK300307
1
AB
CONNECTOR: B-25
B-25
Harness side
connector
AK300307
1
AB
CONNECTOR: B-25
B-25
Harness side
connector