Content .. 1200 1201 1202 1203 ..
Mitsubishi Galant 9G. Manual - part 1202
MULTIPORT FUEL INJECTION (MFI) DIAGNOSIS
TSB Revision
MULTIPORT FUEL INJECTION (MFI) <3.8L ENGINE>
13B-1108
AK303253
AK303253
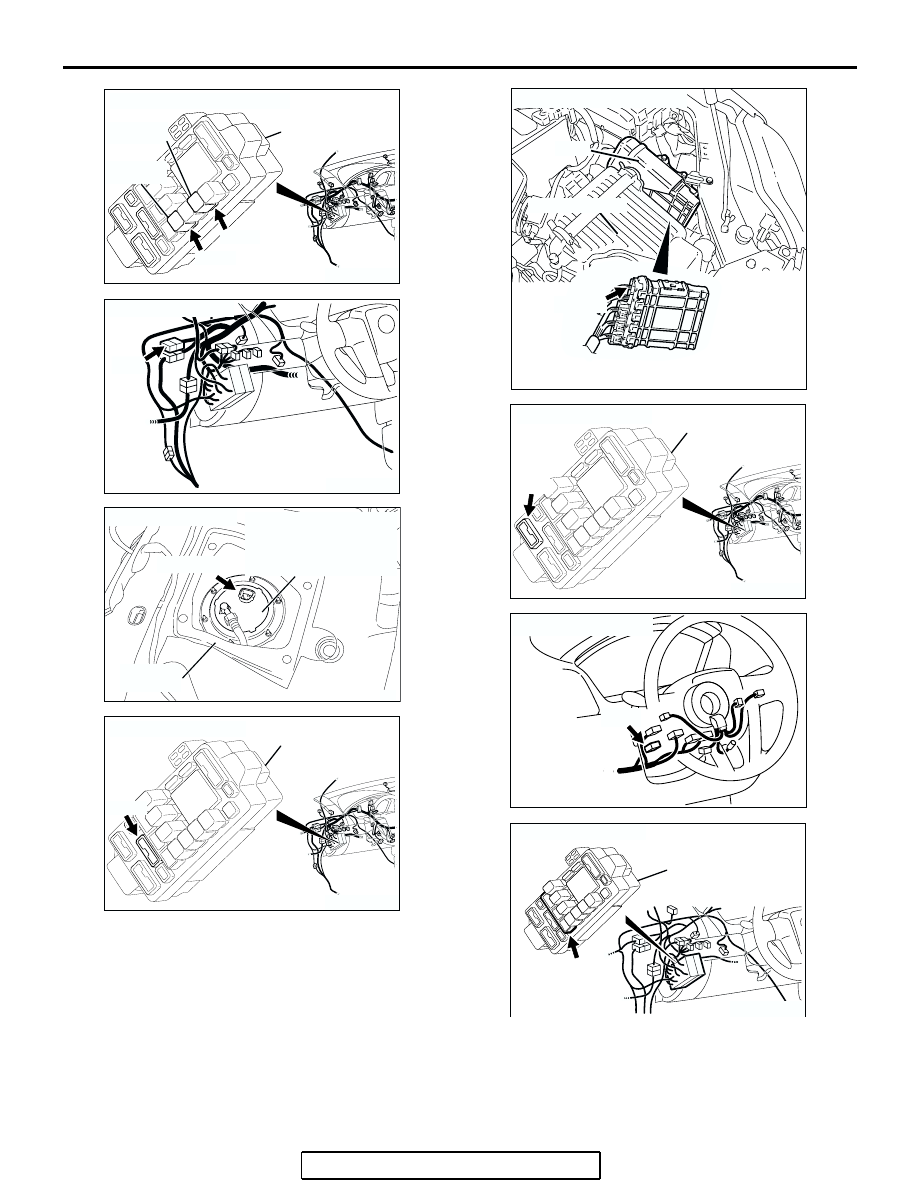
CONNECTOR: C-208, C-210
AB
JUNCTION
BLOCK
C-210
C-208
FUEL PUMP
RELAY (1)
FUEL PUMP
RELAY (2)
AK303231
CONNECTOR: C-29
C-29
AB
AK303157
SERVICE
HOLE
AB
FUEL PUMP MODULE
(INCORPORATING FUEL
LEVEL SENSOR (MAIN)
AND FUEL TANK
TEMPERATURE SENSOR)
CONNECTOR: D-18
D-18 (GR)
AK303243
CONNECTOR: C-214
AB
JUNCTION
BLOCK
C-214
AK303147
CONNECTOR: B-19
PCM
AB
AIR CLEANER
B-19 (B)
AK303244
CONNECTOR: C-215
AB
JUNCTION
BLOCK
C-215
AK203191
CONNECTOR: C-308
C-308
AB
AK303227
CONNECTOR: C-211
C-211
AB
JUNCTION
BLOCK