Mitsubishi Pajero Pinin. Manual - part 280
BODY –
Sunroof
42-46
ON-VEHICLE SERVICE
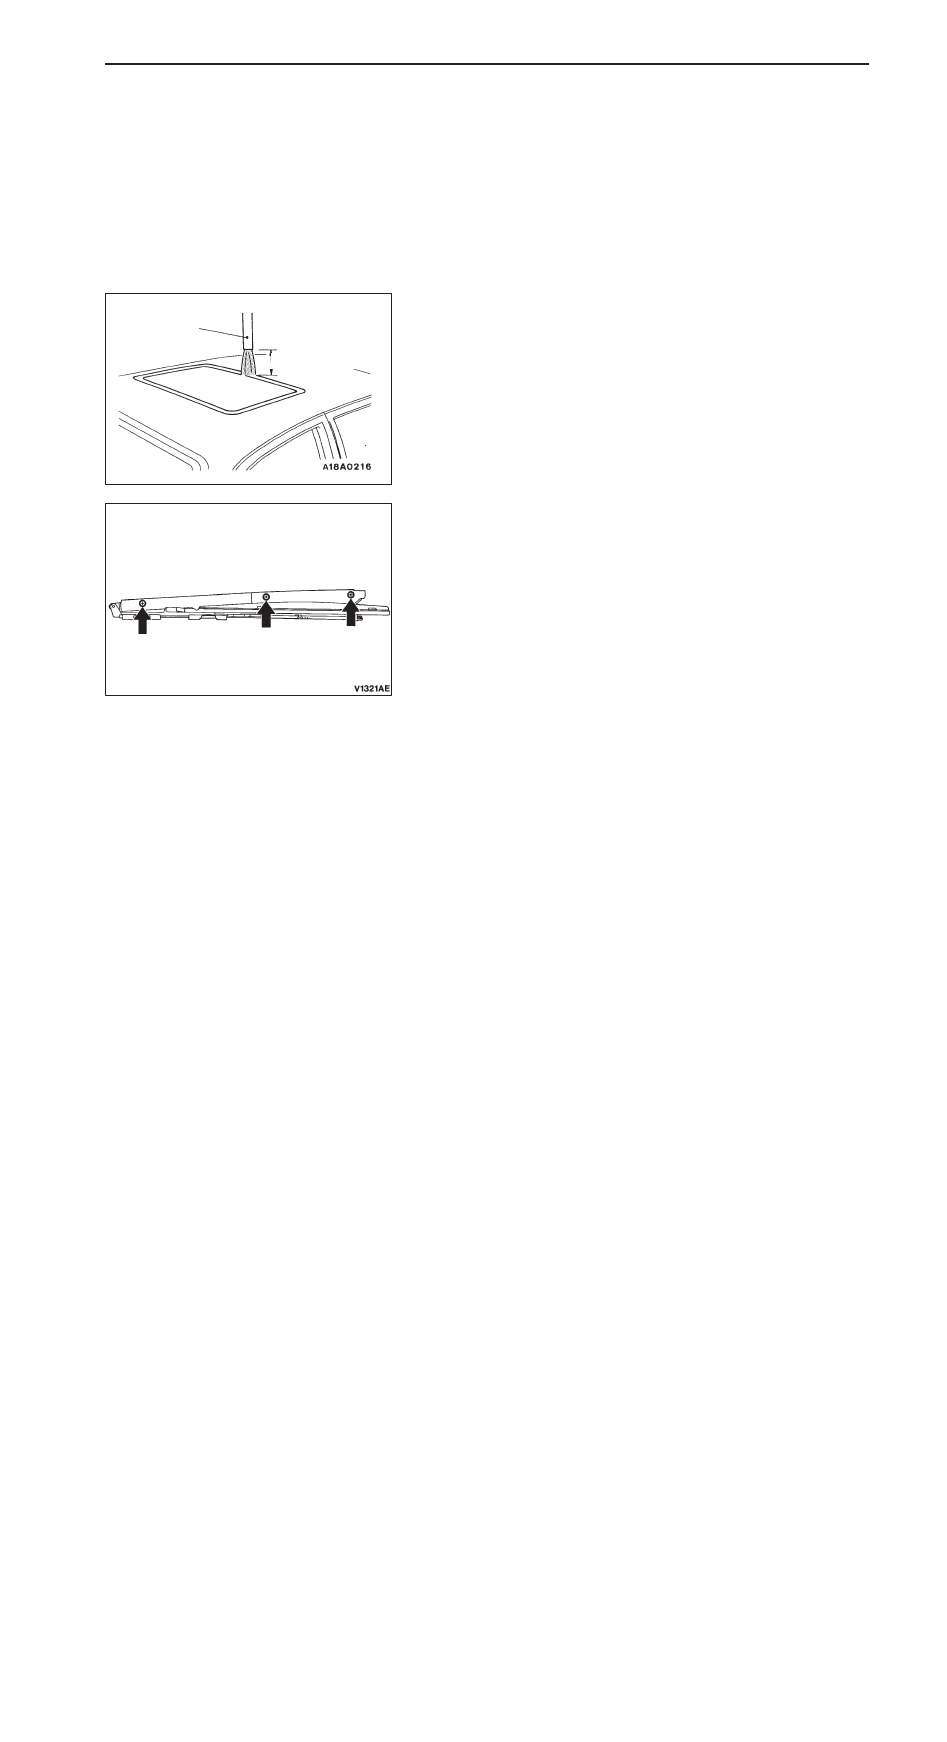
WATER TEST
Check if there are any leaks in the sunroof by the following
procedure.
1.
Fully close the roof lid glass.
2.
Adjust the water pressure so that water comes out of
the hose to a height of approximately 50 cm when the
hose is held vertically facing upwards.
3.
Hold the end of the hose approximately 30 cm above
the roof and let the water run onto the weatherstrip for
5 minutes or more.
4.
While doing this, check if any water leaks through into
the passenger compartment from around the roof lid glass.
SUNROOF FIT ADJUSTMENT
1.
Fully close the roof lid glass.
2.
Fully open the sunshade.
3.
Loosen the roof lid glass assembly mounting screws, and
then slide the roof lid glass assembly along the slot in
the mechanish assembly to adjust the height of the roof
lid glass.
4.
After adjustment, check to be sure that the sunroof operates
smoothly.
Hose
Approx. 30cm