Mitsubishi Lancer (4A9 engine). Manual - part 23
D998727
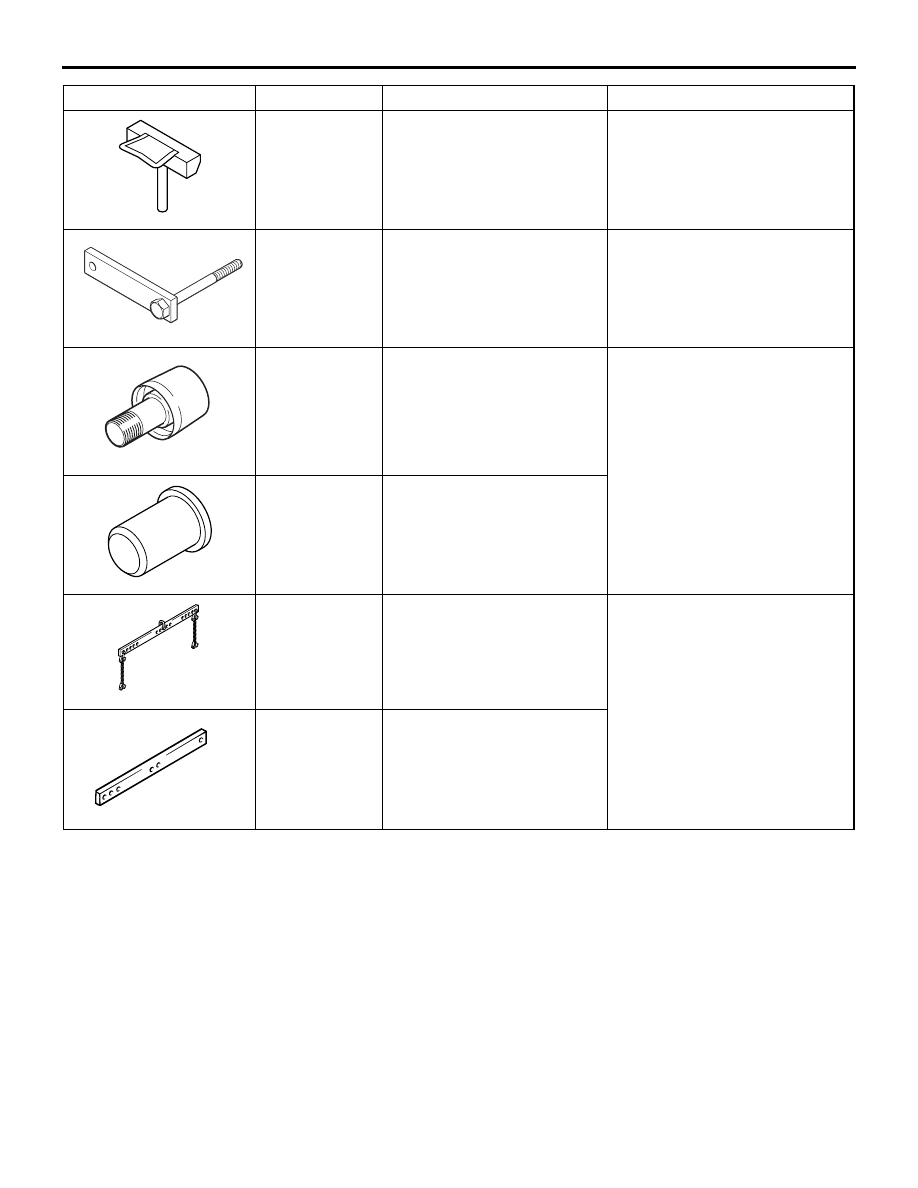
SPECIAL TOOLS
ENGINE MECHANICAL <4A9>
11A-6
MD998727
Oil pan FIPG cutter
Engine oil pan removal
D998781
MD998781
Flywheel stopper
Supporting the flywheel
assembly <M/T> or drive plate
assembly <A/T>
B991993
MB991993
Crankshaft front oil seal
guide
Crankshaft front oil seal
installation
MB990699
Differential oil seal installer
B991454
MB991454
Engine hanger balancer
Supporting the engine and
transmission assembly
NOTE: Special tool MB991454
is a part of engine hanger
attachment set MB991453.
B991527
MB991527
Hanger
Tool
Number
Name
Use