Mitsubishi Eclipse / Eclipse Spyder (2000-2002). Service and repair manual - part 419


  Index      Mitsubishi     Mitsubishi Eclipse / Eclipse Spyder (2000-2002). Service and repair manual


Search            


Content   ..  417  418  419  420   ..


Mitsubishi Eclipse / Eclipse Spyder (2000-2002). Service and repair manual - part 419


OUTPUT SHAFT

TSB Revision

MANUAL TRANSAXLE OVERHAUL

22B-39

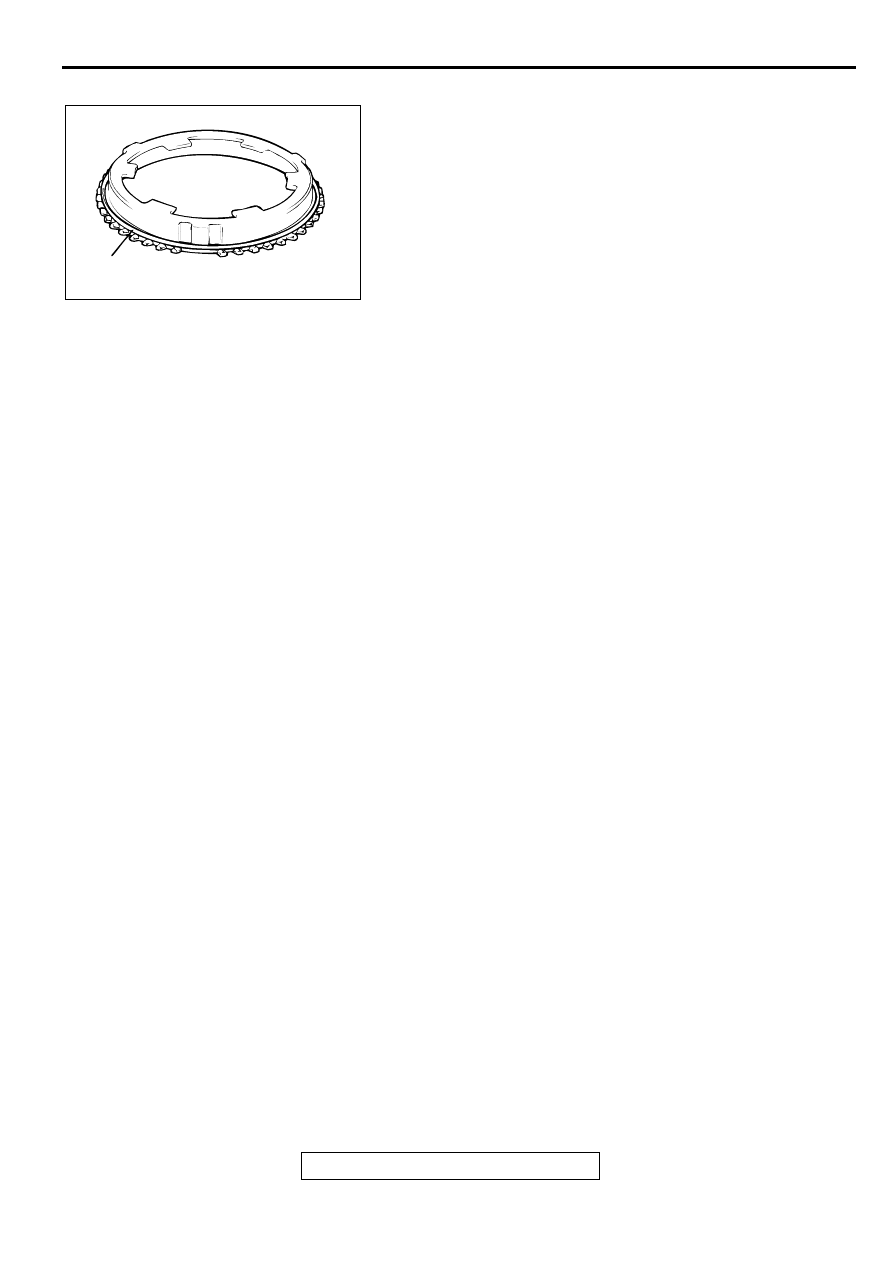
>>F<< SYNCHRONIZER SPRING INSTALLATION
Install the synchronizer spring to the illustrated position of the 
outer synchronizer ring.

AKX00951

SYNCHRONIZER
SPRING

AB

OUTPUT SHAFT

TSB Revision

MANUAL TRANSAXLE OVERHAUL

22B-40

>>G<< 1ST-2ND SPEED SYNCHRONIZER HUB 
INSTALLATION
1. Set the output shaft on the press support stand.

2. Check that the 1st-2nd speed synchronizer hub is in the 

correct installation direction, and put it on the output shaft.

3. Using special tools MD998812, MD998814, MD998825 

<F5M42>, MD998824 <F5M51> and MD998364 <F5M51>, 
press install the 1st-2nd speed synchronizer hub with the 
press.

4. Make sure that the outer synchronizer ring on the 1st speed 

gear side can rotate freely.

AKX00925

<F5M42>

INSTALLATION
DIRECTION

AB

AKX00930

<F5M51>

INSTALLATION
DIRECTION

AB

AKX00848

<F5M42>

MD998812

MD998814

MD998825

1ST-2ND SPEED
SYNCHRONIZER
HUB

AB

AKX00896

<F5M51>

MD998364

1ST-2ND SPEED
SYNCHRONIZER
HUB

MD998812

MD998814

MD998824

AB

OUTPUT SHAFT

TSB Revision

MANUAL TRANSAXLE OVERHAUL

22B-41

>>H<< SYNCHRONIZER SLEEVE INSTALLATION
1. Check that the synchronizer sleeve is in the correct direction 

for installation, and install it on the 1st-2nd speed 
synchronizer hub.

2. Install the synchronizer sleeve so that the areas with teeth 

that have raised tips (three areas total) are aligned with the 
areas on the synchronizer hub that have deep grooves 
between the teeth (three areas total).

>>I<< 2ND SPEED GEAR SLEEVE INSTALLATION
1. Set the output shaft on the press support stand.

2. Using special tools MD998812, MD998813, MD998822 

<F5M42>, MD998824 <F5M51> and MD998364 <F5M51>, 
press install the 2nd speed sleeve onto the output shaft.

AKX00914

GROOVE

INSTALLATION
DIRECTION

AB

AKX00928AB

TEETH WITH
RAISED TIPS

DEEP GROOVES 
BETWEEN THE TEETH

AKX00849

<F5M42>

MD998812

MD998813

MD998822

AB

AKX00897

<F5M51>

MD998364

2ND SPEED
GEAR SLEEVE

MD998824

MD998812

MD998814

AB

OUTPUT SHAFT

TSB Revision

MANUAL TRANSAXLE OVERHAUL

22B-42

>>J<< 3RD SPEED GEAR INSTALLATION
1. Check that the 2nd speed gear and the outer synchronizer 

ring have been properly installed. Also, make sure the claws 
on the synchronizer cone (four places) are correctly fitted 
into the holes in the 2nd speed gear (four places).

2. Using special tools MD998812, MD998814, MD998822 

<F5M42>, MD998824 <F5M51> and MD998364 <F5M51>, 
press install the 3rd speed gear onto the output shaft.

3. Make sure that the 2nd speed gear and the outer 

synchronizer ring can rotate freely.

>>K<< SNAP RING INSTALLATION
1. Install the thickest snap ring that can be fitted in the groove 

of output shaft.

2. Make sure that the 3rd speed gear end play meets the 

standard value.

Standard value: 0 

 0.09 mm (0 

 0.0035 inch)

AKX00850

<F5M42>

MD998812

MD998814

MD998822

3RD SPEED GEAR

AB

AKX00898

<F5M51>

MD998812

MD998814

MD998824

MD998364

3RD SPEED
GEAR

AB

AKX00851AB

SNAP RING


Content   ..  417  418  419  420   ..