Mitsubishi Colt Ralliart. Manual - part 606
INLET MANIFOLD
ENGINE OVERHAUL <4G1>
11D-24
INLET MANIFOLD
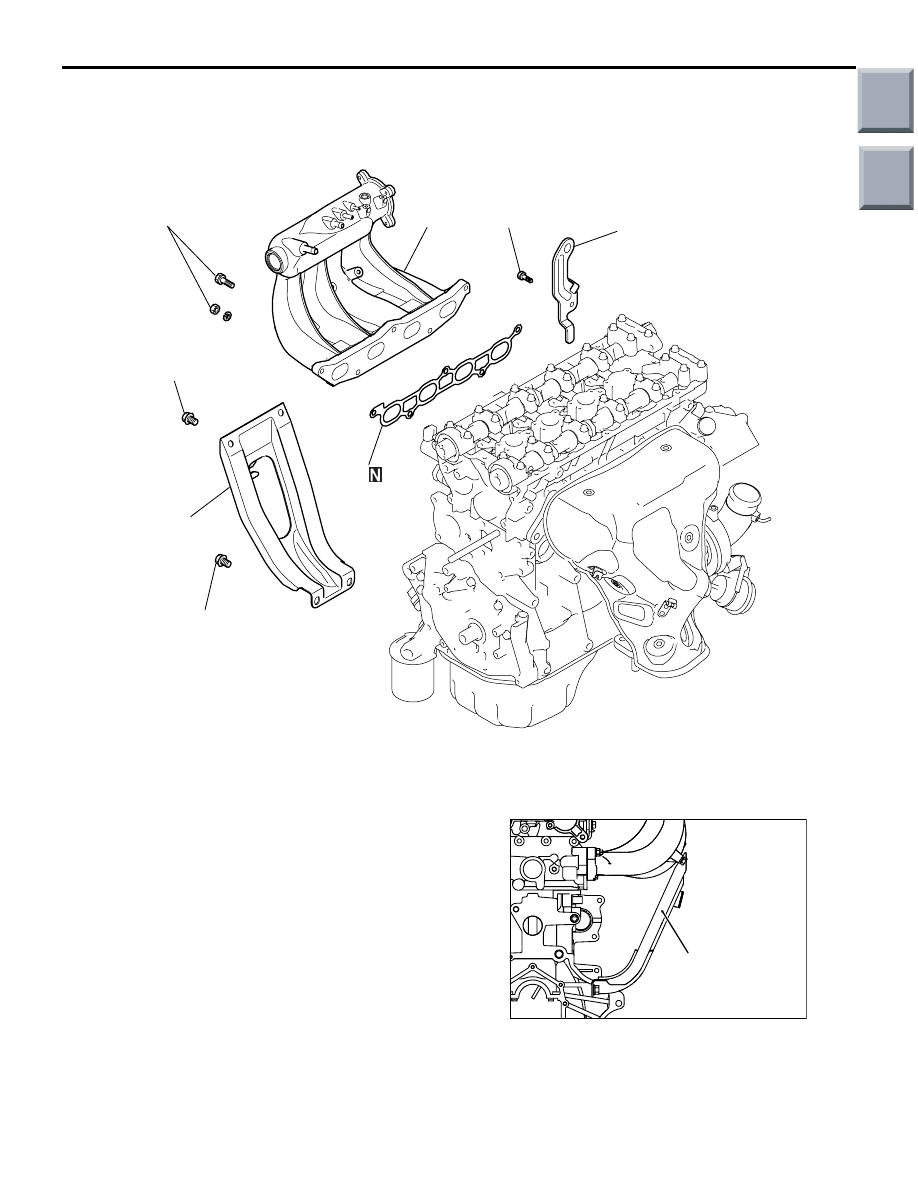
REMOVAL AND INSTALLATION
M1113026100169
AK401840 AC
1
18 ± 2 N·m
2
3
4
18 ± 2 N·m
31 ± 3 N·m
19 ± 3 N·m
Removal steps
>>
A
<< 1. Inlet manifold stay
2. Inlet manifold
3. Inlet manifold gasket
4. Engine hanger
INSTALLATION SERVICE POINTS
>>A<< INLET MANIFOLD STAY INSTAL-
LATION
AK401854AC
Inlet manifold stay
Make sure that the inlet manifold stay tightly fits the
inlet manifold and the mating boss of the cylinder
block, then tighten bolts the specified torques.
Tightening torque:
M8 18
± 2 N⋅m
M10 31
± 3 N⋅m
Main
Index
Group
TOC