Mitsubishi Grandis. Manual - part 881
CONTROL HOUSING
MANUAL TRANSMISSION OVERHAUL
22B-34
CONTROL HOUSING
DISASSEMBLY AND REASSEMBLY
M1222013100186
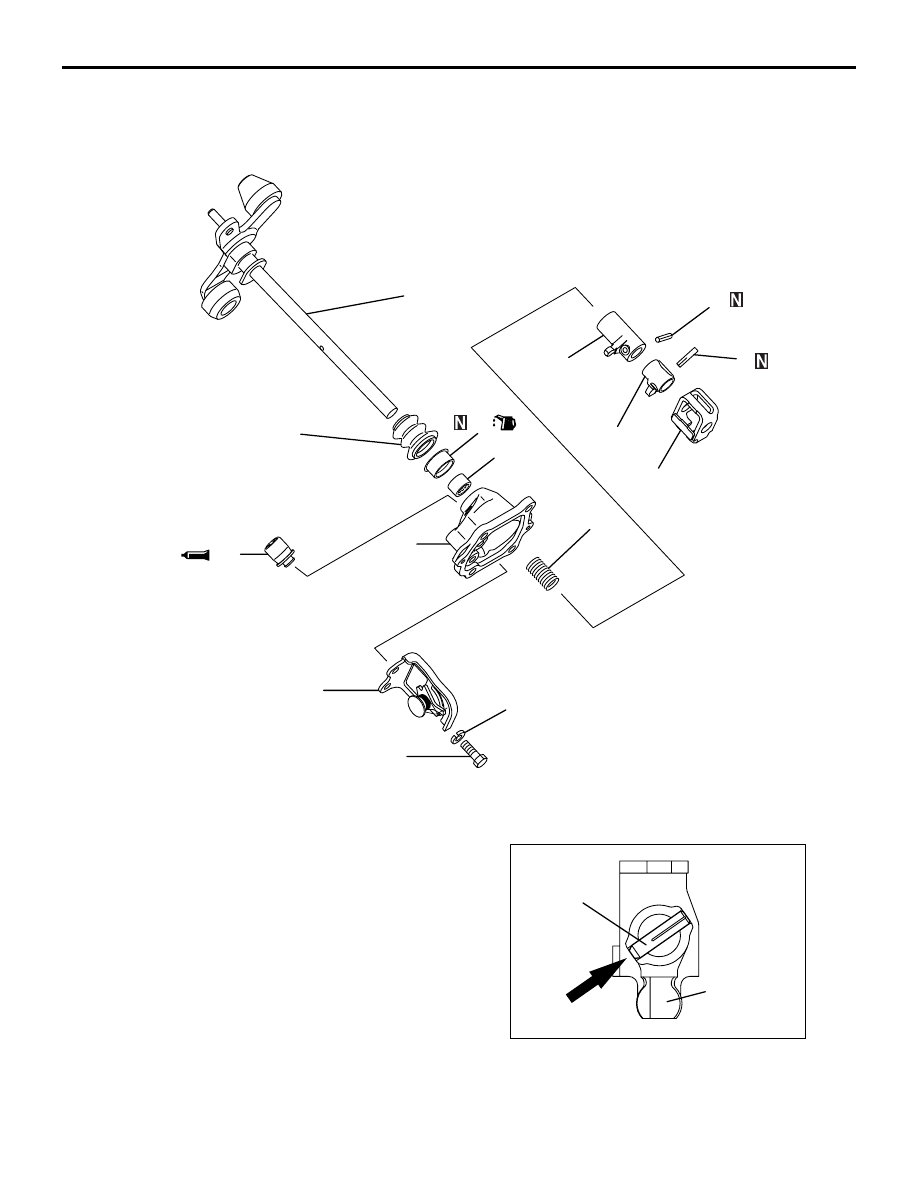
DISASSEMBLY SERVICE POINT
<<A>> LOCK PIN REMOVAL
Drive out the lock pin from the direction shown.
AK305226
11
7
8
1
6
5
4
2
3
13
14
12
10
9
21.7 ± 0.3 N·m
AB
Disassembly steps
1.
Spring washer
2.
Stopper bracket
<<A>>
>>E<<
3
Lock pin
4.
Interlock plate
5.
Control finger
>>D<<
6.
Spring pin
7.
Stopper body
8.
Spring
9.
Control shaft
>>C<<
10. Air breather
11. Control shaft boot
>>B<<
12. Oil seal
>>A<<
13. Needle bearing
14. Control housing
AK204273
Lock pin
Control finger
AB