Mazda CX-9 Grand Touring. Manual - part 176


  Index      Mazda     Mazda CX-9 Grand Touring - service repair manual 2008 year


Search            


Content   ..  174  175  176  177   ..


Mazda CX-9 Grand Touring. Manual - part 176


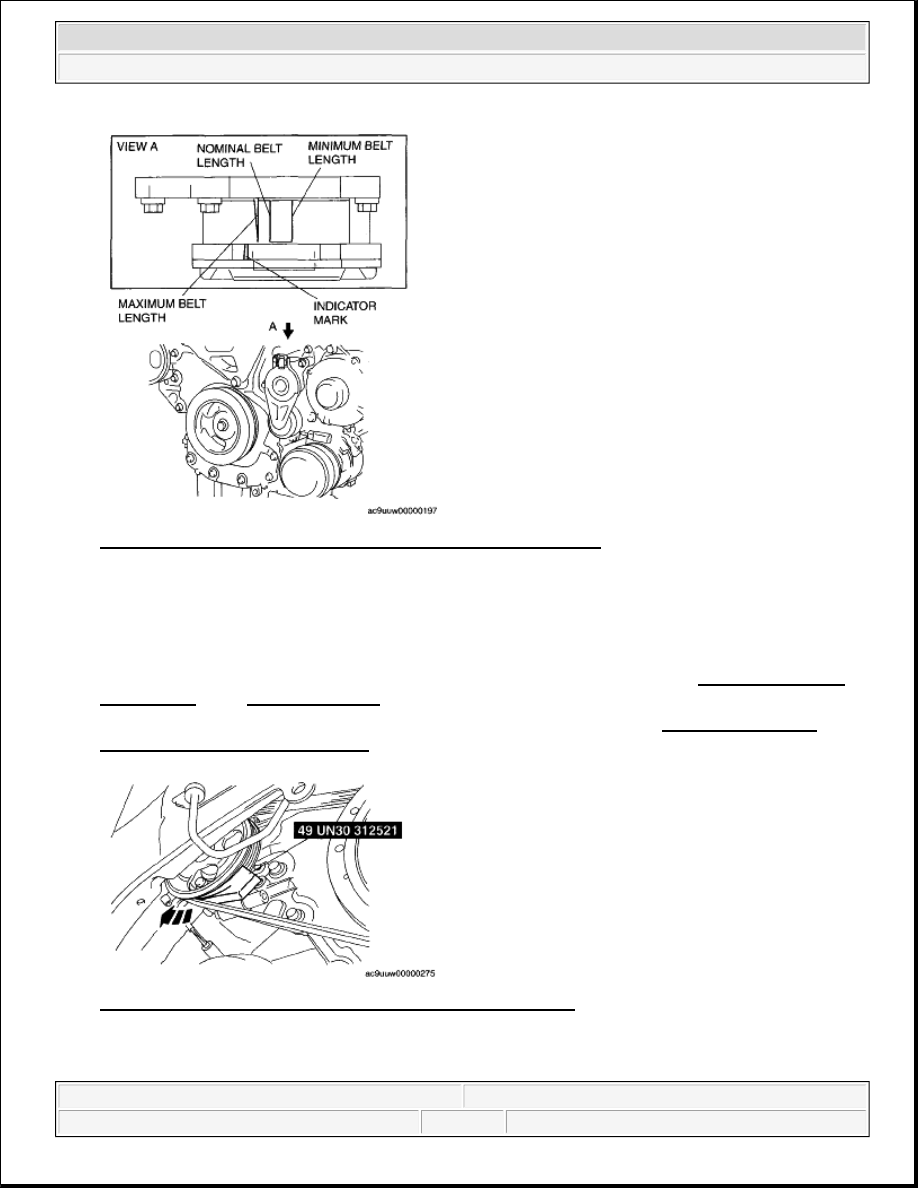
Fig. 5: Identifying Battery Tray Bracket & Torque Specifications 
Courtesy of MAZDA MOTORS CORP. 

7. Remove the nuts as shown in the figure, and move the front heater pipe.  

8. Remove in the order indicated in the table.  

9. Install in the reverse order of removal.  

10. After installation, add brake fluid, bleed the air, and inspect for fluid leakage. (See DSC/RSC HU AIR 

BLEEDING.) (See AIR BLEEDING .)  

11. After installation, perform the DSC/RSC sensor initialization procedure. (See DSC/RSC SENSOR 

INITIALIZATION PROCEDURE.) 

Fig. 6: Identifying Front Heater Pipe & Torque Specifications 
Courtesy of MAZDA MOTORS CORP.


2008 Mazda CX-9 Grand Touring 

2008 BRAKES Dynamic Stability Control/Roll Stability Control - Mazda CX-9


Microsoft 


Sunday, November 15, 2009 9:40:24 AM

Page 8 

© 2005 Mitchell Repair Information Company, LLC. 

Fig. 7: Identifying DSC/RSC HU/CM Components & Torque Specifications 
Courtesy of MAZDA MOTORS CORP. 

DSC/RSC HU/CM CONNECTOR REMOVAL NOTE 

1. Remove the DSC/RSC HU/CM connector using the following procedure: 

1. Press down the lock lever while pressing the upper tab to release the lock.  

2. Press down the lock lever and lock it using the lower tab.  

3. Remove the DSC/RSC HU/CM connector by pulling it in the direction of the arrow. 

Fig. 8: View Of DSC/RSC HU/CM Connector 
Courtesy of MAZDA MOTORS CORP. 

BRAKE PIPE REMOVAL NOTE 

1. Place an alignment mark on the brake pipe and DSC/RSC HU/CM. 


2008 Mazda CX-9 Grand Touring 

2008 BRAKES Dynamic Stability Control/Roll Stability Control - Mazda CX-9


Microsoft 


Sunday, November 15, 2009 9:40:24 AM

Page 9 

© 2005 Mitchell Repair Information Company, LLC. 

2. Apply protective tape to the DSC/RSC HU/CM connector to prevent brake fluid from entering.  

3. Remove the brake pipe. 

Fig. 9: Identifying Alignment Mark On Brake Pipe & DSC/RSC HU/CM 
Courtesy of MAZDA MOTORS CORP. 

DSC/RSC HU/CM COMPONENT INSTALLATION NOTE 

1. Insert the DSC/RSC HU/CM bracket tab to the vehicle frame hole as shown in the figure.  

2. Install the DSC/RSC HU/CM component. 

Fig. 10: Identifying DSC/RSC HU/CM Bracket 
Courtesy of MAZDA MOTORS CORP. 

BRAKE PIPE INSTALLATION NOTE 

1. Align the marks made before removal and install the brake pipe to the DSC/RSC HU/CM and brake pipe 

joint referring to the figure.  

2. Tighten the brake pipe to the specified torque using the SST (49 0259 770B) and the commercially 

available flare nut wrench. 


2008 Mazda CX-9 Grand Touring 

2008 BRAKES Dynamic Stability Control/Roll Stability Control - Mazda CX-9


Microsoft 


Sunday, November 15, 2009 9:40:24 AM

Page 10 

© 2005 Mitchell Repair Information Company, LLC. 

Fig. 11: Identifying Master Cylinder (Primary Side & Secondary Side) 
Courtesy of MAZDA MOTORS CORP. 

DSC/RSC HU/CM CONNECTOR INSTALLATION NOTE 

1. Install the DSC/RSC HU/CM connector using the following procedure: 

1. After verifying that the lock lever is locked by the lower tab, connect the DSC/RSC HU/CM 

connector to the DSC/RSC HU/CM.  

2. Pull up the lock lever by pressing the lower tab, and release the lock.  

3. Pull up the lock lever and lock it using the upper tab.  

2. Verify that the DSC/RSC HU/CM connector is installed securely. 

Fig. 12: View Of DSC/RSC HU/CM Connector 
Courtesy of MAZDA MOTORS CORP. 

DSC/RSC HU AIR BLEEDING 

1. Turn the ignition switch off.  

2. Connect the M-MDS to the DLC-2.  

3. After the vehicle is identified, select the following items from the initialization screen of the M-MDS. 

When using the IDS (laptop PC) 

1. Select "Chassis".  

2. Select "Braking".  


2008 Mazda CX-9 Grand Touring 

2008 BRAKES Dynamic Stability Control/Roll Stability Control - Mazda CX-9


Microsoft 


Sunday, November 15, 2009 9:40:24 AM

Page 11 

© 2005 Mitchell Repair Information Company, LLC. 


Content   ..  174  175  176  177   ..