Mazda CX 7. Manual - part 340
ON-BOARD DIAGNOSTIC [INSTRUMENT CLUSTER]
09-02E–1
09-02E
09-02E ON-BOARD DIAGNOSTIC [INSTRUMENT
CLUSTER]
DTC INSPECTION
[INSTRUMENT CLUSTER] . . . . . . . . . . 09-02E–1
DTC TABLE
[INSTRUMENT CLUSTER] . . . . . . . . . . 09-02E–1
DTC B1202
[INSTRUMENT CLUSTER] . . . . . . . . . . 09-02E–2
DTC B1204
[INSTRUMENT CLUSTER] . . . . . . . . . . 09-02E–3
DTC B1342
[INSTRUMENT CLUSTER] . . . . . . . . . . 09-02E–5
DTC B2477
[INSTRUMENT CLUSTER] . . . . . . . . . . 09-02E–5
DTC U2064
[INSTRUMENT CLUSTER] . . . . . . . . . . 09-02E–6
Diagnostic Procedure . . . . . . . . . . . . . . 09-02E–6
End of Toc
WM: INSTRUMENTATION/DRIVER INFO
DTC INSPECTION[INSTRUMENT CLUSTER]
id0902e8840000
1. Connect the M-MDS to the DLC-2.
2. After the vehicle is identified, select the following
items from the initialization screen of the M-MDS.
When using the IDS (notebook PC)
• Select the “Toolbox” tab.
• Select “Self Test”.
• Select “Module”.
• Select “HEC”.
When using the PDS (pocket PC)
• Select “Module Tests”.
• Select “HEC”.
• Select “Self Test”.
3. Verify the DTC according to the directions on the
screen.
• If any DTCs are displayed, perform troubleshooting according to the corresponding DTC inspection.
4. After completion of repairs, clear all DTCs stored in the instrument cluster.
End Of Sie
DTC TABLE[INSTRUMENT CLUSTER]
id0902e8840100
End Of Sie
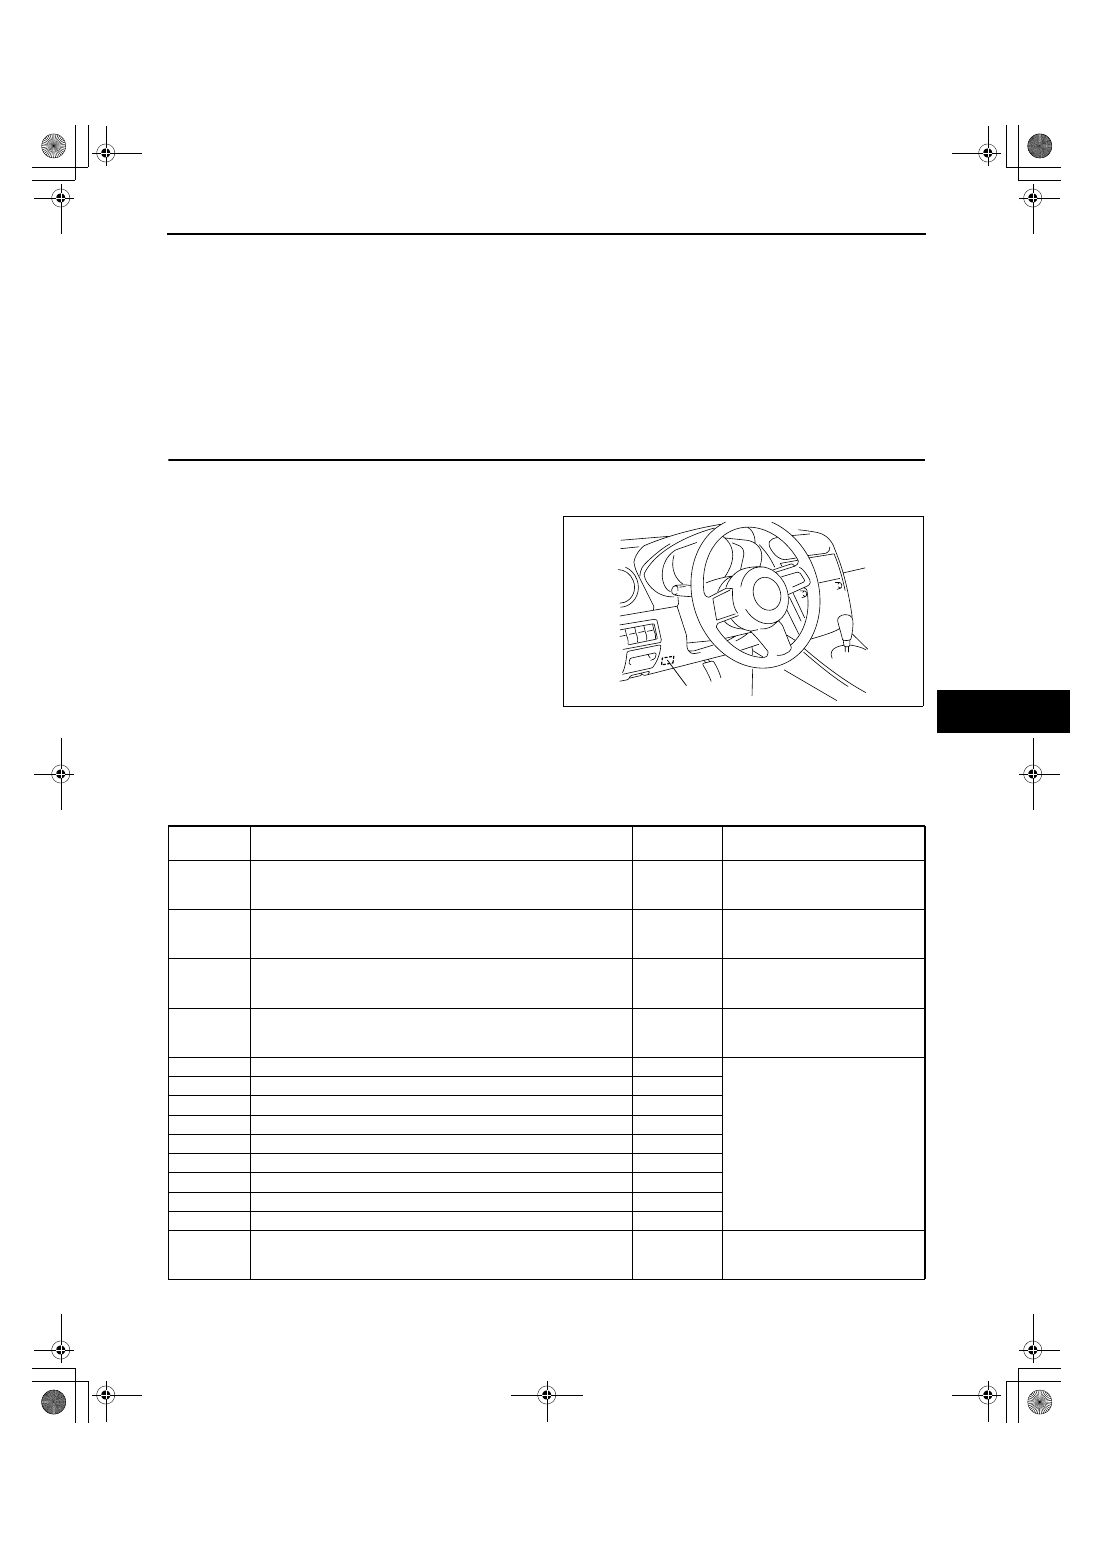
DLC-2
acxuuw00002075
DTC
Malfunction location
Freeze
frame data
Page
B1202
Fuel gauge sender unit circuit malfunction (open circuit)
—
(See 09-02E-2 DTC
B1202[INSTRUMENT
CLUSTER].)
B1204
Fuel gauge sender unit circuit malfunction (short to GND)
—
(See 09-02E-3 DTC
B1204[INSTRUMENT
CLUSTER].)
B1342
Instrument cluster malfunction
—
(See 09-02E-5 DTC
B1342[INSTRUMENT
CLUSTER].)
B2477
Configuration error
—
(See 09-02E-5 DTC
B2477[INSTRUMENT
CLUSTER].)
U0073
CAN system communication error
—
(See 09-02D-2 MULTIPLEX
COMMUNICATION
SYSTEM[MULTIPLEX
COMMUNICATION SYSTEM].)
U0100
Communication error to PCM
×
U0101
Communication error to TCM
×
U0114
Communication error to AWD control module
×
U0121
Communication error to DSC HU/CM
×
U0140
Communication error to BCM
×
U0151
Communication error to SAS control module
×
U0214
Communication error to keyless control module
×
U2023
Abnormal message from other module
×
U2064
Warning light illumination request signal from other modules
×
(See 09-02E-6 DTC
U2064[INSTRUMENT
CLUSTER].)
1871-1U-06B(09-02E).fm 1 ページ 2006年3月15日 水曜日 午前11時40分