Jaguar X-Type Sedan and Estate (Wagon). Manual - part 700
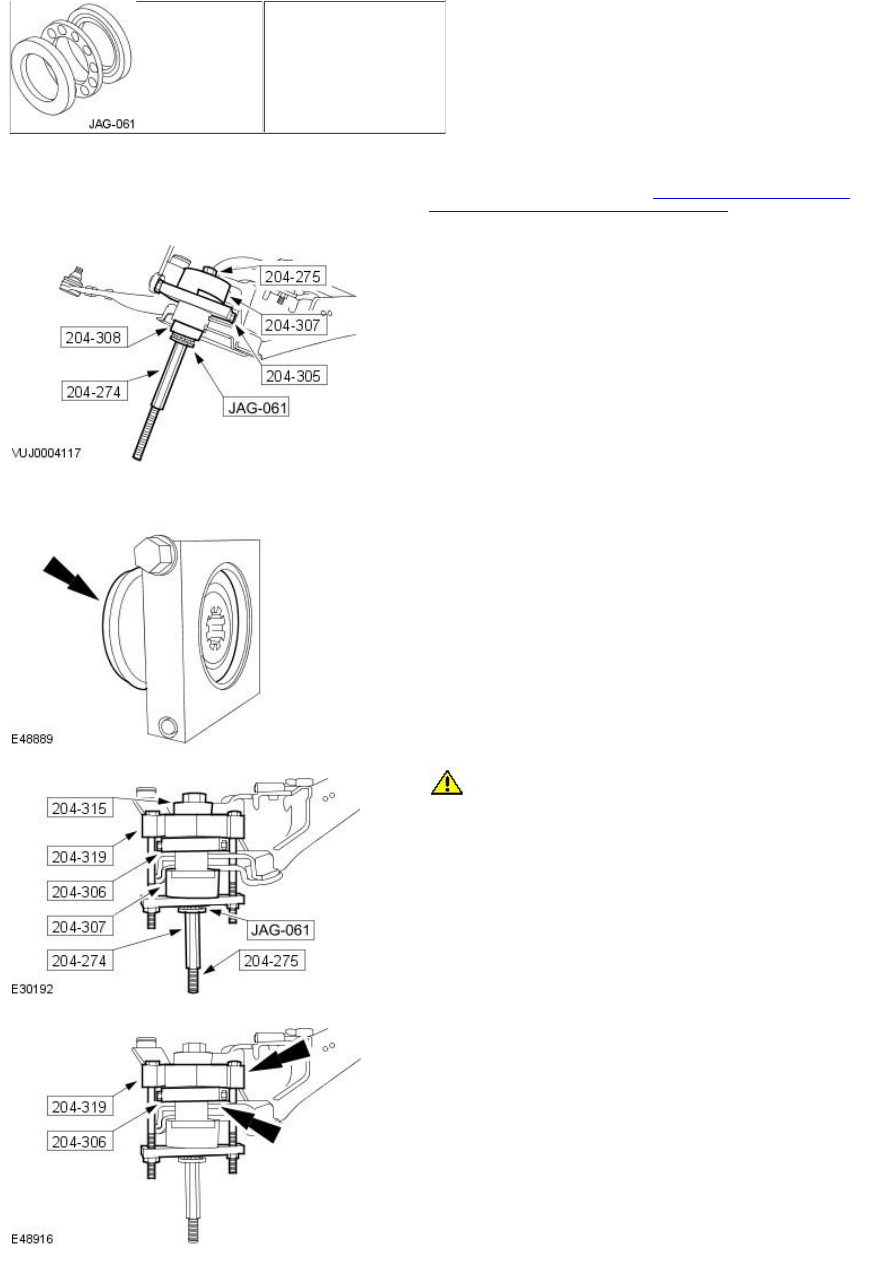
Thrust bearing
JAG-061
Removal
1. Remove the front subframe
For additional information, refer to:
Front Subframe - 2.0L Duratorq-
TDCi/2.2L Duratorq-TDCi (110kW /150PS) - Puma
(502-00 Uni-Body,
Subframe and Mounting System, Removal and Installation).
2. NOTE: Note the orientation of the bushing before removal.
Using the special tools, remove the front subframe mounting bushing.
Installation
1. Fit the bushing to the special tool.
2.
CAUTION: Make sure excessive pressure is not used when
installing the bushing. Failure to follow these instructions may result in
damage to the subframe.
• NOTE: Apply a suitable amount of Shell gravex oil 973 to the bushing
before installing.
• NOTE: Make sure the bushing is correctly orientated.
Using the special tools, partially install the bushing.
3. Remove the special tools.