Jaguar X-Type Sedan and Estate (Wagon). Manual - part 308


  Index      Jaguar     Jaguar X-Type Sedan and Estate (Wagon) (2.0 L, 2.5 L and 3.0 L Gasoline; 2.0 L and 2.2 L, Diesel) - manual 2001-2009 year


Search            


Content   ..  306  307  308  309   ..


Jaguar X-Type Sedan and Estate (Wagon). Manual - part 308


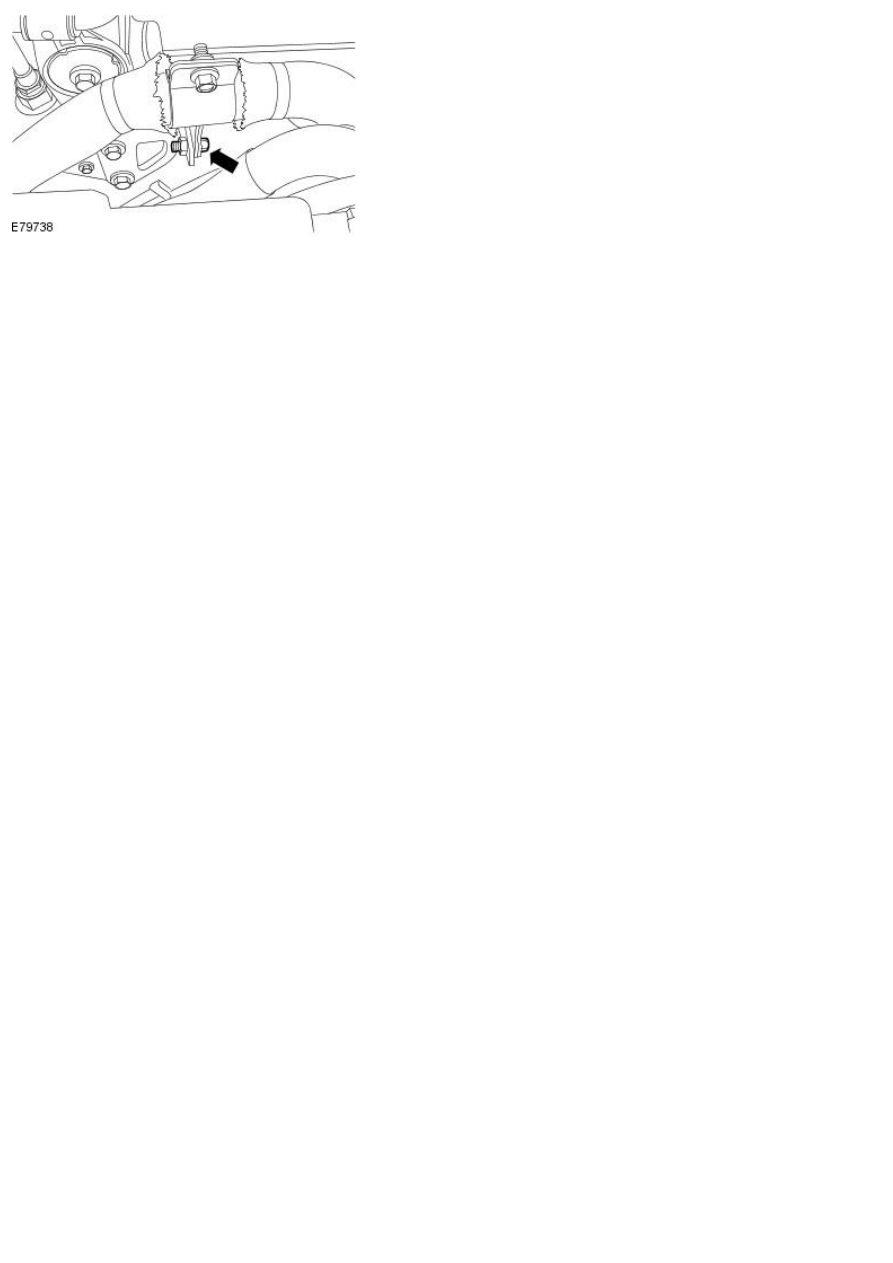
4. Tighten to 10 Nm.

Published: 11-May-2011

Intake Air Distribution and Filtering - 2.0L NA V6 - AJV6/2.5L NA V6 - AJV6/3.0L NA
V6 - AJ27 - Intake Air Distribution and Filtering

Description and Operation

Item

Part Number

Description

1

Air cleaner outlet pipe

2

Air cleaner cover

3

Air cleaner element

4

Air cleaner

5

Air cleaner intake pipe

Published: 11-May-2011

Intake Air Distribution and Filtering - 2.0L NA V6 - AJV6/2.5L NA V6 - AJV6/3.0L NA
V6 - AJ27 - Intake Air Distribution and Filtering

Diagnosis and Testing

Inspection and Verification

1. Verify the customer concern.

1.

2. Visually inspect for obvious signs of mechanical damage.

2.

Visual Inspection Chart

Mechanical

Air cleaner intake pipe

Air cleaner outlet pipe

Air cleaner element

3. If an obvious cause for an observed or reported concern is found, correct the cause (if possible) before proceeding to the next

step.

3.

4. If the cause is not visually evident, verify the symptom and refer to the Jaguar Approved Diagnostic System.

4.

Published: 11-May-2011

Intake Air Distribution and Filtering - 2.0L NA V6 - AJV6/2.5L NA V6 - AJV6/3.0L NA
V6 - AJ27 - Air Cleaner

Removal and Installation

Removal

1. Remove the air cleaner element. For additional information, refer to the

procedure in this section: 

Air Cleaner Element

2. Detach the air cleaner intake pipe.

1. Remove the air cleaner intake pipe retaining screws.

2. Detach the air cleaner intake pipe.

3. Remove the air cleaner.

1. Detach the air cleaner from the retaining grommet.

2. Remove the air cleaner.

Installation

1. NOTE: W hen installing the air cleaner, make sure that the locating peg
is installed correctly into the retaining bracket grommet.

To install, reverse the removal procedure.


Content   ..  306  307  308  309   ..