Jaguar X-Type Sedan and Estate (Wagon). Manual - part 63
Published: 11-May-2011
Front Drive Halfshafts - Intermediate Shaft
Removal and Installation
Removal
All vehicles
1. Remove the right-hand halfshaft.
For additional information, refer to
Halfshaft RH
in this section.
Vehicles with automatic transmission
2. Drain the automatic transmission fluid. For additional information, refer
to Section
307-01A Automatic Transmission/Transaxle
/
307-01B
Automatic Transmission/Transaxle
.
Vehicles with manual transmission
3. Drain the manual transmission fluid.
For additional information, refer to Section
308-03 Manual
Transmission/Transaxle
.
All vehicles
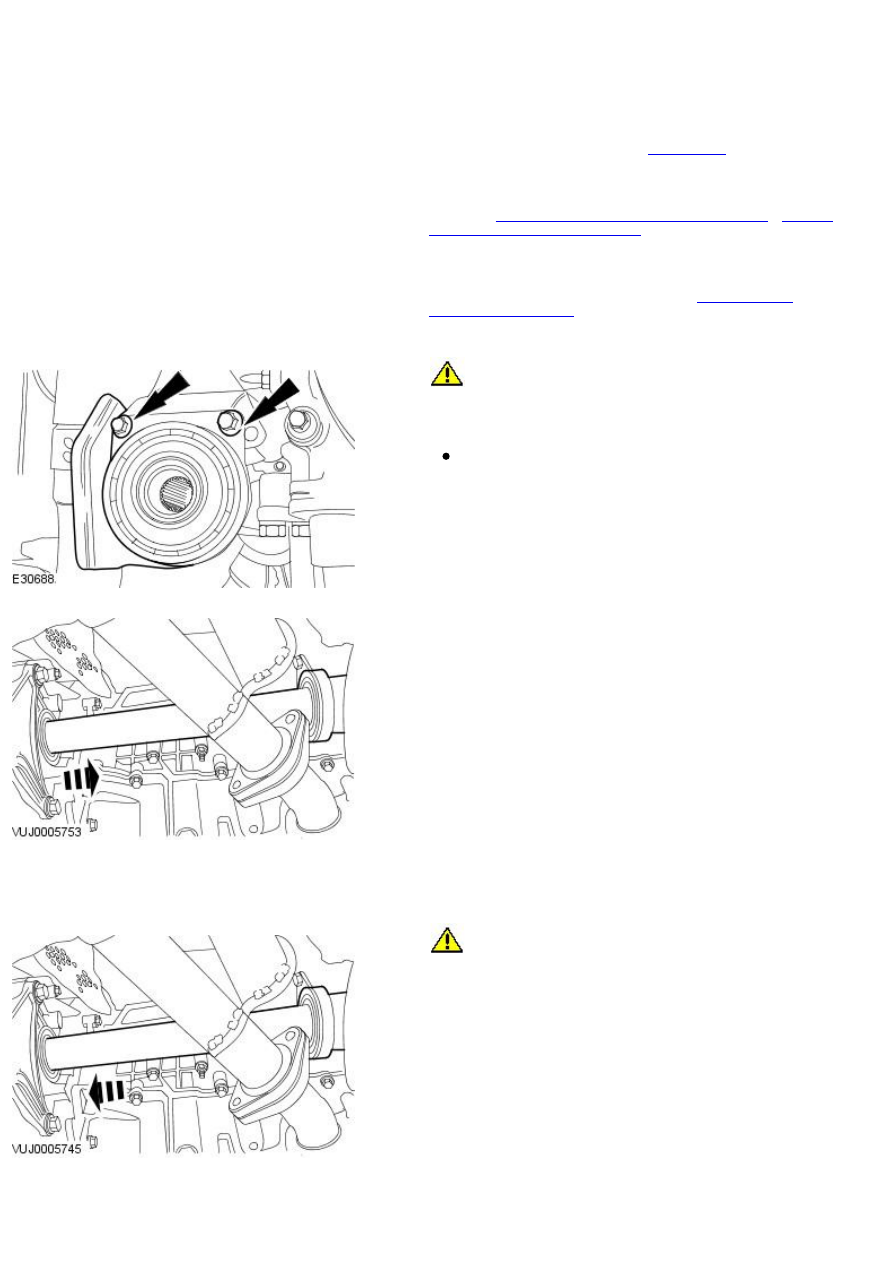
4.
CAUTION: Before removing the bearing carrier retaining bolts,
identify their correct position. Failure to follow this procedure will result in
damage to the vehicle.
Remove the intermediate shaft bearing carrier retaining bolts.
Remove the branch pipe heat shield.
5. Remove the intermediate shaft.
Installation
All vehicles
1.
CAUTION: Make sure the intermediate shaft splines are located
fully. Do not use excessive force when engaging the intermediate shaft
into the transmission.
Install the intermediate shaft.