Jaguar XJ (X350). Manual - part 357
 

  Index      Jaguar     Jaguar XJ (X350) - service repair manual 2003-2009 year


Search            


Content   ..  355  356  357  358   ..


Jaguar XJ (X350). Manual - part 357


12 

. 


  CAUTION: Use appropriate protection to prevent damage to the crankshaft 

bearing journals and cylinder bore surfaces. 


Install special tools to the connecting rods.  


•

  Position the crankshaft journal at the bottom of the stroke. 


13 

. 


NOTE:  


Make sure the piston ring gaps are positioned at different locations opposite the thrust 

side of the piston before installation. 


NOTE:  


Install pistons with arrow to front of engine. 


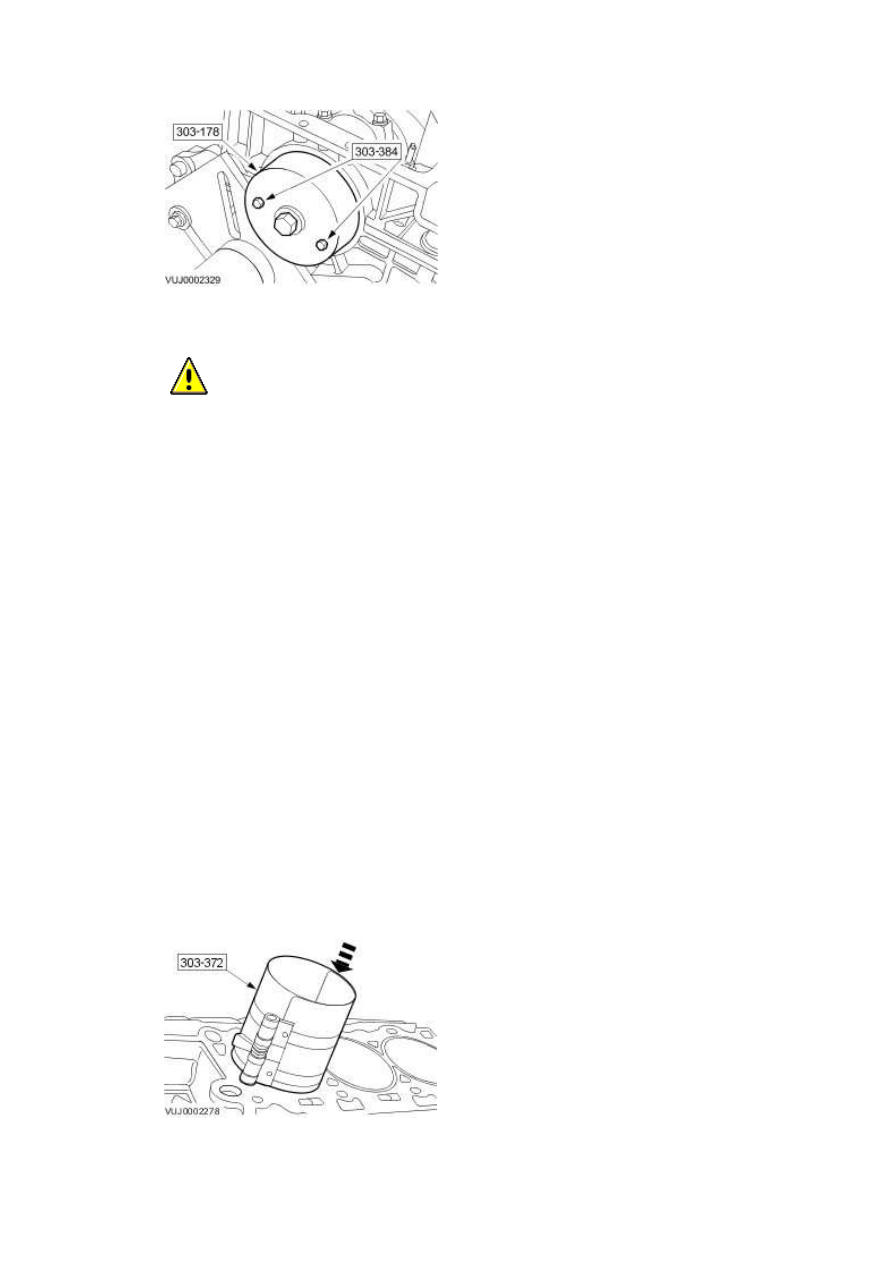
Using the special tool compress the rings and install the piston and connecting rod.  


•

  Lubricate all piston components. 


14 

. 


  CAUTION: When assembling the connecting rods and connecting rod caps, it is 

imperative that bearing slots and tangs be located on the same side of the connecting 

rods. 


  CAUTION: Connecting rod bolts are torqued to yield and must be replaced. 


NOTE:  


Remove the special tools from the connecting rods. 


NOTE:  


Tighten the bolts in the indicated sequence in three stages. 


Position the connecting rod cap on the appropriate connecting rod.  


•

  Stage 1: 23 Nm 


•

  Stage 2: 43 Nm 


•

  Stage 3: 105° 


15 . Rotate the crankshaft to check correct operation. 


www.


16 

. 


  CAUTION: Install the oil pump flush to the cylinder block for correct sealing. 


  CAUTION: Rotate the inner rotor of the oil pump to align with the flats on the 

crankshaft before installation. 


Install the oil pump.  


•

  Install a new O-ring seal. 


•

  Tighten to 10 Nm. 


17 . 

  CAUTION: Oil pan baffle nuts are tightened to yield and must not be reused. 


NOTE:  


Engine inverted for clarity. 


NOTE:  


Tighten the nuts in the indicated sequence in two stages. 


Install the oil pan baffle.  


•

  Stage 1: 5 Nm 


•

  Stage 2: 45° 


18 . NOTE:  


Engine inverted for clarity. 


Install the oil pump tube.  


•

  Install a new O-ring seal. 


•

  Tighten to 10 Nm. 


19 . NOTE:  


Engine inverted for clarity. 


Tighten to 5 Nm + 45°.  

www.


Content   ..  355  356  357  358   ..