Jaguar XJ (X350). Manual - part 1247


  Index      Jaguar     Jaguar XJ (X350) - service repair manual 2003-2009 year


Search            


Content   ..  1245  1246  1247  1248   ..


Jaguar XJ (X350). Manual - part 1247


Failure to follow this instruction may result in damage to the engine. 


  CAUTION: Never remove the coolant pressure cap under any circumstances while 

the engine is operating. Failure to follow this instruction may result in damage to the 

engine. 


Release the cooling system pressure.  


Remove the coolant expansion tank pressure cap.


3 . Remove the front footwell vent duct. <<412-01>> 


4 . Remove the glove box. <<501-12>> 


5 . Remove the engine control module. <<303-14A>> <<303-14B>> 


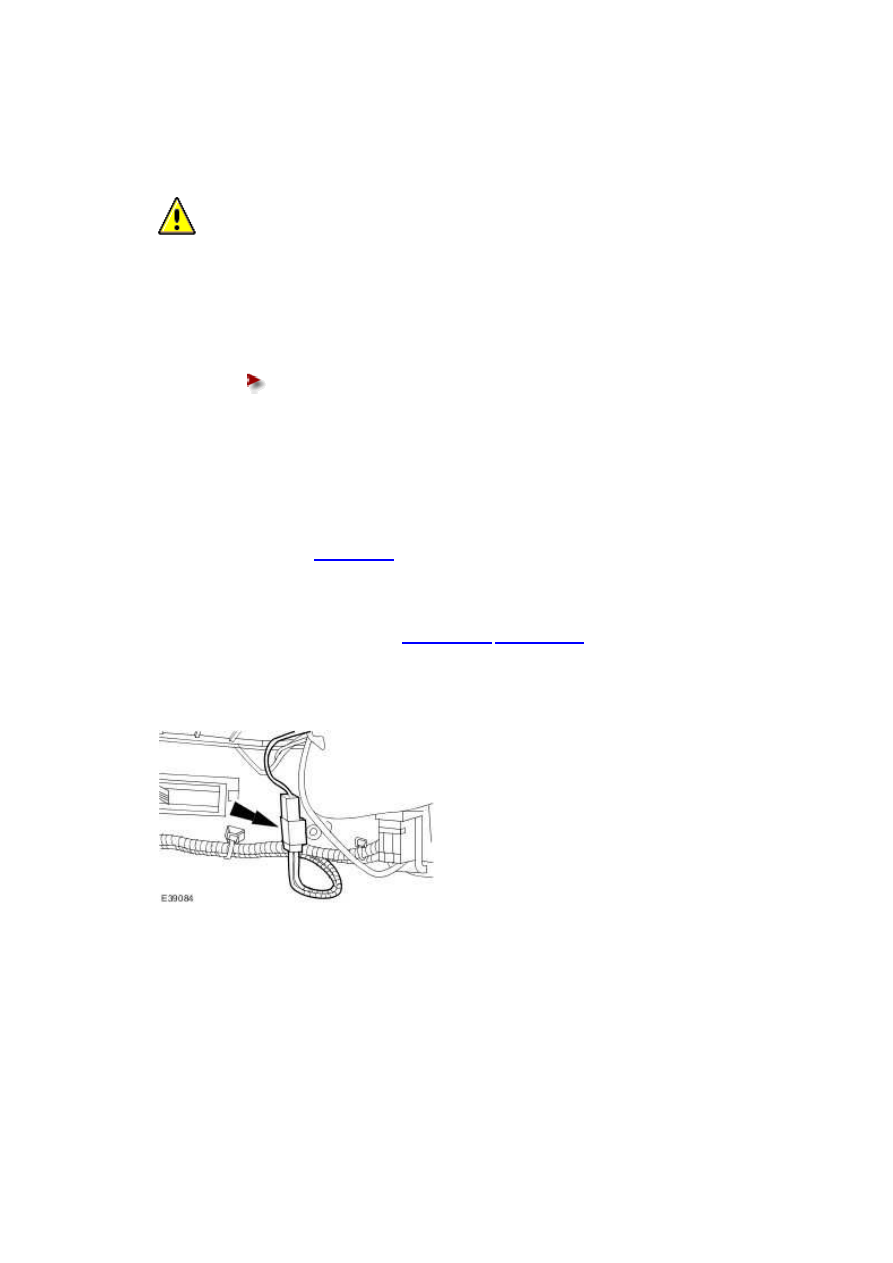
6 . Disconnect the blower motor electrical connector. 


7 . Remove the blower motor housing securing bolts. 


8 . Remove the blower motor housing securing bolts. 


9 . Remove the blower motor housing.  


10 


  CAUTION: Care should be taken when removing the heater core inlet and outlet 

pipes as coolant may leak out of the heater core. 


NOTE:  


Cap the heater core inlet and outlet pipes to prevent coolant loss. 


Remove the heater core inlet and outlet pipes.  

www.


1) Remove the heater core retaining plate.


2) Remove the heater core.


11 . Remove the cold air bypass blend door actuator.  


1) Disconnect the electrical connector.


2) Remove the cold air bypass blend door actuator.


Left-hand drive vehicles  


12 . Remove the front footwell duct LH. <<412-01>> 


13 . Remove the remote climate control module.  


1) Disconnect the electrical connectors.


2) Remove the lower retaining screws.


3) Loosen but do not remove the upper retaining screw.


4) Remove the remote climate control module.


14 . Remove the cold air bypass blend door actuator.  


1) Disconnect the electrical connector.


2) Remove the cold air bypass blend door actuator.


Installation  

Right-hand drive vehicles  


1 . NOTE:  


Care should be taken to ensure the actuator linkages are correctly engaged. 


To install, reverse the removal procedure.  


Tighten to 7 Nm.


www.


Content   ..  1245  1246  1247  1248   ..