Isuzu Trooper (1998-2002 year). Manual - part 646
 

  Index      Isuzu     Isuzu Trooper - service repair manual 1998-2002 year


Search            


Content   ..  644  645  646  647   ..


Isuzu Trooper (1998-2002 year). Manual - part 646


6F – 2 ENGINE EXHAUST

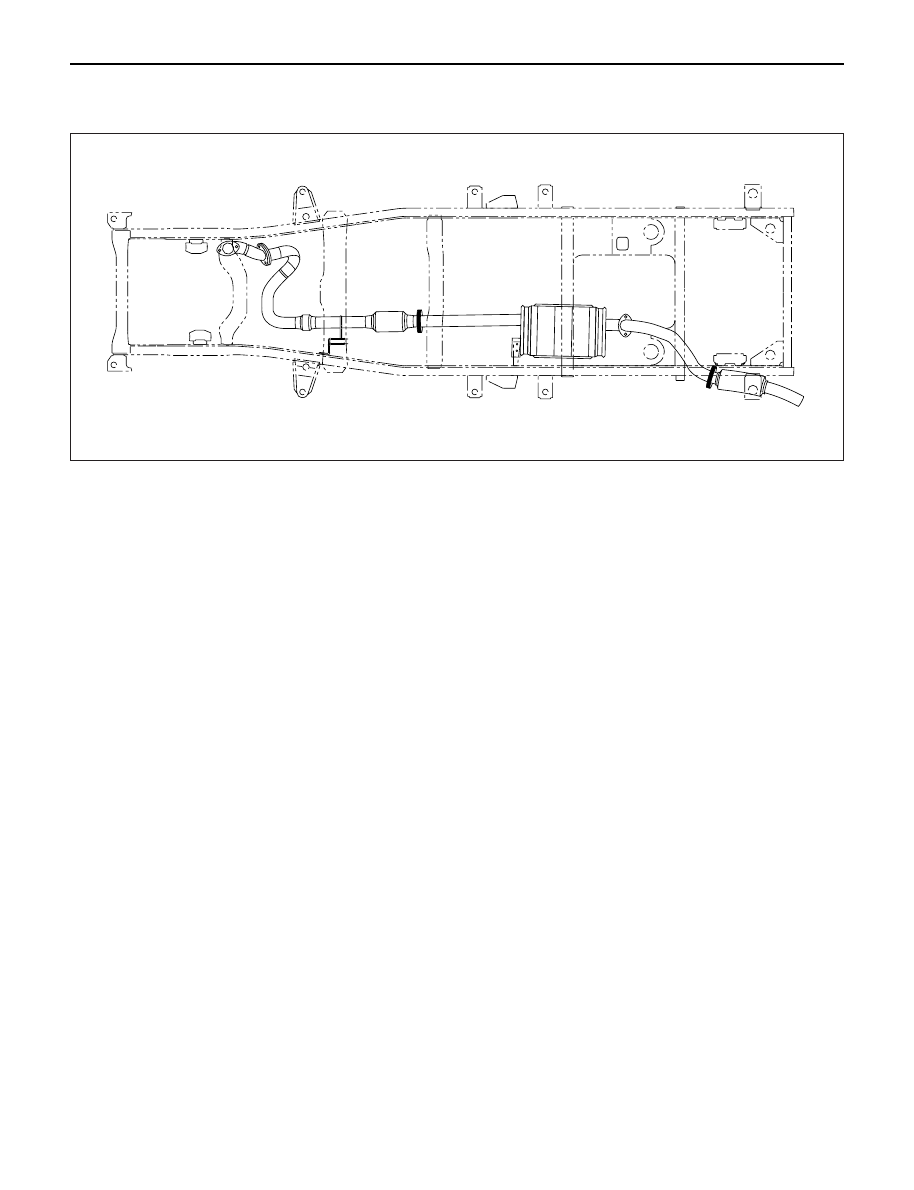
GENERAL DESCRIPTION

150RW070

When inspecting or replacing exhaust system
components, make sure there is adequate clearance
from all points on the underbody to prevent overheating
of the floor pan and possible damage to the passenger
compartment insulation and trim materials.
Check complete exhaust system and nearby body
areas and rear compartment lid for broken, damaged,
missing or mispositioned parts, open seams, holes
loose connections or other deterioration which could
permit exhaust fumes to seep into the rear
compartment or passenger compartment. Dust or water
in the rear compartment may be an indication of a
problem in one of these areas. Any faulty areas should
be corrected immediately.

HANGERS

Various types of hangers are used to support exhaust
system(s). These include conventional rubber straps,
rubber rings, and rubber blocks.
The installation of exhaust system supports is very
important, as improperly installed supports can cause
annoying vibrations which can be difficult to diagnose.

GASKET

The gasket must be replaced whenever a new exhaust
pipe, muffler or exhaust throttle is installed.

ENGINE EXHAUST  6F – 3

ON-VEHICLE SERVICE

FRONT EXHAUST PIPE

Rattles and noise vibrations in the exhaust system are
usually caused by misalignment of parts. When aligning
the system, leave all bolts or nuts loose until all parts
are properly aligned; then tighten, working from front to
rear.

1. Check connections for looseness or damage,

especially for exhaust gas leakage.

2. Check clamps and rubbers for weakness, cracks or

damage.

3. If any part of the converter heat shield is damaged

or dented to the extent that it contacts the catalyst,
repair or replace.

4. Check for dents or damage and for any holes or

cracks caused by corrosion.

3

2

1

Legend

(1)

Front exhaust pipe

(2)

Center exhaust pipe

(3)

Mounting rubber

150RW071

6F – 4 ENGINE EXHAUST

REMOVAL

1. Battery negative cable.
2. Raise the vehicle and support with suitable safety

stands.

3. Remove front exhaust pipe fixing nuts from engine

side.

4. Remove fixing nuts between front exhaust pipe and

center exhaust pipe, remove front exhaust pipe.

5. Disconnect center exhaust pipe and silencer,

remove center exhaust pipe.

6. Remove fixing nuts from connection part of tail pipe,

remove mounting rubber and remove silencer
bracket, silencer.

7. Remove mounting rubber for tail pipe, remove tail

pipe.

INSTALLATION

1. Install front exhaust pipe and tighten it temporarily.
2. Tighten fixing nuts of front exhaust pipe to the

specified torque. (for engine side)

Torque: 67 N·m (6.8 kg·m/49 lb ft)

3. Tighten fixing nuts of front exhaust pipe to the

specified torque. (for center pipe side)

Torque: 43 N·m (4.4 kg·m/32 lb ft)

4. Install silencer and tighten silencer bracket nuts to

the specified torque.

Torque: 16 N·m (1.6 kg·m/12 lb ft)

5. Install tail pipe and tighten it.

Torque: 43 N·m (4.4 kg·m/32 lb ft)

6. Install mounting rubbers.

ENGINE EXHAUST  6F – 5

CENTER EXHAUST PIPE

REMOVAL

1. Battery negative cable.
2. Raise the vehicle and support with suitable safety

stands.

3. Remove mounting rubber.
4. Remove fixing nuts from silencer side.
5. Remove fixing nuts from front exhaust pipe.
6. Remove center exhaust pipe assembly.

INSTALLATION

1. Place center exhaust pipe in the original position

then tighten fixing nuts temporarily.

2. Install mounting rubber.
3. Tighten front exhaust pipe side nuts to the specified

torque.

Torque : 43 N·m (4.4 kg·m/32 lb ft)

4. Tighten silencer side nuts to the specified torque.

Torque : 43 N·m (4.4 kg·m/32 lb ft)

3

2

1

Legend

(1)

Front Exhaust Pipe

(2)

Center Exhaust Pipe

(3)

Mounting Rubber

150RW071


Content   ..  644  645  646  647   ..