Isuzu engine 4j series. Manual - part 66
 

  Index      Isuzu     Isuzu engine 4j series - service manual


Search            


Content   ..  64  65  66  67   ..


Isuzu engine 4j series. Manual - part 66


6C - 8  ENGINE FUEL

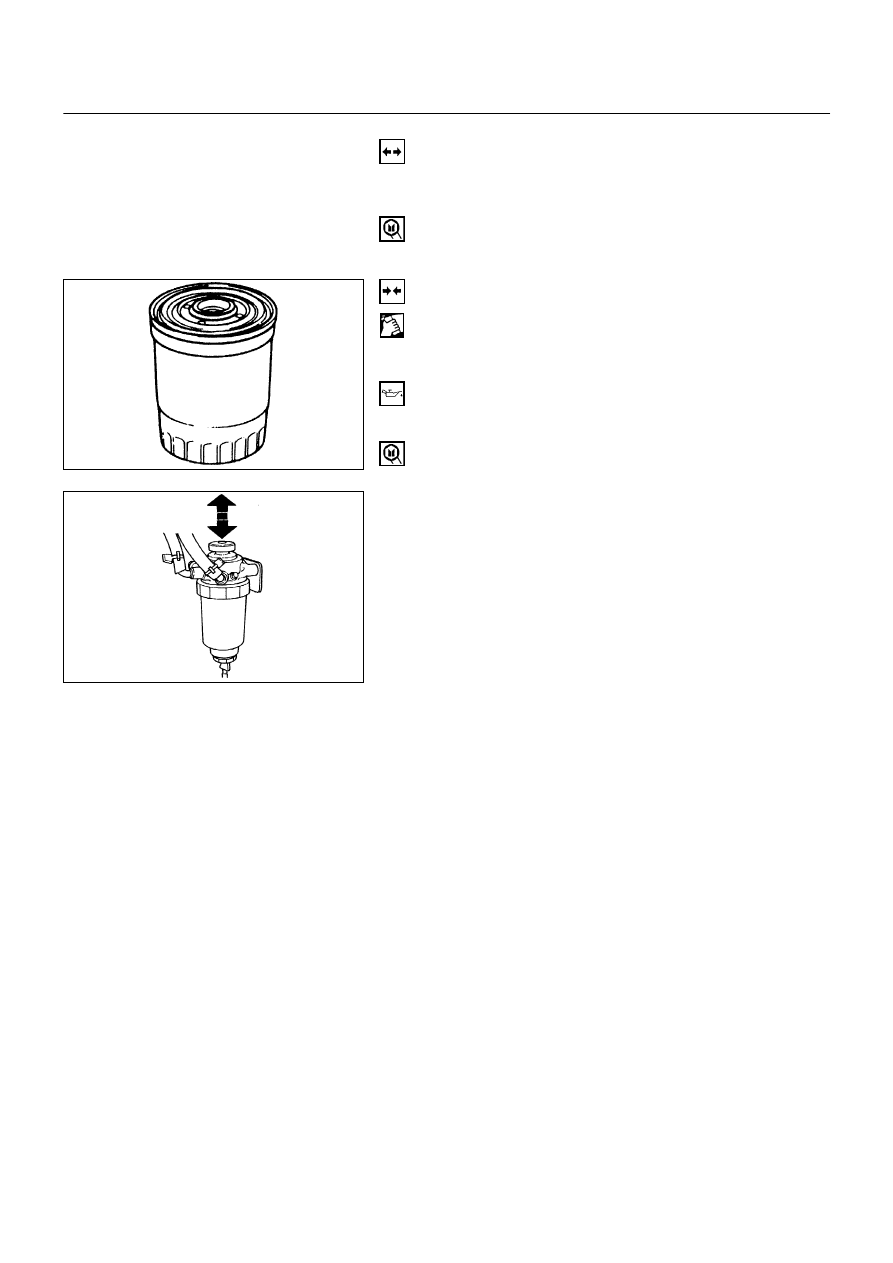
FUEL FILTER CARTRIDGE

REMOVAL

•

Remove the cartridge using a filter wrench.
Filter wrench: 5-8840-0253-0 (J-22700)

INSTALLATION

•

Clean the cartridge mounting surface of filter body so
that the cartridge can be securely.
Apply engine oil thinly to new cartridge O-ring.

•

To facilitate bleeding, fill the new cartridge with light oil.

•

Tighten the cartridge until O-ring comes in contact with
the sealing, taking care not to spill the light oil.

•

Retighten 1/3~ 2/3 using a filter wrench.

Filter wrench: 5-8840-0253-0 (J-22700)

Bleeding

•

Operate priming pump to send the air in the fuel
system to the injection pump.

•

Loosen injection pump bleeding plug, and operate the
priming pump until no bubble is made.

•

Tighten the bleeding plug.

•

Start the engine, and if it is not started in 10 seconds
or less, repeat the bleeding steps.

•

Make sure of no fuel leakage, and tighten the priming
pump.

Draining

•

When the water in the sedimentor reaches the
specified volume, warning light is actuated.
In this case, follow the draining steps below.

•

Set a vinyl hose over the drain plug.

•

Loosen the drain plug.

•

To drain the water, operate the priming pump several
times.

•

After draining, tighten the drain plug.

•

Operate the priming pump several times to check for
fuel leakage.

•

Check and see the warning light is off.

6C-7-2.tif

6C-7-1.tif

ENGINE FUEL  6C - 9

INJECTION NOZZLE

REMOVAL

Preparation:

•

Disconnect battery ground cable.

1. Injection Pipe

•

Release injection pipe clip.

•

Loosen the flare nut on the injection pump side.

•

Loosen the flare nut on the injection nozzle side,
disconnect and put aside the pipe.

2. Leak off Pipe or Hose

3. Injection Nozzle

INSPECTION

•

Set the nozzle in a nozzle tester.
Check there is no fuel leak in the nozzle seal when a
fuel pressure of kg/cm

2

 is applied.

If there is leak, replace.

6C-8-1.tif

Removal steps

1. Injection pipe
2.  Leak off pipe or hose
3. Injection nozzle

Installation steps

To install, follow the removal steps in
the reverse order.

6C - 10  ENGINE FUEL

DISASSEMBLY (4JG2 Engine)

•

Grip nozzle holder with a vise, loosen retaining nut and
disassemble.

•

Loosen holder nut and remove the nozzle.

CAUTION

•

Be careful not to damage the needle valve.

•

Remove spacer, positioning pin, and push rod.

•

Remove spring and adjusting shim.

CAUTION

•

Wash all the parts removed and arrange them on a
cylinder basis, care should be taken not to miss any
parts.

•

Soak the nozzle assembly in a parts receptacle filled
with light oil.

•

Care should be taken not to miss shim, if used.

INSPECTION (4JG2 Engine)

Nozzle

•

Soak the nozzle removed in clean light oil, wash
nozzle body and needle valve separately, and check
and see that the needle valve slide smoothly in the
nozzle body.

6C-9-1.tif

6C-9-2.tif

6C-9-3.tif

6C-9-4.tif

6C-9-5.tif

ENGINE FUEL  6C - 11

CAUTION

•

If the needle valve does not slide smoothly repair or
replace with a new nozzle assembly.

Nozzle lapping procedure

•

Apply thinly a compound (Chrome oxide kneaded with
an animal oil) to the seat of needle valve and lap.

CAUTION

•

Excess compound may cause worn needle valve, and
be sure to wash out the compound after lapping.

Nozzle body & needle

•

Check nozzle body and end for seizure.
If significantly seized, replace as a nozzle assembly
basis.  Also replace as a nozzle assembly basis, if
needle valve end is deformed or seized.

CAUTION

•

If either nozzle body or needle valve is faulty, replace
with a new nozzle assembly.

REASSEMBLY (4JG2 Engine)

To reassemble, follow the removal steps in the reverse order,
noting the following point.

CAUTION

•

Be careful to fit spacer because positioning pins are
set off.

6C-10-1.tif

6C-10-2.tif

6C-10-3.tif

6C-10-4.tif


Content   ..  64  65  66  67   ..