Infiniti G Convertible (2012 year). Manual - part 26
SDI1765A
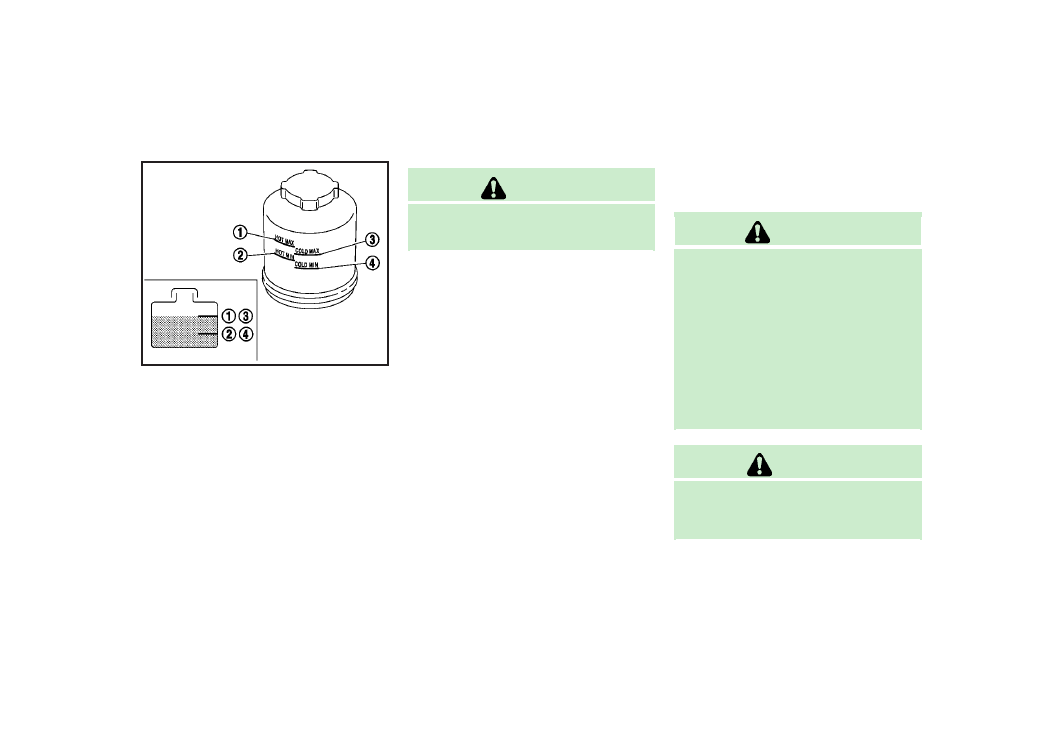
Check the fluid level in the reservoir.
The fluid level should be checked with the
engine off using the HOT range (
*
1
: HOT
MAX.,
*
2
: HOT MIN.) at fluid temperatures
of 122 to 1768F (50 to 808C) or using the
COLD range (
*
3
: COLD MAX.,
*
4
: COLD
MIN.) at fluid temperatures of 32 to 868F (0
to 308C).
If the fluid is below the MIN line, add
Genuine NISSAN PSF or equivalent. Re-
move the cap and fill through the opening.
CAUTION
.
Do not overfill.
.
Use Genuine NISSAN PSF or equivalent.
For further brake and clutch fluid informa-
tion, see “Capacities and recommended
fuel/lubricants” (P.9-2) of this manual.
WARNING
.
Use only new fluid from a sealed
container. Old, inferior or contaminated
fluid may damage the brake system. The
use of improper fluids can damage the
brake system and affect the vehicle’s
stopping ability.
.
Be sure to clean the filler cap before
removing.
.
Brake fluid is poisonous and should be
stored carefully in marked containers out
of the reach of children.
CAUTION
Do not spill the fluid on painted surfaces.
This will damage the paint. If fluid is spilled,
wash the surface with water.
Maintenance and do-it-yourself
8-13
POWER STEERING FLUID
BRAKE AND CLUTCH FLUID