Infiniti G Convertible (2012 year). Manual - part 24
6-10
In case of emergency
retailer about obtaining these parts. See
“Changing flat tire (for models with spare
tire)” (P.6-3) for usage of jacking tools and
tire replacement.
Before using emergency tire punc-
ture repair kit
. If any foreign object (for example, a
screw or nail) is embedded in the tire,
do not remove it.
. Check the expiration date of the sealant
(shown on the label attached to the
bottle). Never use a sealant whose
expiration date has passed.
Repairing tire
WARNING
Observe the following precautions when
using the tire repair compound.
.
Swallowing the compound is dangerous.
Immediately drink as much water as
possible and seek prompt medical as-
sistance.
.
Rinse well with lots of water if the
compound comes into contact with skin
or eyes. If irritation persists, seek
prompt medical attention.
.
Keep the repair compound out of the
reach of children.
.
The emergency repair compound may
cause a malfunction of the tire pressure
sensors and cause the low tire pressure
warning light to illuminate. Have the tire
pressure sensor replaced as soon as
possible.
NOTE:
Do not remove any nails or screws that
have penetrated the tire when performing
repairs.
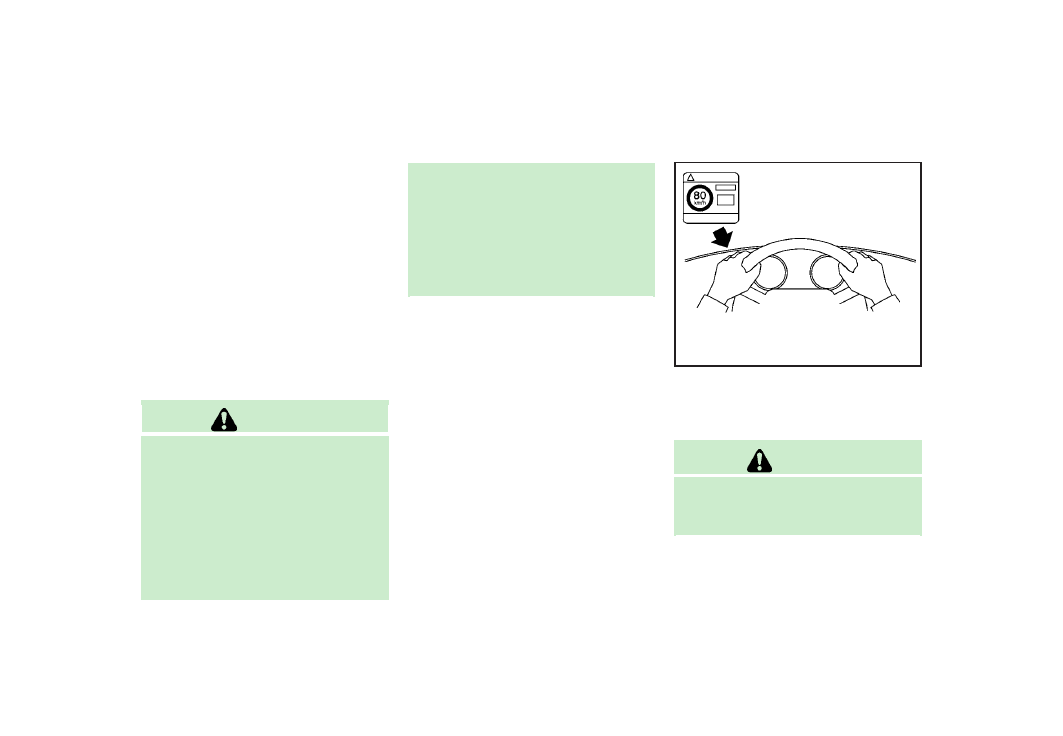
SCE0867
1. Open the lid of the air compressor and
take out the speed restriction sticker,
then put it in a location where the
driver can see it while driving.
CAUTION
Do not put the speed restriction label on the
steering wheel pad, the speedometer or the
warning light locations.