Infiniti G35 (V35) Sedan. Manual - part 699
EXT-34
< ON-VEHICLE REPAIR >
DOOR PARTING SEAL
DOOR PARTING SEAL
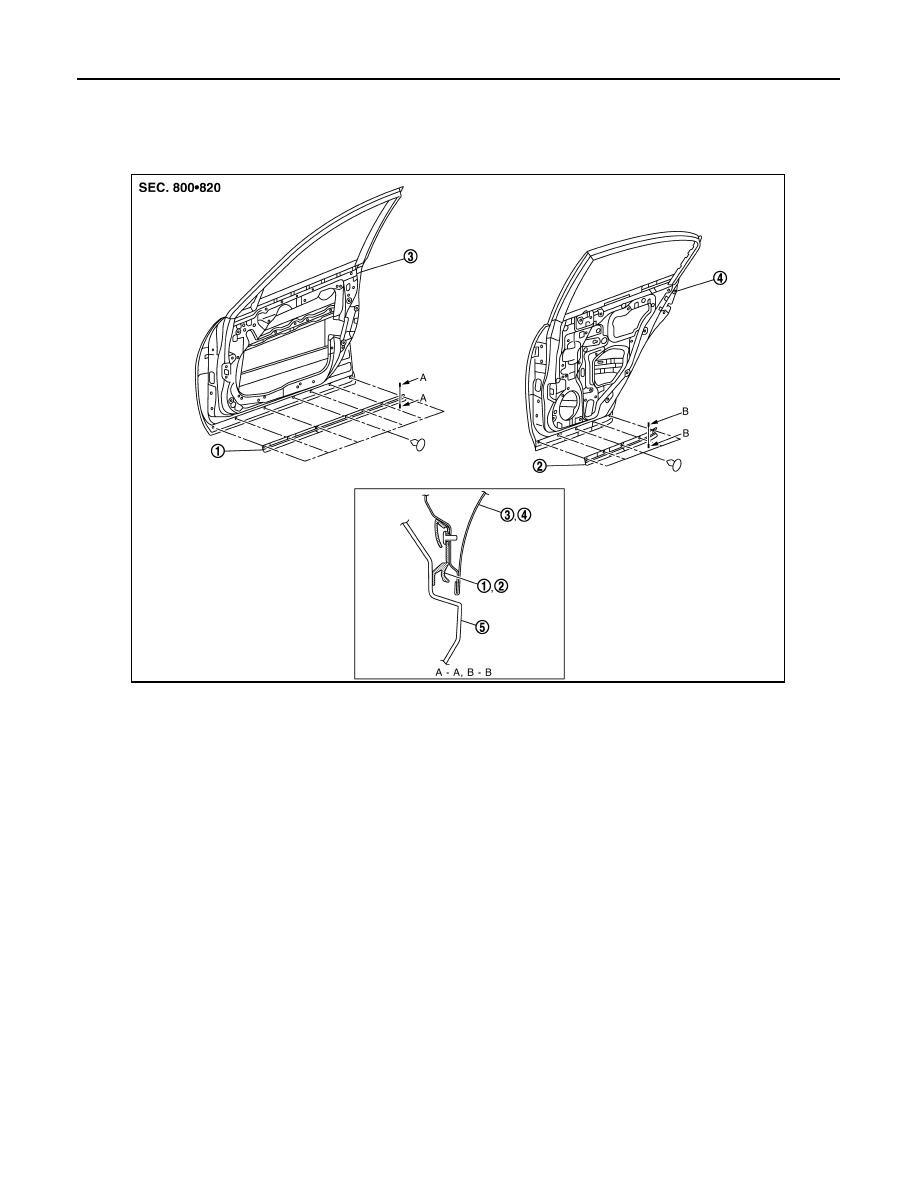
Exploded View
INFOID:0000000000961814
Removal and Installation
INFOID:0000000000961815
REMOVAL
FRONT DOOR PARTING SEAL
1.
Fully open front door.
2.
Remove front door parting seal mounting plastic clips.
3.
Remove front door parting seal.
REAR DOOR PARTING SEAL
1.
Fully open rear door.
2.
Remove rear door parting seal mounting plastic clips.
3.
Remove rear door parting seal.
INSTALLATION
Install in the reverse order of removal.
1.
Front door parting seal
2.
Rear door parting seal
3.
Front door panel
4.
Rear door panel
5.
Center mud guard
JMKIA0085GB