Infiniti EX35. Manual - part 1565
WW-112
< ON-VEHICLE REPAIR >
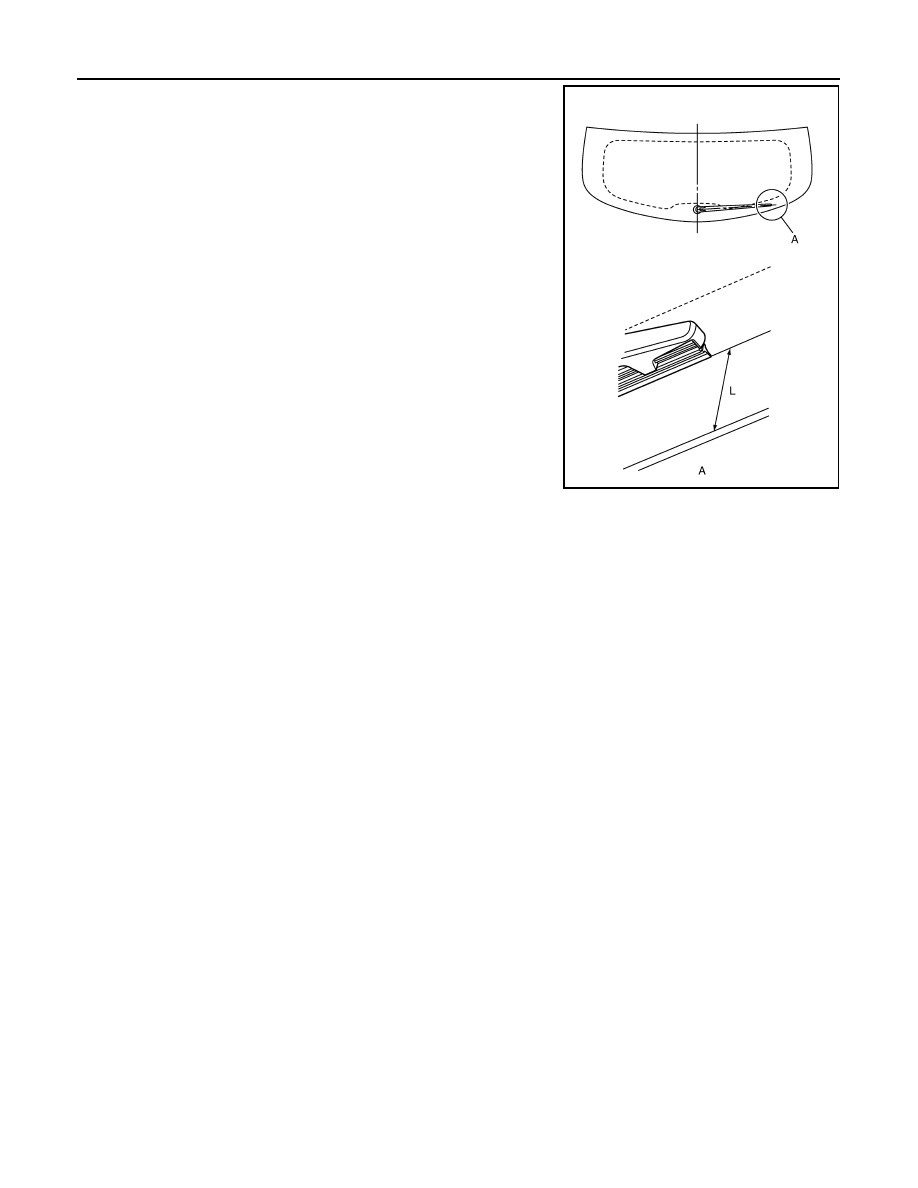
REAR WIPER ARM
Standard clearance
L
: 35.0
±
7.5 mm (1.378
±
0.295 in)
JPLIA0966ZZ
|
|
|
WW-112 < ON-VEHICLE REPAIR > REAR WIPER ARM Standard clearance L : 35.0 ± 7.5 mm (1.378 ± 0.295 in) JPLIA0966ZZ |