Ford F150 Pickup. Instruction - part 1102


  Index      Ford     Ford F150 Pickup - service and repair instruction 2003 year


Search            copyright infringement  


Content   ..  1100  1101  1102  1103   ..


Ford F150 Pickup. Instruction - part 1102


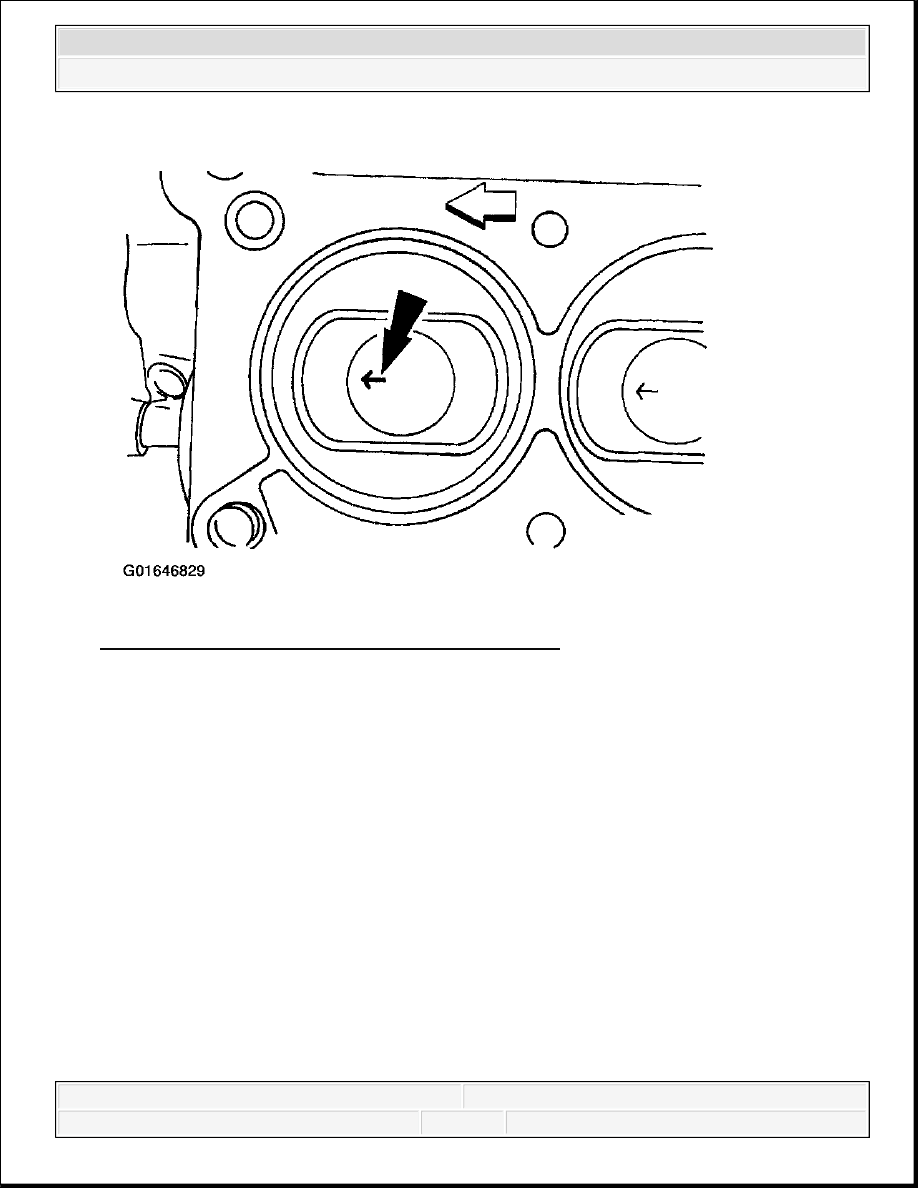
Fig. 317: Identifying Correct Installation Of Piston 
Courtesy of FORD MOTOR CO. 

17. Install the piston with the arrow on the piston face pointing toward the front of the engine. 

CAUTION: The connecting rod cap will fit only one way.

NOTE:

Remove and discard the used connecting rod bolts.


2003 Ford Pickup F150 

2003 ENGINE Engine - 4.2L - F150 Pickup


Fig. 318: Positioning Lower Connecting Rod Bearing & Cap On Connecting Rod & 
Crankshaft Journal
 
Courtesy of FORD MOTOR CO. 

18. Position the lower connecting rod bearing and the connecting rod cap on the connecting rod 

and the crankshaft journal.  

19. Inspect the connecting rod bearing clearance. For additional information, refer to ENGINE 

SYSTEM - GENERAL INFORMATION . 

NOTE:

Use new connecting rod bolts.


2003 Ford Pickup F150 

2003 ENGINE Engine - 4.2L - F150 Pickup


Fig. 319: Installing Connecting Rod Bolts 
Courtesy of FORD MOTOR CO. 

20. Install the rod caps. Tighten the bolts in three stages: 


Stage 1: Tighten the bolts to 25 Nm (18 lb-ft).  


Stage 2: Tighten the bolts to 45 Nm (33 lb-ft).  


Stage 3: Tighten the bolts an additional 90-120 degrees.  

21. Install the remaining pistons and the connecting rods.  

22. Install the oil pan baffle. 

1. Position the oil pan baffle.  

2. Install the six nuts.  


2003 Ford Pickup F150 

2003 ENGINE Engine - 4.2L - F150 Pickup


Fig. 320: Installing Oil Pan Baffle 
Courtesy of FORD MOTOR CO. 

23. Install the oil pump screen cover and tube. 


2003 Ford Pickup F150 

2003 ENGINE Engine - 4.2L - F150 Pickup


Content   ..  1100  1101  1102  1103   ..