Lincoln Blackwood (2002 year). Manual - part 5
Reprogramming a single HomeLink
姞 button
To program a device to HomeLink
威 using a HomeLink威 button previously
trained, follow these steps:
1. Press and hold the desired HomeLink
威 button. Do NOT release the
button.
2. The red indicator light will begin to flash after 20 seconds. Without
releasing the HomeLink
威 button, follow step 2 in the “Programming”
section.
For questions or comments, contact HomeLink
威 at www.homelink.com
or 1–800–355–3515.
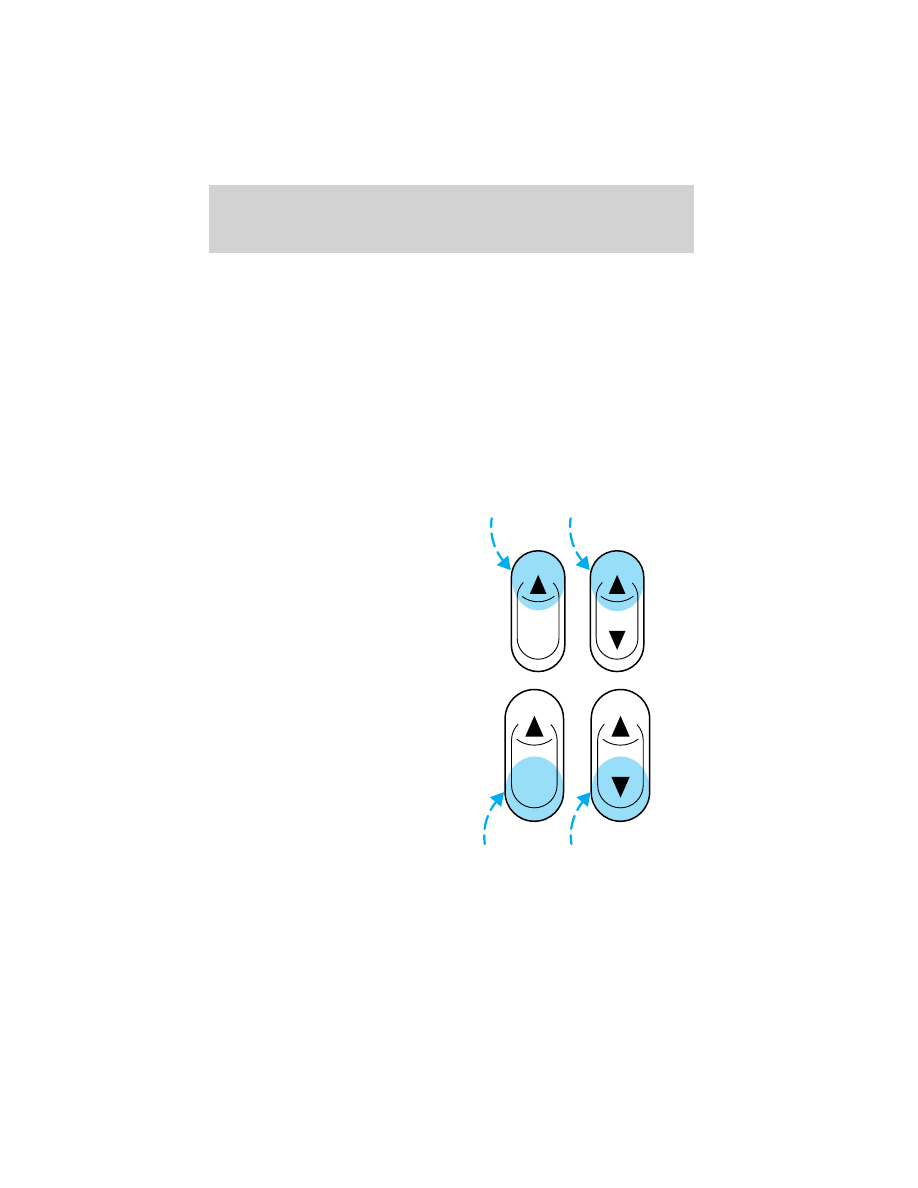
POWER WINDOWS
Press and hold the rocker switches to open and close windows.
• Press the top portion of the
rocker switch to close.
• Press the bottom portion of the
rocker switch to open.
AUTO
AUTO
Controls and features
67