Content .. 1782 1783 1784 1785 ..
Chrysler 300/300 Touring/300C, Dodge Magnum. Manual - part 1784
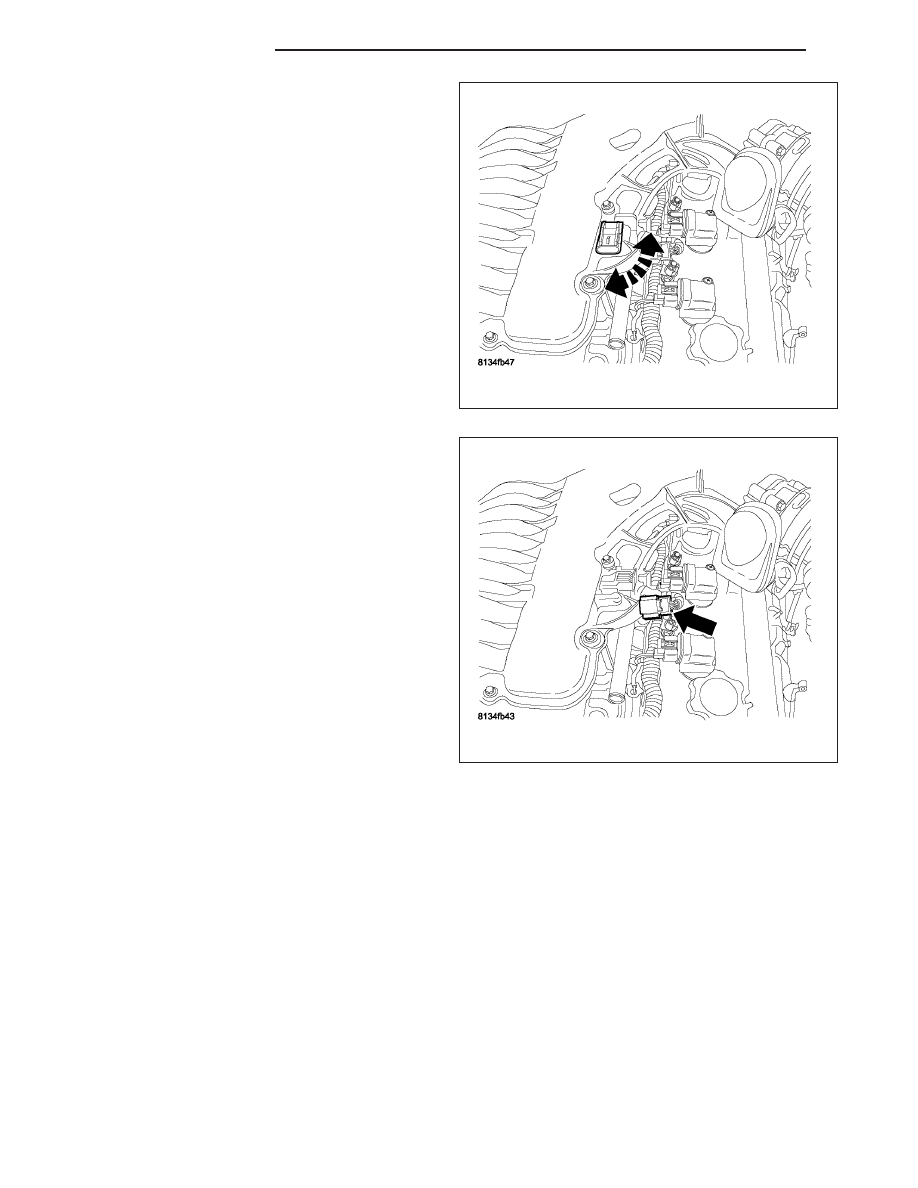
4. Rotate sensor 1/4 turn clockwise for installation.
5. Connect electrical connector to sensor.
6. Lock electrical connector.
7. Connect negative battery cable.
14 - 210
FUEL INJECTION
LX