Content .. 2015 2016 2017 2018 ..
Chevrolet Silverado / GMC Sierra. Manual - part 2017
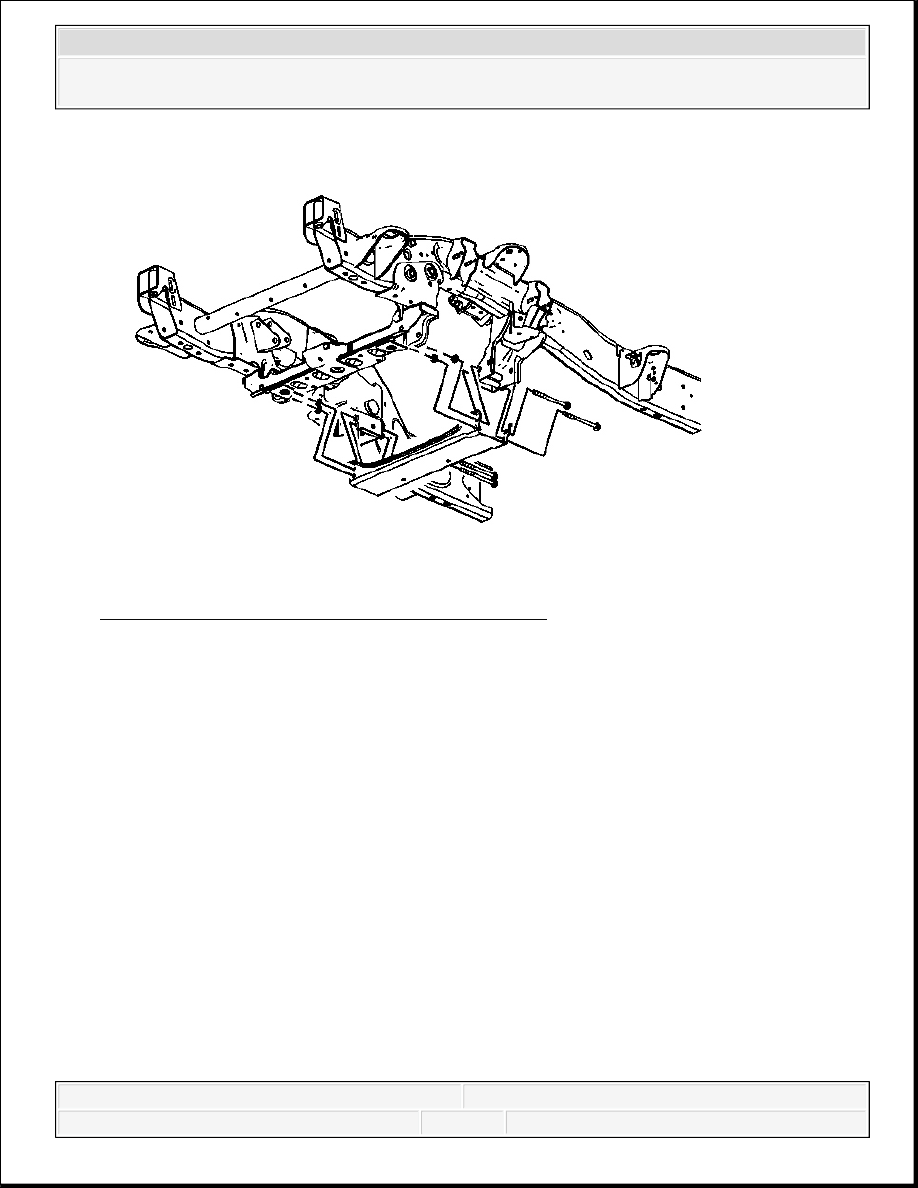
Fig. 421: View Of Vehicle Crossbar, Bolts & Nuts
Courtesy of GENERAL MOTORS CORP.
20. For both the 1500 and 2500 series, perform the following steps prior to installing the
crossbar bolts.
1. Remove all traces of the original adhesive patch.
2. Clean the threads of the bolts with denatured alcohol or equivalent and allow to dry.
3. Apply threadlock GM P/N 12345493 (Canadian P/N 10953488) or equivalent to the
bolt threads.
21. For 2500 series vehicles, install the crossbar and crossbar bolts/nuts.
Tighten: Tighten the nuts to 120 N.m (89 lb ft).
2008 Chevrolet Silverado 1500
2008 ENGINE Engine Mechanical - 4.8L, 5.3L, 6.0L, 6.2L, or 7.0L - Cab & Chassis Sierra, Cab & Chassis Silverado,
Sierra & Silverado
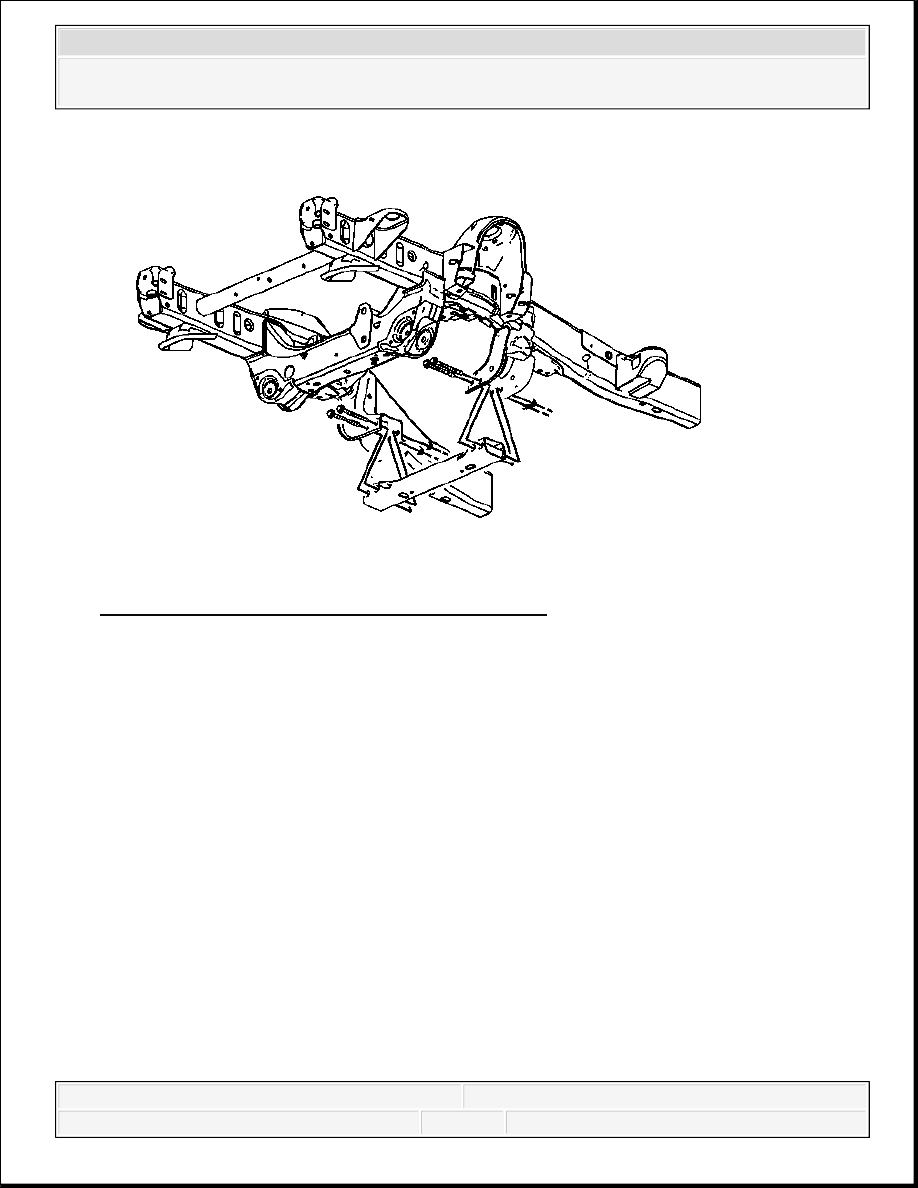
Fig. 422: View Of Vehicle Crossbar, Bolts & Nuts
Courtesy of GENERAL MOTORS CORP.
22. For 1500 series vehicles, install the crossbar and crossbar bolts/nuts.
Tighten: Tighten the nuts to 100 N.m (74 lb ft).
2008 Chevrolet Silverado 1500
2008 ENGINE Engine Mechanical - 4.8L, 5.3L, 6.0L, 6.2L, or 7.0L - Cab & Chassis Sierra, Cab & Chassis Silverado,
Sierra & Silverado

Fig. 423: View Of Left Side Transmission Cover Bolt
Courtesy of GENERAL MOTORS CORP.
23. Position the left side transmission cover and install the cover bolt.
Tighten: Tighten the bolt to 12 N.m (106 lb in).
2008 Chevrolet Silverado 1500
2008 ENGINE Engine Mechanical - 4.8L, 5.3L, 6.0L, 6.2L, or 7.0L - Cab & Chassis Sierra, Cab & Chassis Silverado,
Sierra & Silverado

Fig. 424: View Of Right Side Transmission Cover Bolt
Courtesy of GENERAL MOTORS CORP.
24. Install the right side transmission cover bolt.
Tighten: Tighten the bolt to 12 N.m (106 lb in).
2008 Chevrolet Silverado 1500
2008 ENGINE Engine Mechanical - 4.8L, 5.3L, 6.0L, 6.2L, or 7.0L - Cab & Chassis Sierra, Cab & Chassis Silverado,
Sierra & Silverado
Content .. 2015 2016 2017 2018 ..